Interstate '76 Nitro Pack Walkthrough
Local Ditch > Interstate '76 > Walkthrough
If you're looking for the original I '76, click here to visit the Interstate '76 TRIP Walkthrough.
Need help on a certain mission? Wondering how to stop a school bus from traveling over 55mph without hurting anyone inside it? Check below to see videos, screenshots, tips, and more.
More of a video person? Rather just watch it all on Youtube?
Since you can pick nearly any vehicle and combo of weapons, this walkthrough below covers just the bullet points and tips for each mission. If you need help with how to set up cars and how to fight, check out the Interstate '76 driving strategies and Interstate '76 weapons sections of the site. Though Nitro Pack has a few differences, the fighting tactics are largely the same.
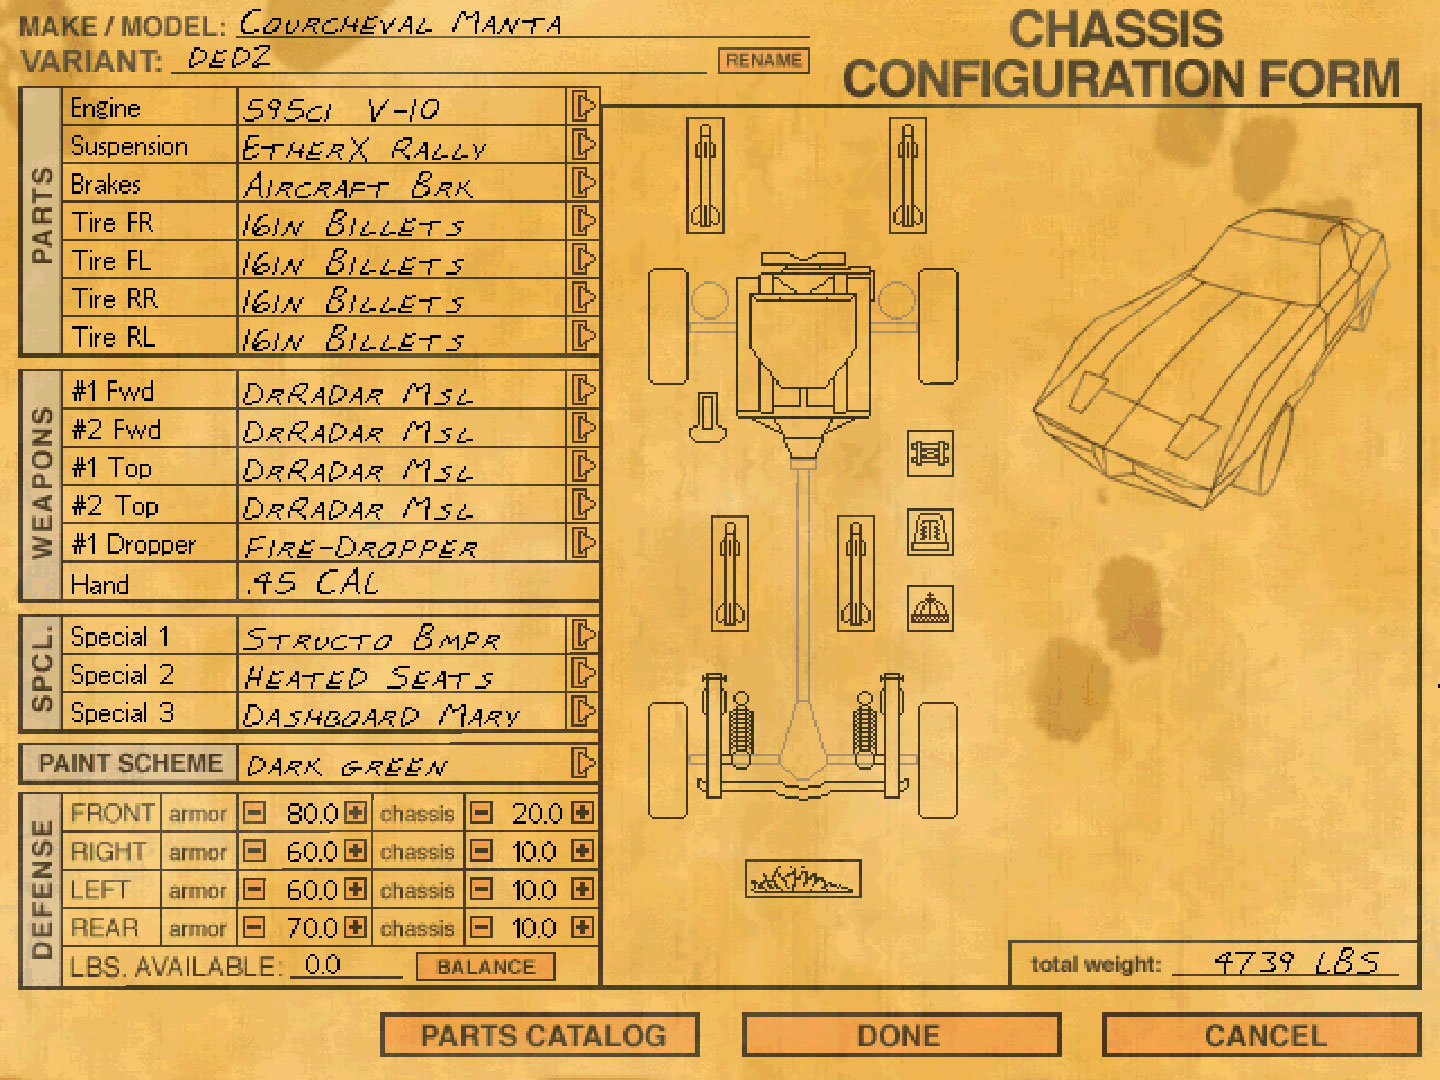
I'll tell ya this: If you're really having a hard time in this game, grab a Manta or a Stag, put 4 Dr. Radars on it, press "L" when you're in the car to link them, then have fun.
Missions are below, first by listed by character and order in mission list. After that, they're listed by game date for those who want to play them in order chronologically. The second list can be sorted by clicking the header. Go on, try it!
| Taurus | Jade | Skeeter | Natty Dread |
|---|---|---|---|
|
A New Hope Bad Fuel Mad Clown Disease Velocity Assassination Two Days Before |
Crimson Piece Be With You Betrayed Break In Stop N Go | Never Get Out Mother Mojo Rising Allies | Nice Try Decoys Shutdown Foxy Cat |
| No. | Title | Date | Character |
|---|---|---|---|
| 02 | Mad Clown Disease | 1974-01-16 | Taurus |
| 00 | Auto-Vigilante 101 | 1974-02-02 | Jade |
| 16 | Foxy Cat | 1974-10-15 | Natty Dread |
| 17 | Velocity | 1974-10-28 | Taurus |
| 05 | Stop 'N' Go | 1974-11-20 | Jade |
| 18 | Break-In | 1974-12-24 | Jade |
| 01 | A New Hope | 1975-03-24 | Taurus |
| 13 | Shutdown | 1975-05-27 | Natty Dread |
| 03 | Bad Fuel | 1975-06-11 | Taurus |
| 11 | Never Get Out | 1975-06-23 | Skeeter |
| 15 | Decoys | 1975-06-30 | Natty Dread |
| 06 | Crimson | 1975-07-03 | Jade |
| 08 | Betrayed | 1975-09-02 | Jade |
| 10 | Mother | 1975-11-07 | Skeeter |
| 14 | Nice Try | 1976-02-03 | Natty Dread |
| 12 | Allies | 1976-03-19 | Skeeter |
| 19 | Assassination | 1976-04-04 | Taurus |
| 09 | Mojo Rising | 1976-04-05 | Skeeter |
| 07 | Piece Be With You | 1976-05-12 | Jade |
| 04 | Two Days Before | 1976-07-01 | Taurus |
Prologue/Training
Prologue: Auto-Vigilante 101
Good 'ol Jade just saved Captain Taurus's life in Nitro Pack's opening scene. Now Taurus returns the favor by showing Jade the ropes of auto-vigilantism.
Objectives:
- Follow the road to the first gate. Get a feel for your beast of a car.
- Race Taurus to the next gate. Get a move on!
- Follow dirt road to next section.
- Take out a few buildings in the fake town. Then continue down the main road.
- Destroy the drone trucks. When you're finished, exit the area by following the paved road to the north.
Walkthrough
Follow the mission directives and don't die!
A little world-building: Taurus mentions that this is where Convoy taught him. Who's Convoy? Why, he's the cowboy-trucker leader of the Vigilantes in the spinoff series Vigilante 8.
Ok, a bit more: First, you gotta drive. Stay on the road, or fall off, whatever. Just don't flip the car and you're good.
After you reach the first gate, Taurus wants to race. Stay on the road, occasionally let off the gas when you turn, and this should be easy.
Another gate and more driving. Surprise: there's a jump at the end. Hit it straight and maybe go just a hair under full throttle and you should nail it.
Reach the ghost town and take a few pot shots into the surrounding buildings. After that, head to the last area, where you target some drones. Take them out, then a gate to the north opens. Follow it and you're free.
Randomly, I had one game where the north gate didn't open for whatever reason. Solution: It's possible to use the dirt road that leads to the gate as a ramp and jump it. Then again, it's a training mission that has absolutely zero repercussions. So... just quit it if you hit a bug or you're bored.
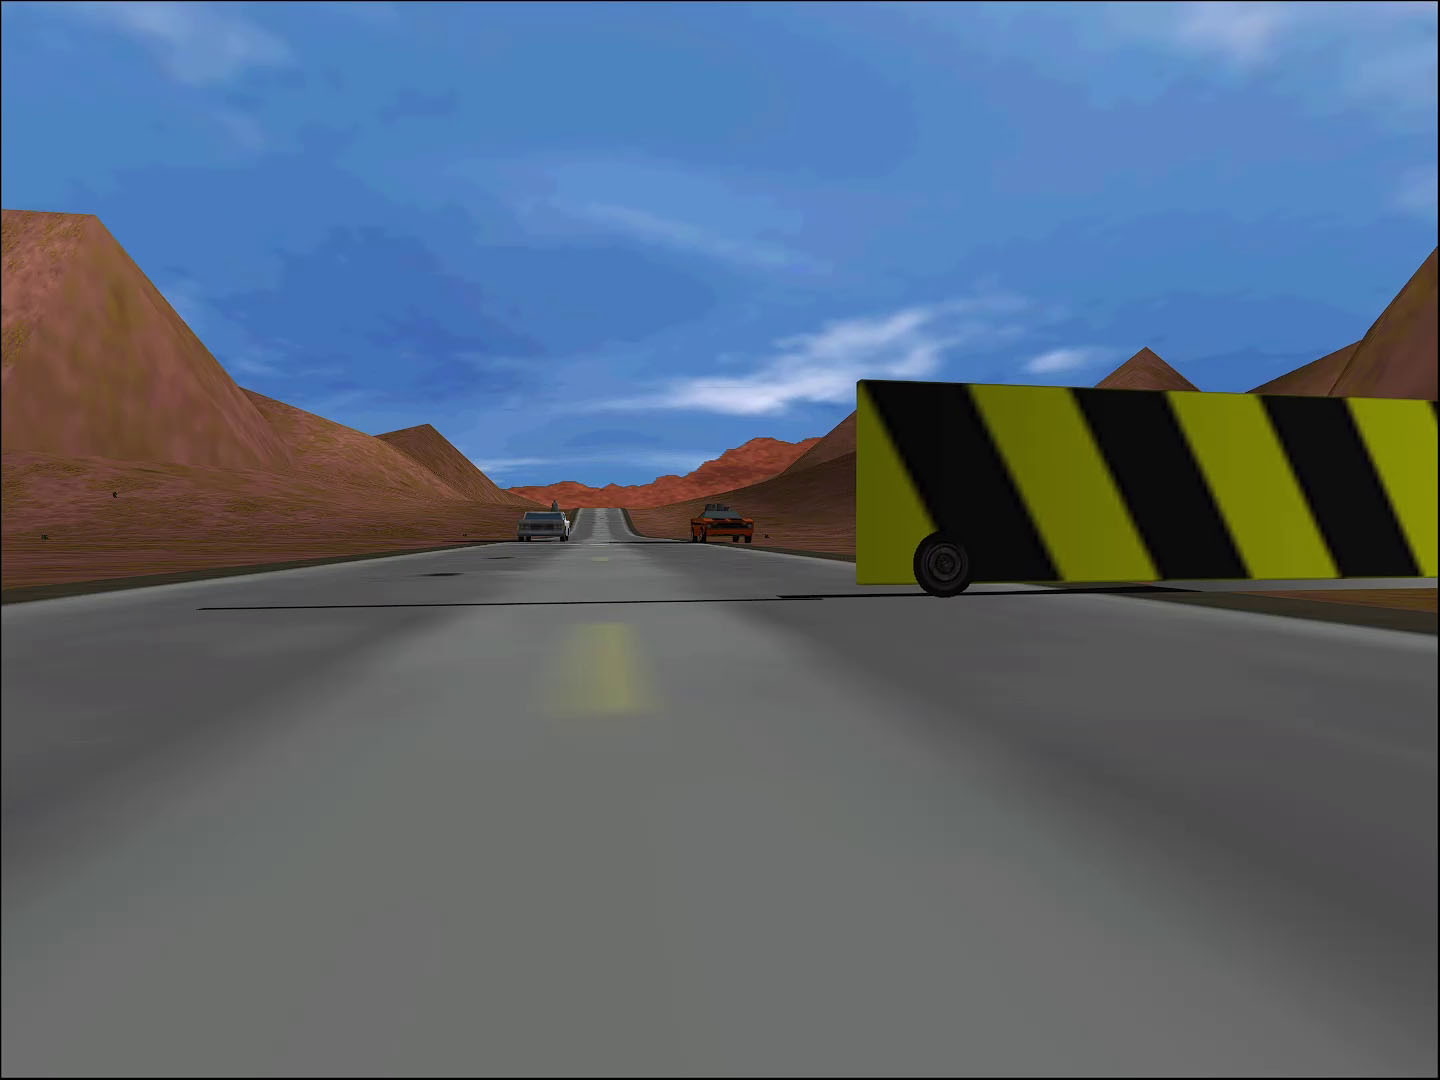
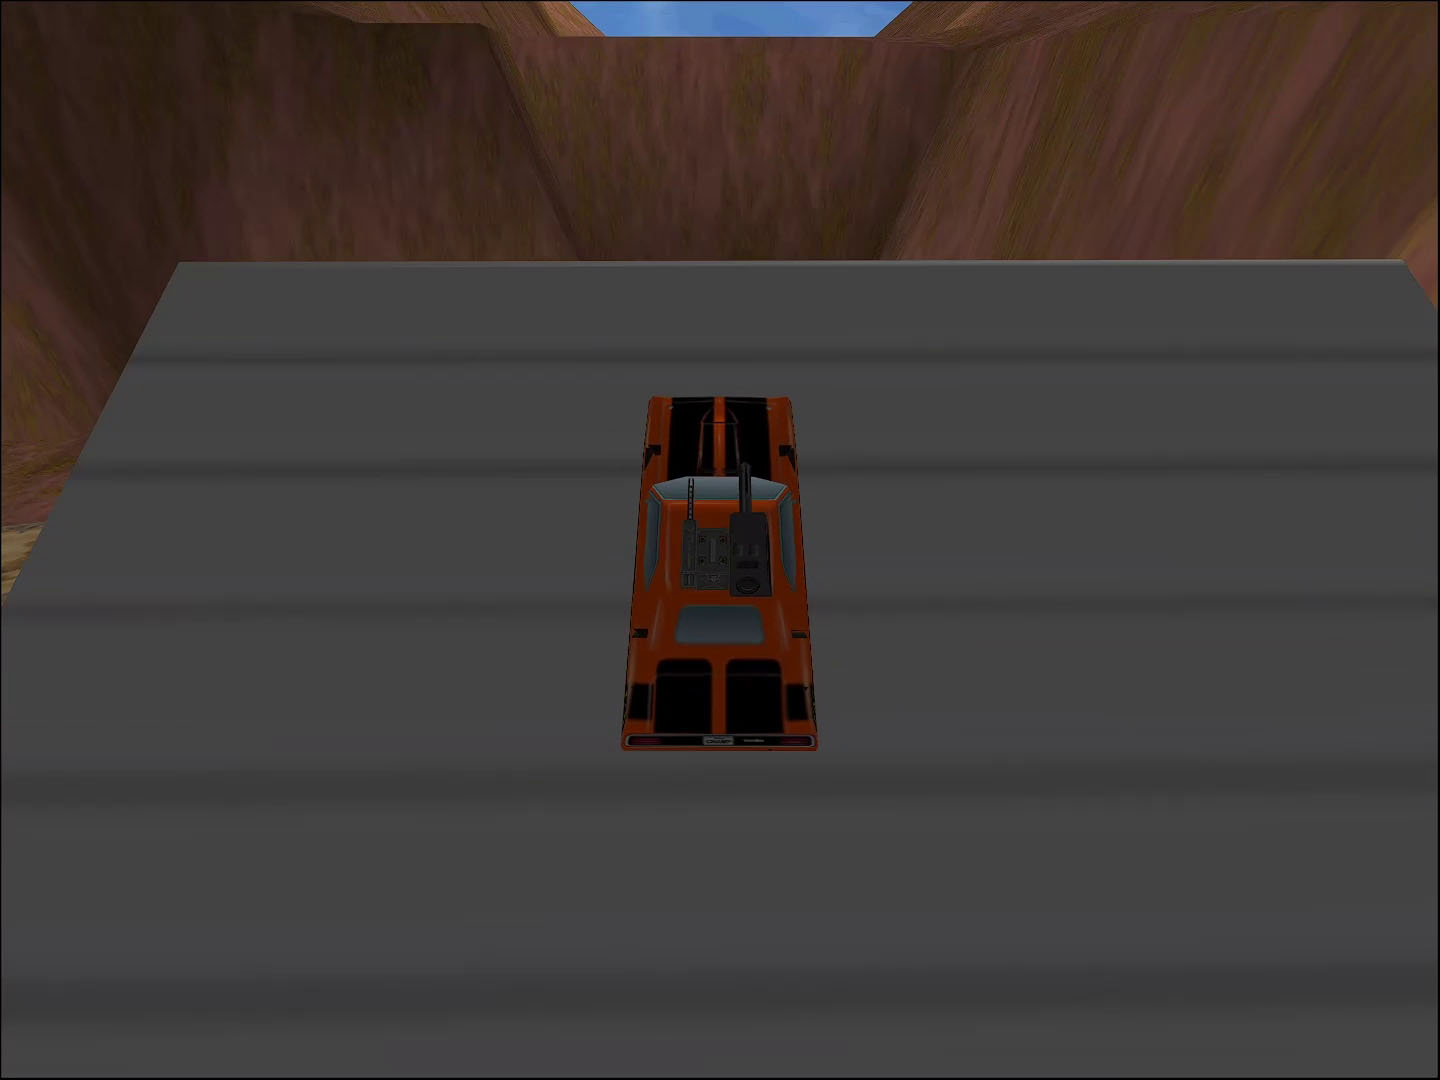
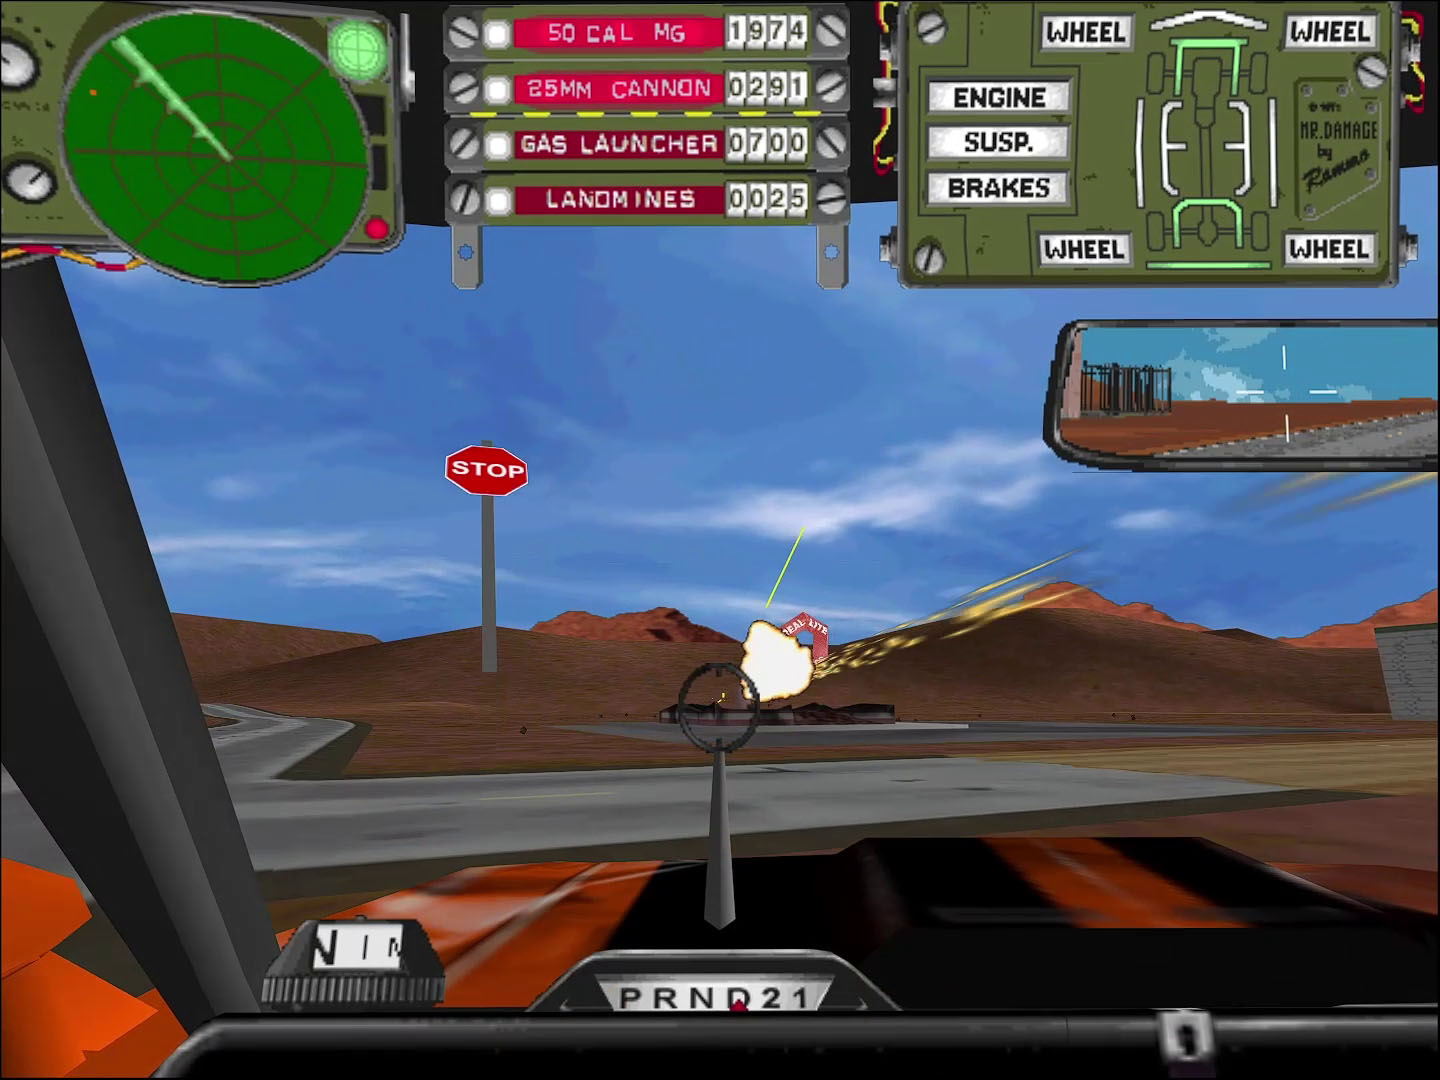
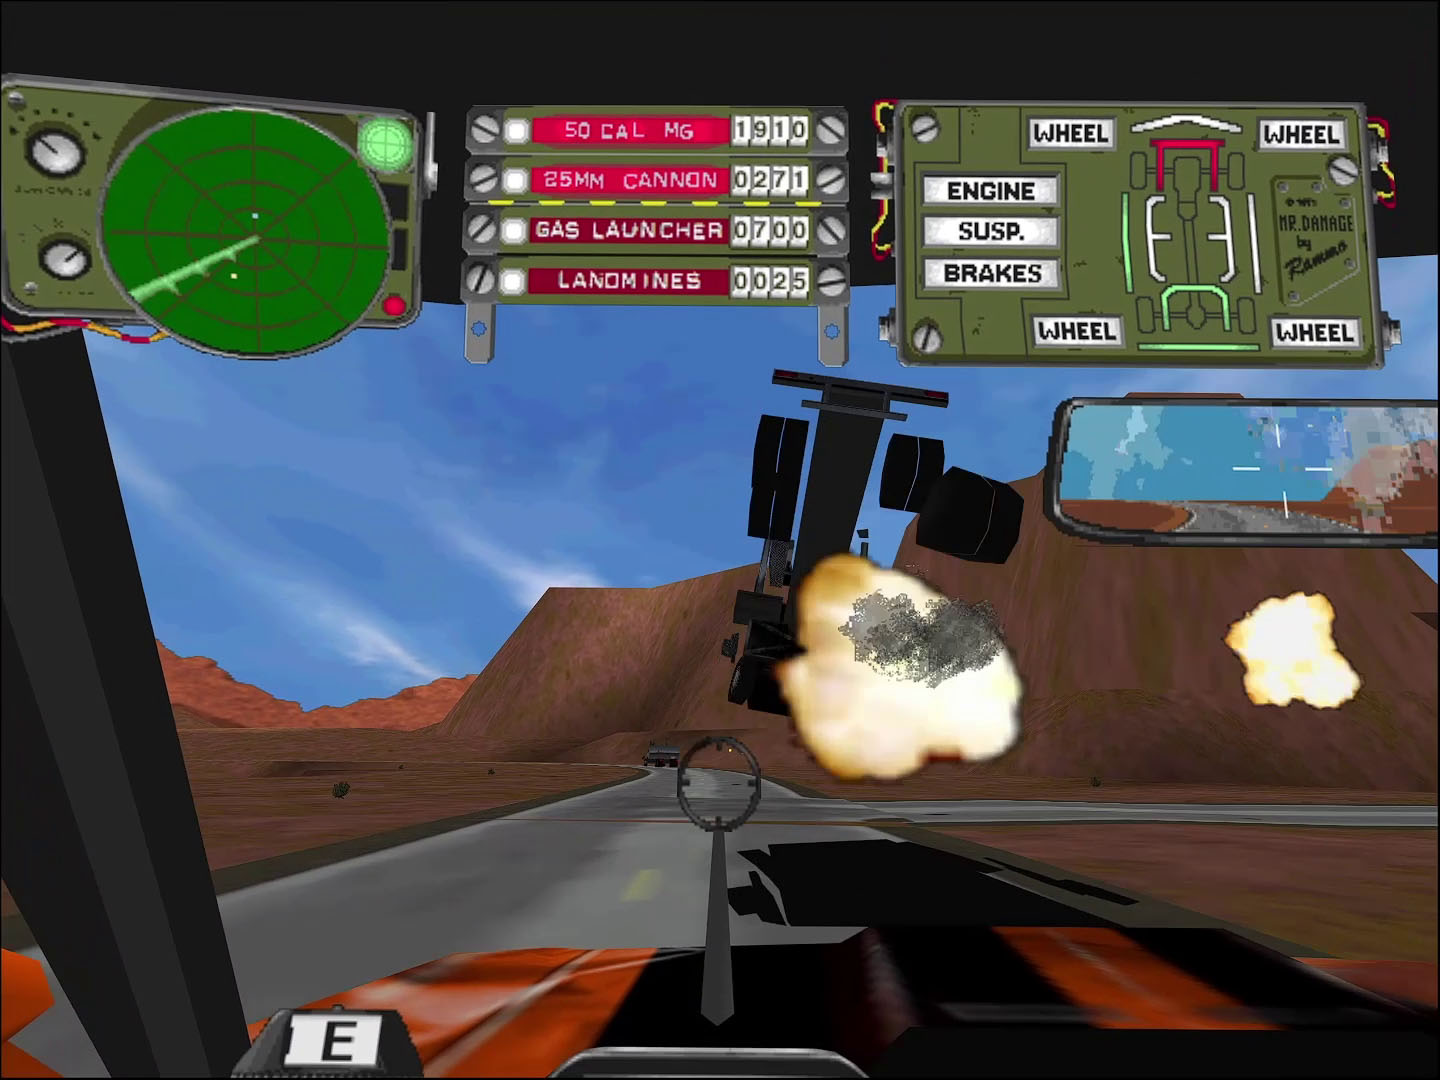
Taurus Walkthrough
Episode 1: A New Hope
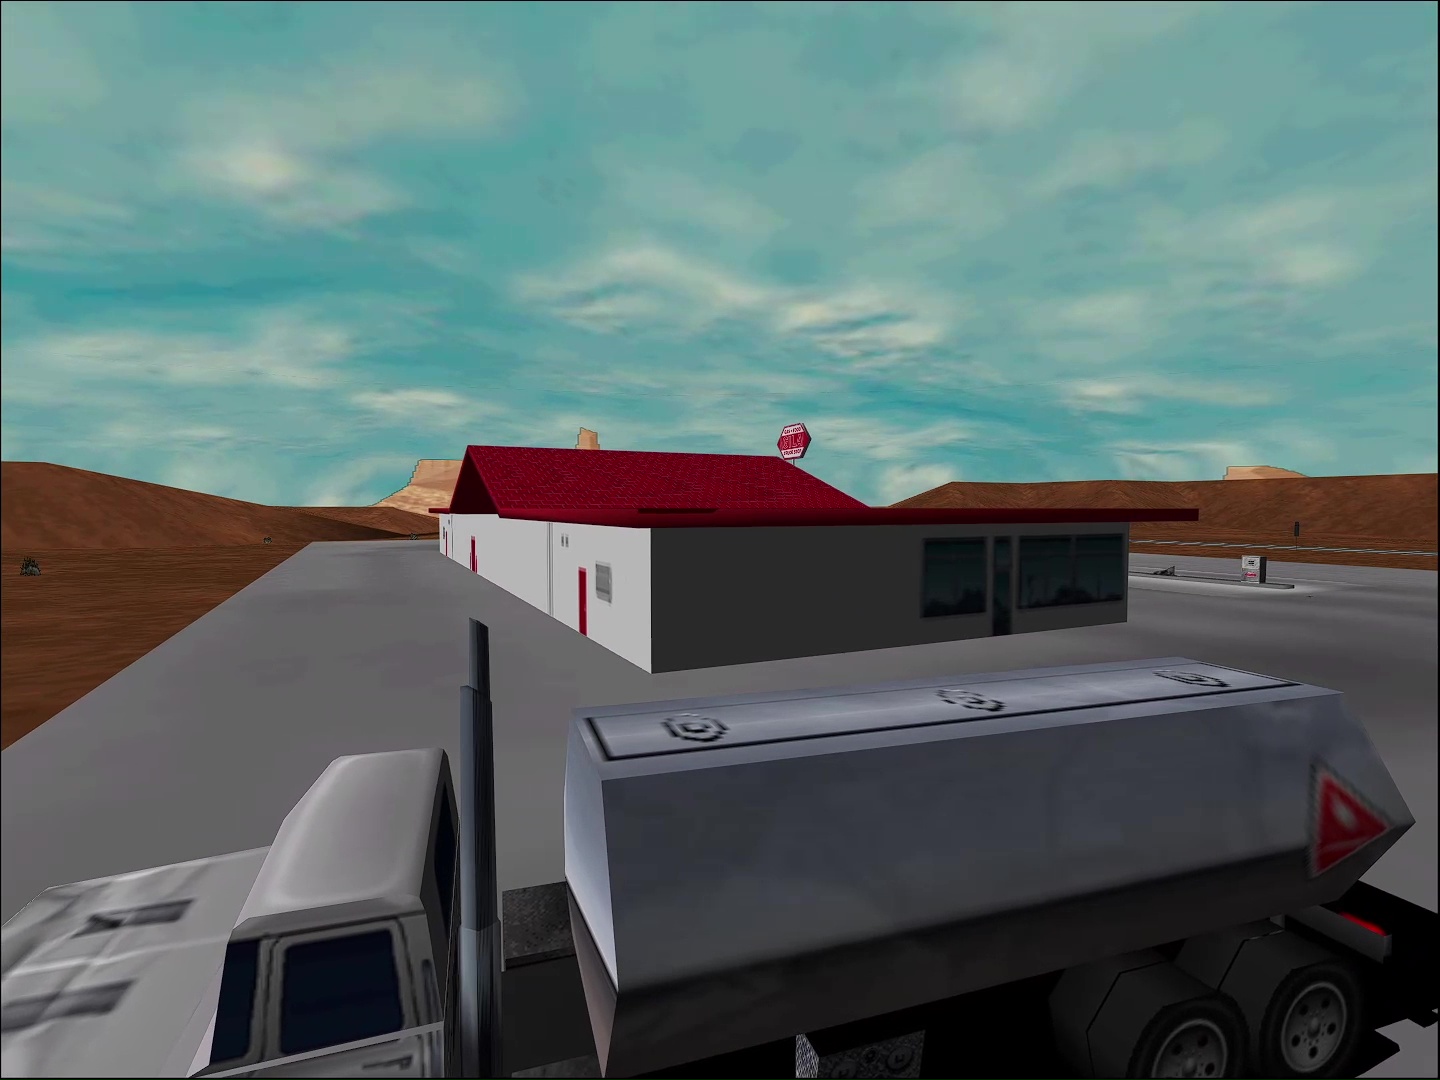
The Magnificent Bastards have been hijacking oil tankers and selling on the black market. Taurus and Jade are here to protect the tankers.
Objectives:
- Protect and escort the tankers to Gila Gas.
- Kill all Bastards!
Walkthrough
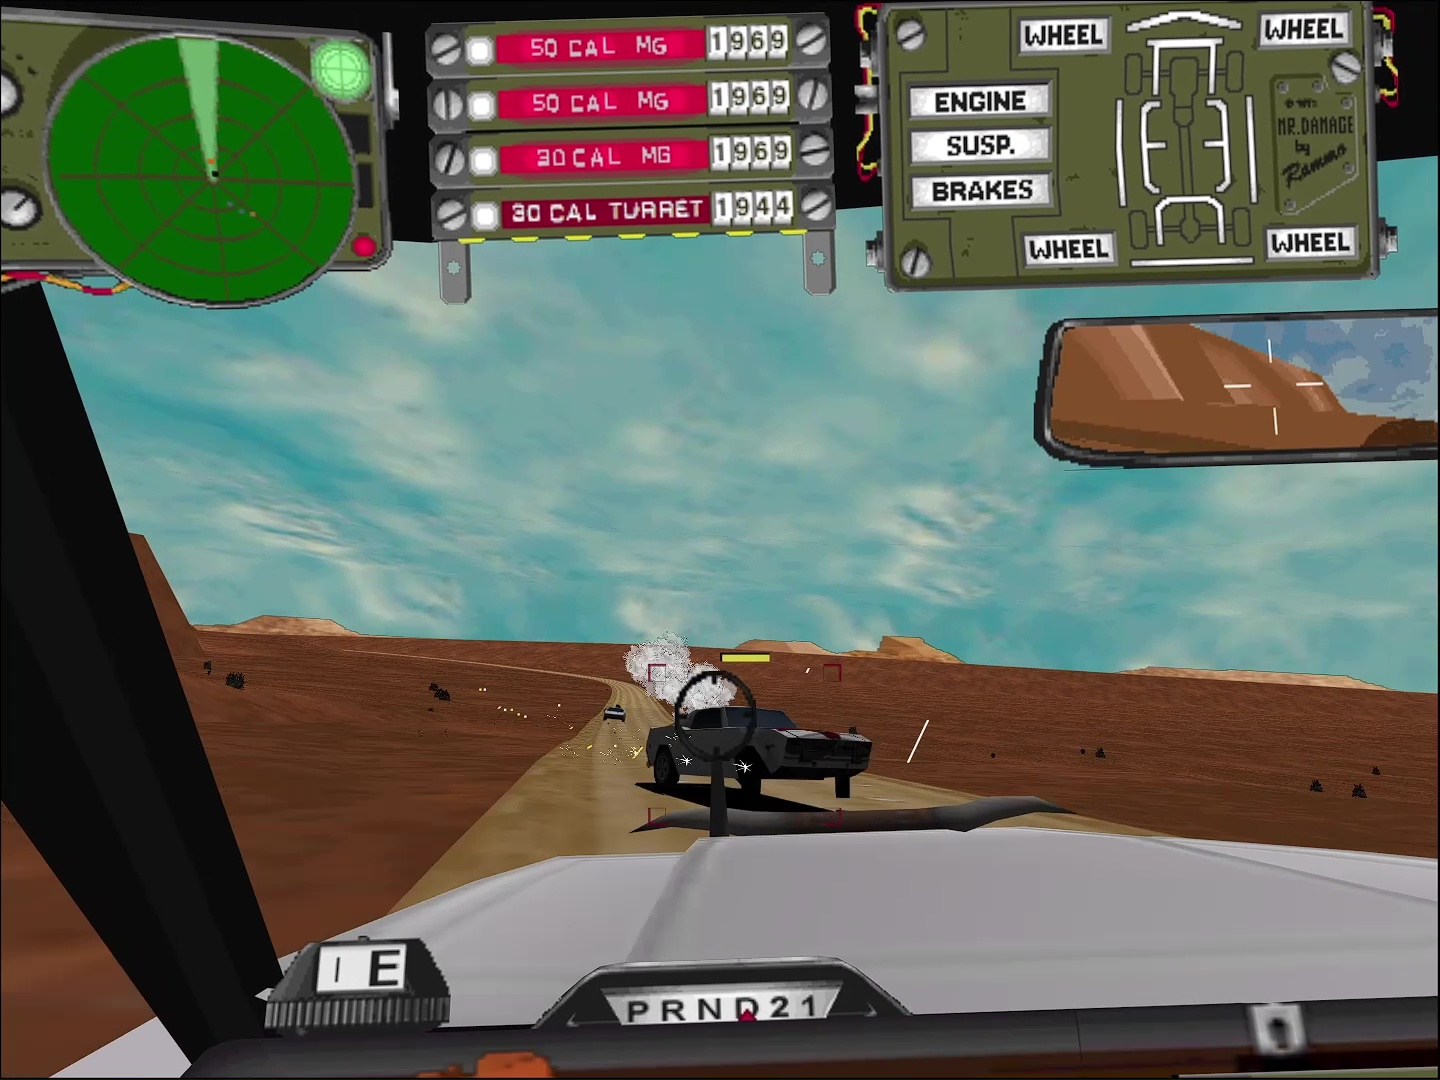
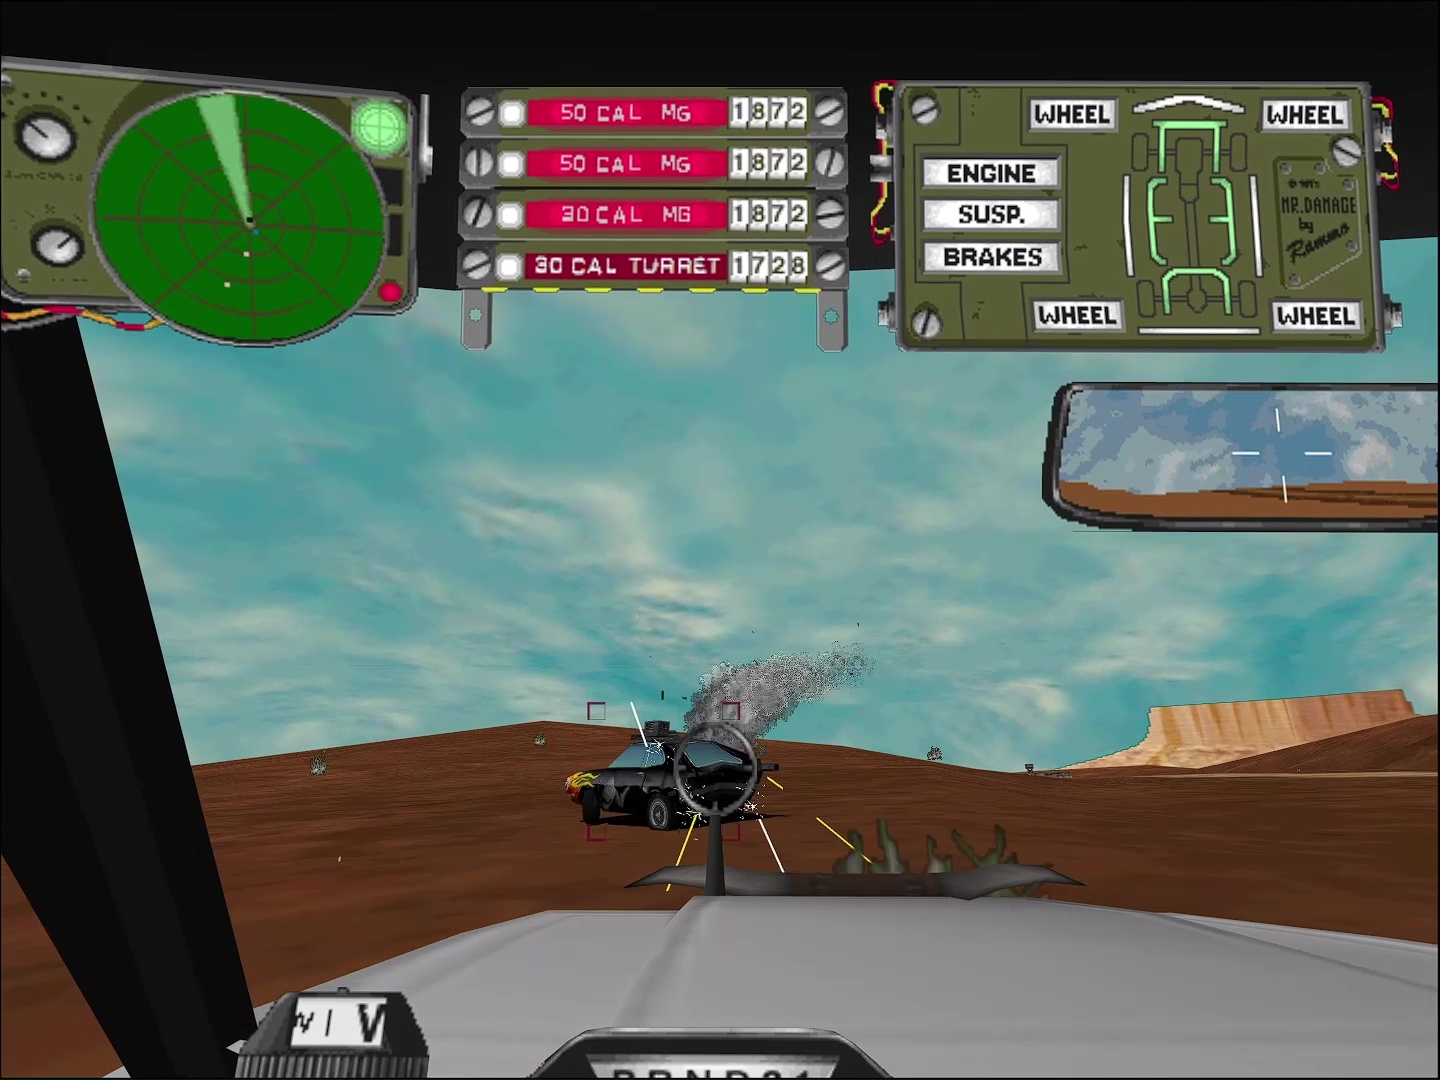
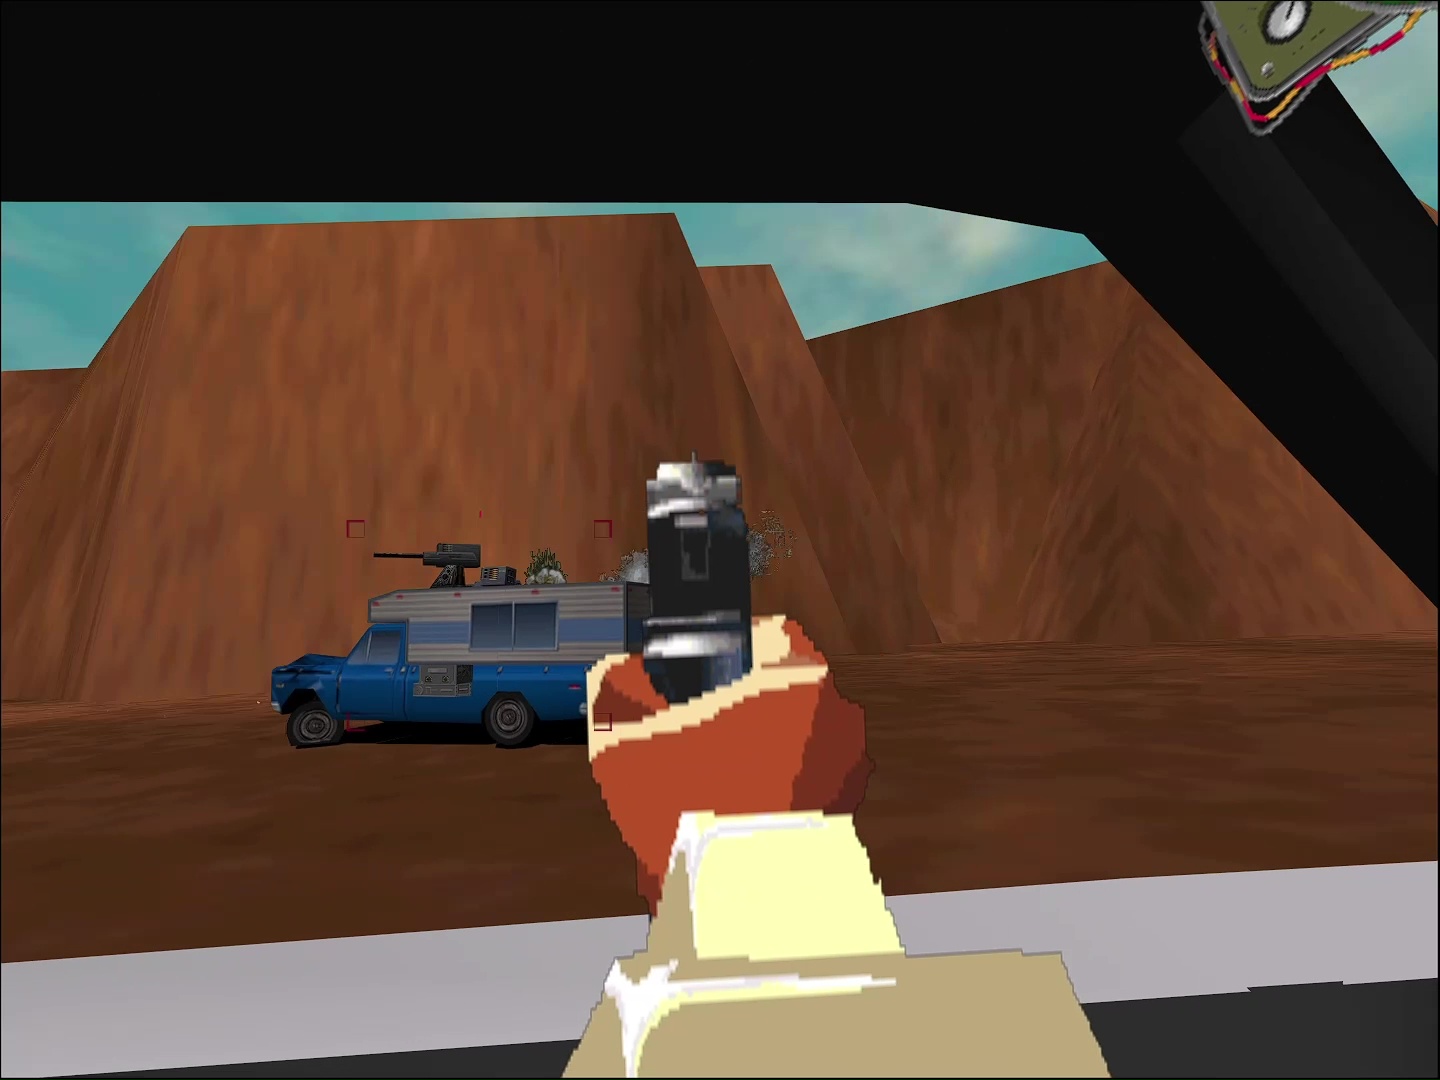
Aah, a defense mission right out of the gate. Fortunately, this one's not bad. Also, the mission name is the same as the famous Star Wars movie, even though that one didn't hit theaters until 1977. (Maybe that's a holdover from when the game was known as Interstate '77?)
You hear that? The Magnificent Bastards? Yes, that's right, that was a real group of online I '76ers. In fact, check out an archive of Magnificent Bastards HQ here.
Run ahead of the trucks — it seems that enemies are triggered by your presence. No creepers show up from behind, so you're free to plow ahead.
Aim well, don't shoot the trucks yourself, and you'll be alright.
There's one intersection in the road. Just keep going straight when you pass it and you're good.
Episode 3: Bad Fuel
Weirdly, episode 3 comes before episode 2 in the game's mission list. There's a hidden oil silo around, but no way to transport the lucrative black gold back. Can't let the baddies have it, so find it and blow it up.
Objectives:
- Find and destroy the fuel dump.
- Take out all creepers. Don't let anyone escape!
Walkthrough
Stay on the road. Pass Radiator Mother as you'll definitely outrun him. (Continuity note: In the original I '76 instruction manual, Radiator Mother is listed as a member of the AVG.)
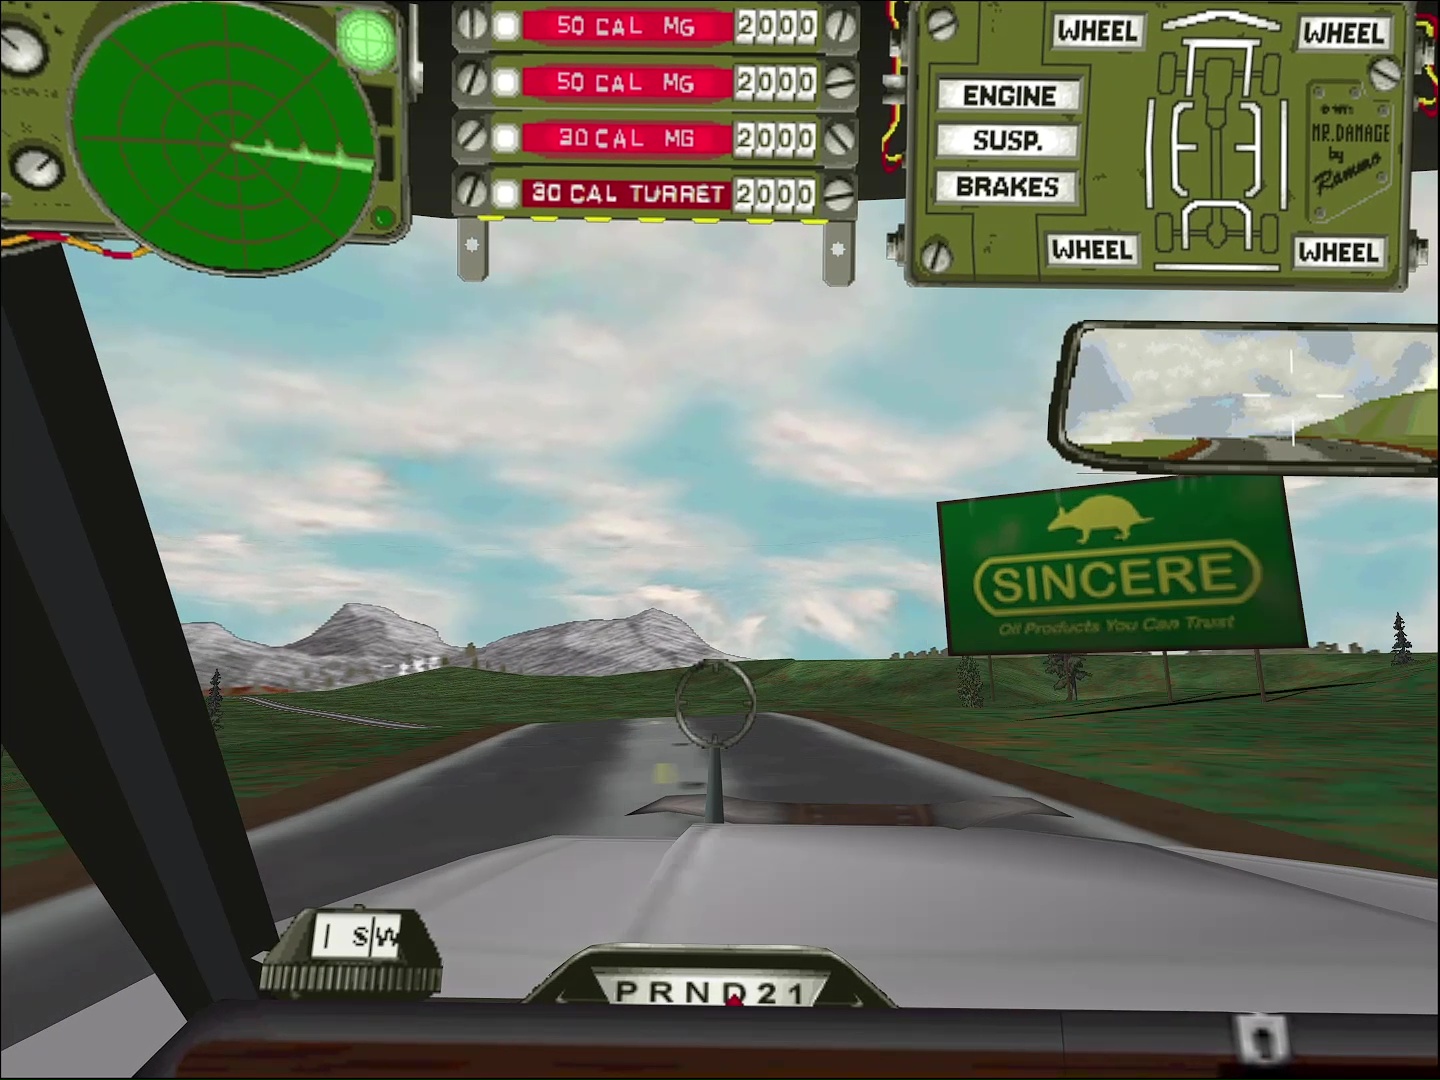
When you see a Sincere Oil sign, head left to take the dirt road.
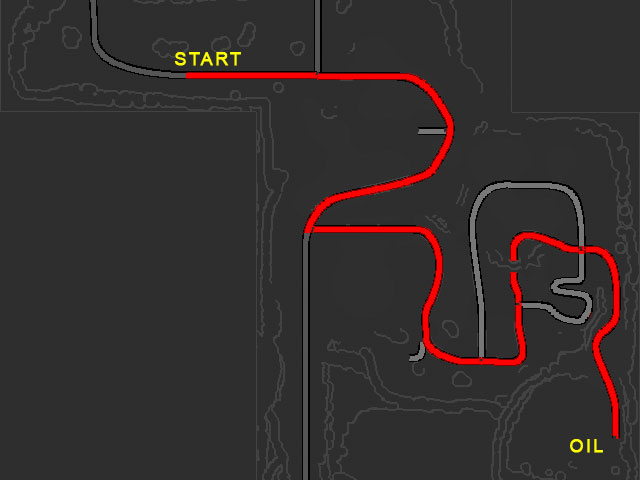
Follow the dirt road. There are a couple of alternate paths, but avoid any turns and you'll eventually find the oil. Be careful, there's a hidden jump. So, keep your speed up. Check the map here in the walkthrough to see it.
(Want to maps like this for every level of the game? Head to the Nitro Pack Downloads section at Local Ditch Gaming.)
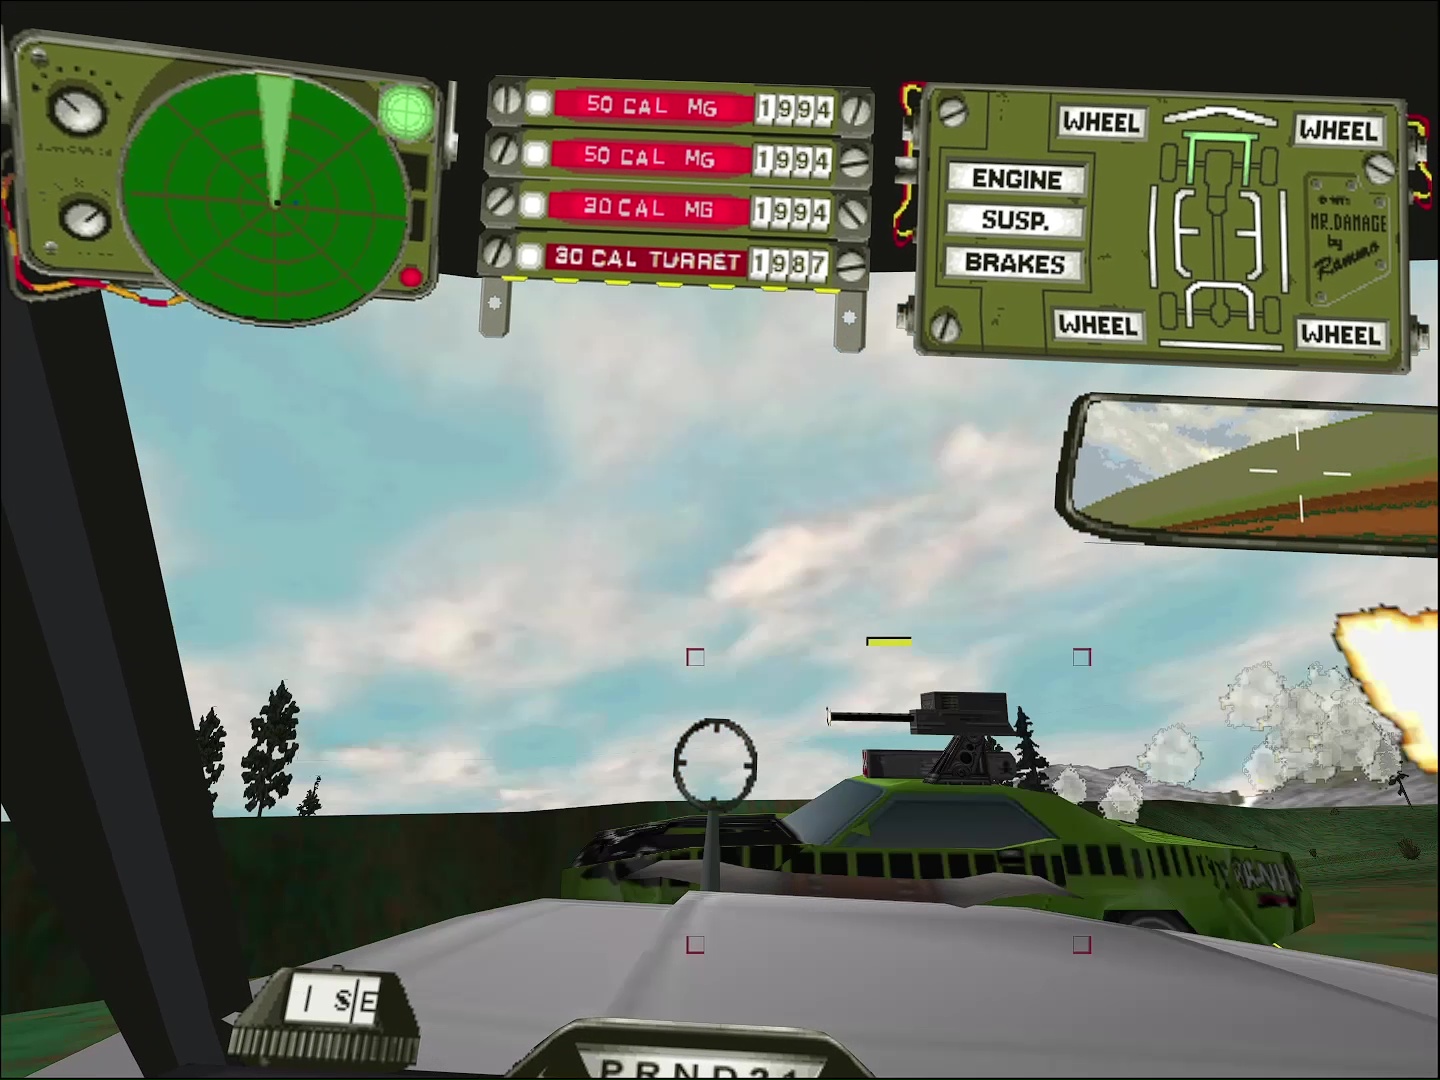
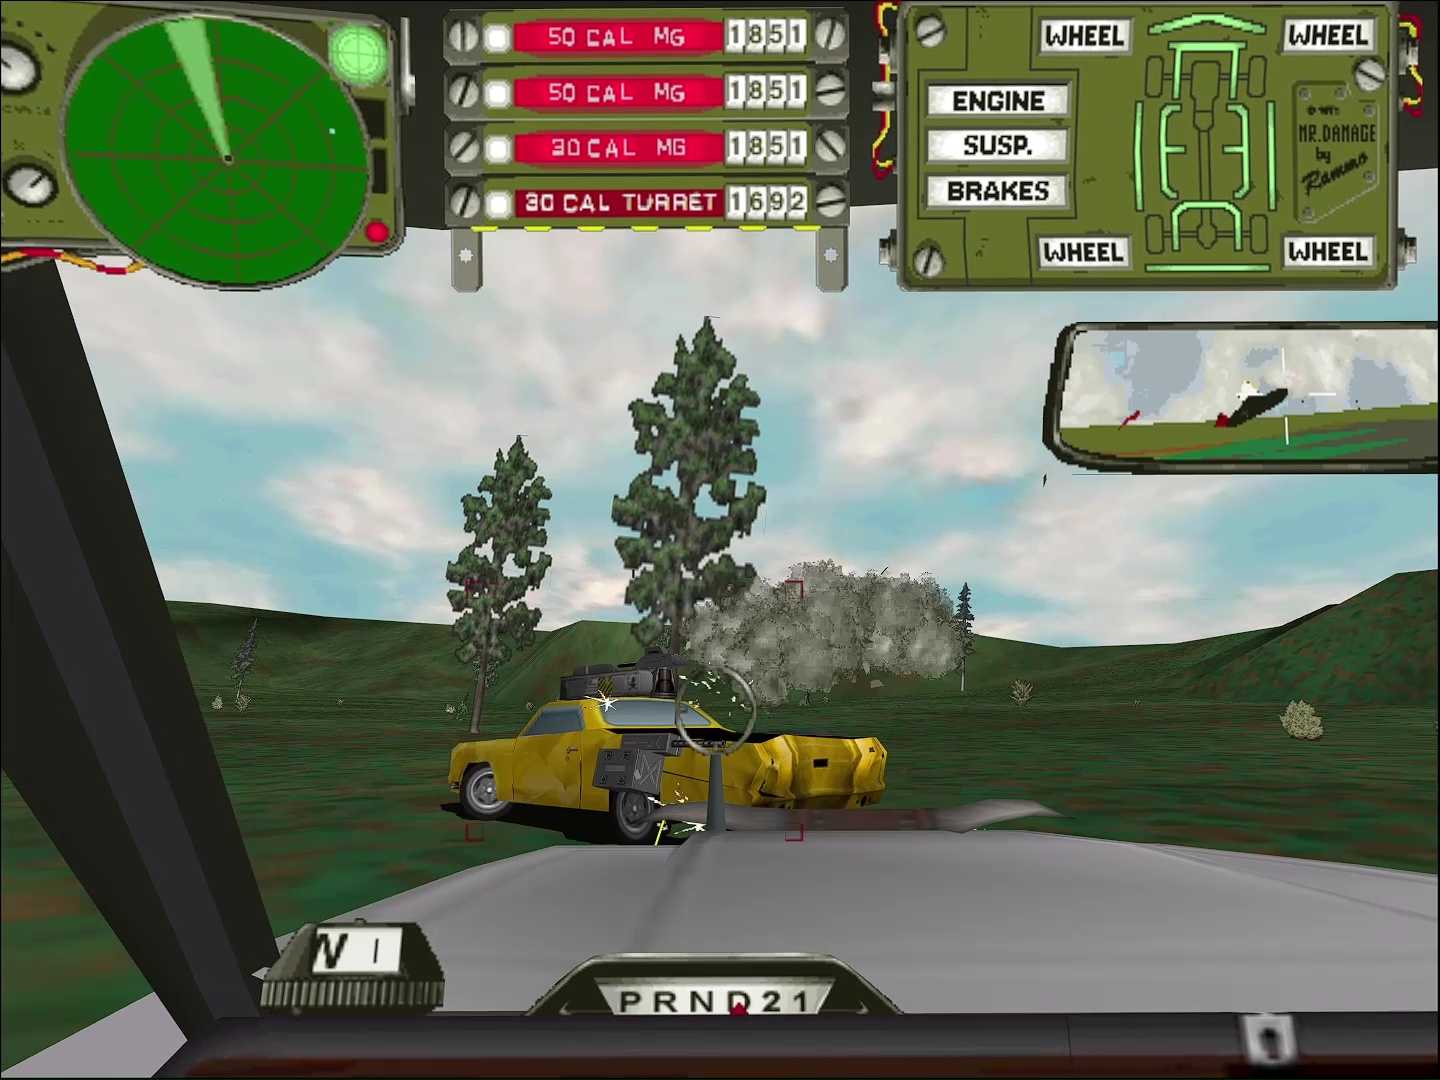
When you get close, a couple of creepers show up. Waste'em.
Once you arrive at the oil field, there's another three. Listen to that CB, "Crazy Cooter, this is Debacle..." Is it that Debacle, the prolific I '76 map maker? Probably so. Blow'em up anyway and destroy the oil. Get all six reservoirs and the mission's over.
Episode 2: Mad Clown Disease
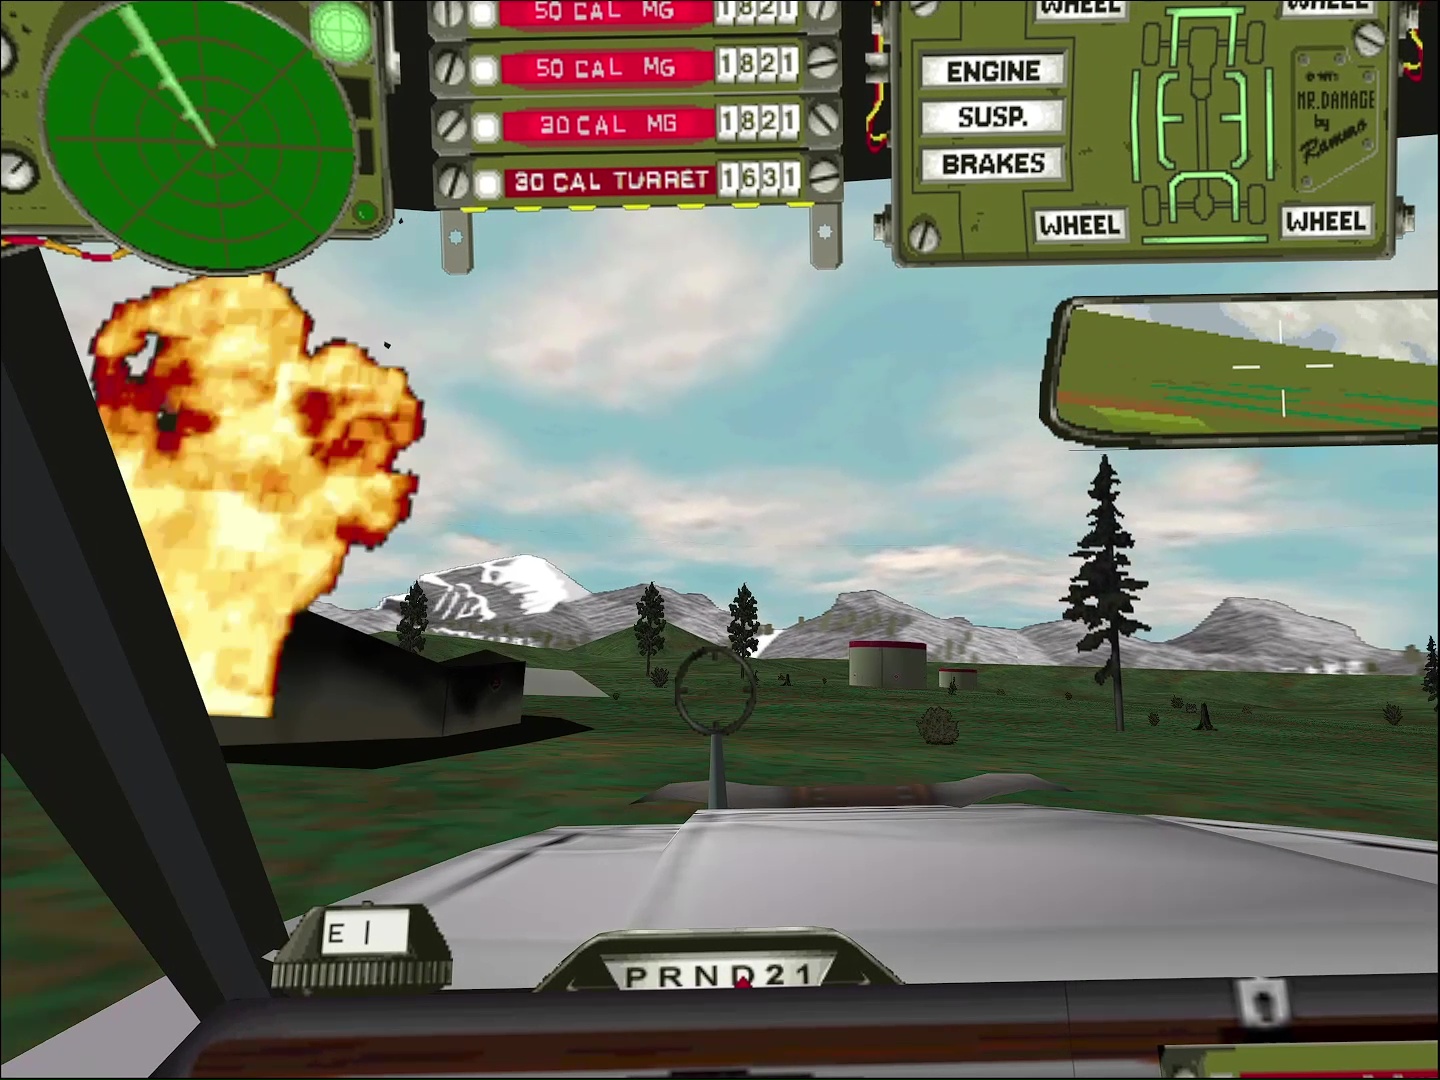
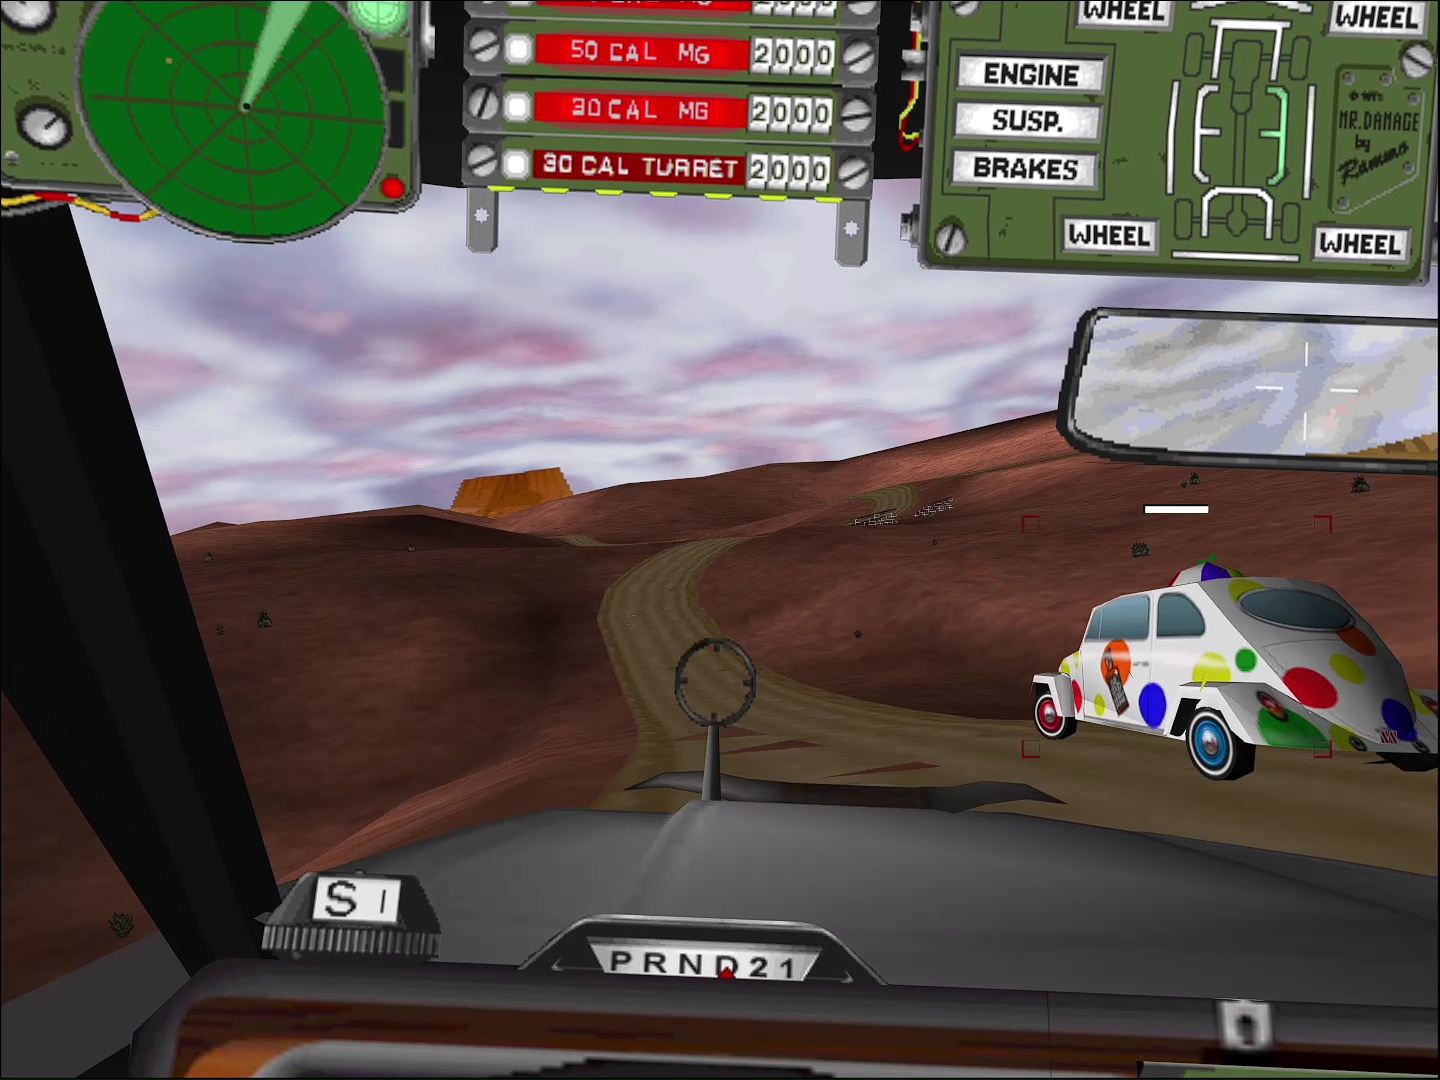
Drinky the Clown is not only a stunt-drivin' Volkea master, he's also a grade-A shit talker and weapons smuggler. Taurus needs some 50cals and Drinky's got'em. The only problem? Lose a race with this clown and Eloise is his.
Objectives:
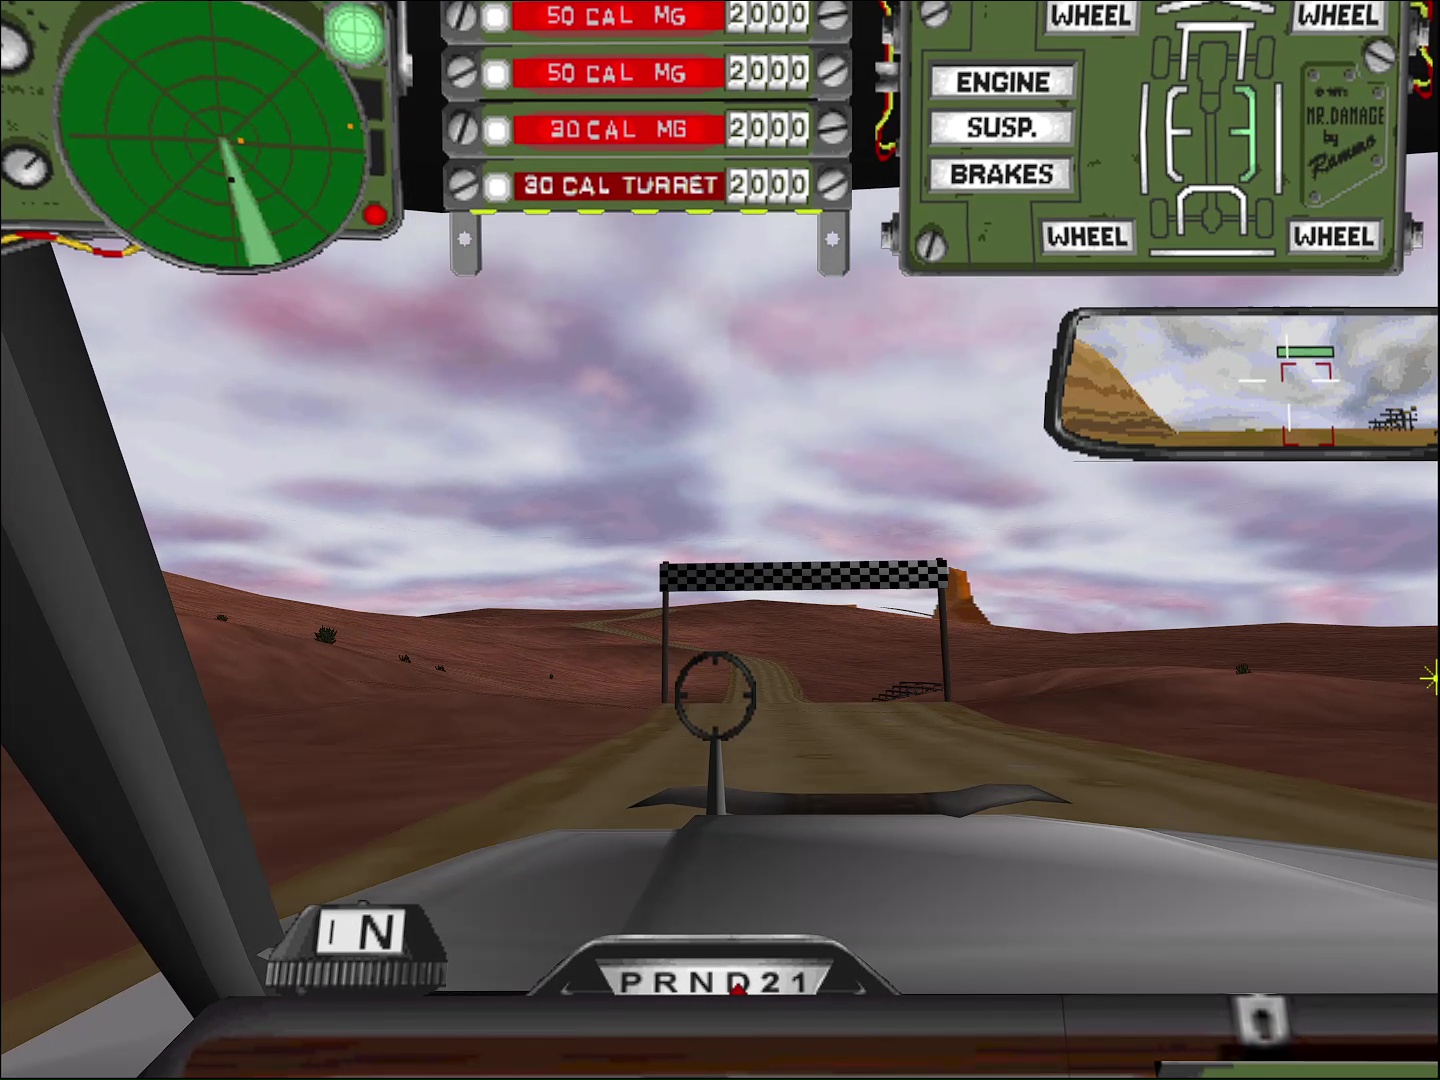
- Beat Drinky in 4 laps!
- Drinky's backing out on the deal. Stop him... but don't kill him!
Walkthrough
Wanna make this easy? Build a car for racing, but don't neglect weapons — you'll need'em at the end.
Can you do it with Eloise? Absolutely. The plan: Use your brakes and use the the third person view. Do that and you'll be A-okay.
Right out of the gate, Drinky's fast. Don't worry, you'll catch up. A nice bonus is that you can watch Drinky handle the upcoming curves. The key here is to not make any major mistakes. Press F2 to jump into the third-person view; it'll help you see around corners. When you see a sharp turn, hit those brakes! Nitrous isn't needed here, but could be handy towards the end. Probably goes without saying, but... DON'T SHOOT DRINKY. Yeah, he's annoying and all, but the mission'll end if you give him more than an accidental bullet.
See that set of bleachers midway through? Looks like it'd be a good shortcut, right? Don't take it — your lap won't count if you do.
If you're really having a bad time with Drinky, you can use a plethora of non-projecile weapons. Oils slicks, caltrops, firedroppers, and flamethrowers will all damage and disrupt him without killing him. You can bump him off the track at key points and spin him out, too.
When you approach the finish line for the last lap, keep Drinky in your targets. Don't let him get toooo far away. You still want a decent lead so that the game registers that you win, though. Too far out, and he's likely to give you some trouble.
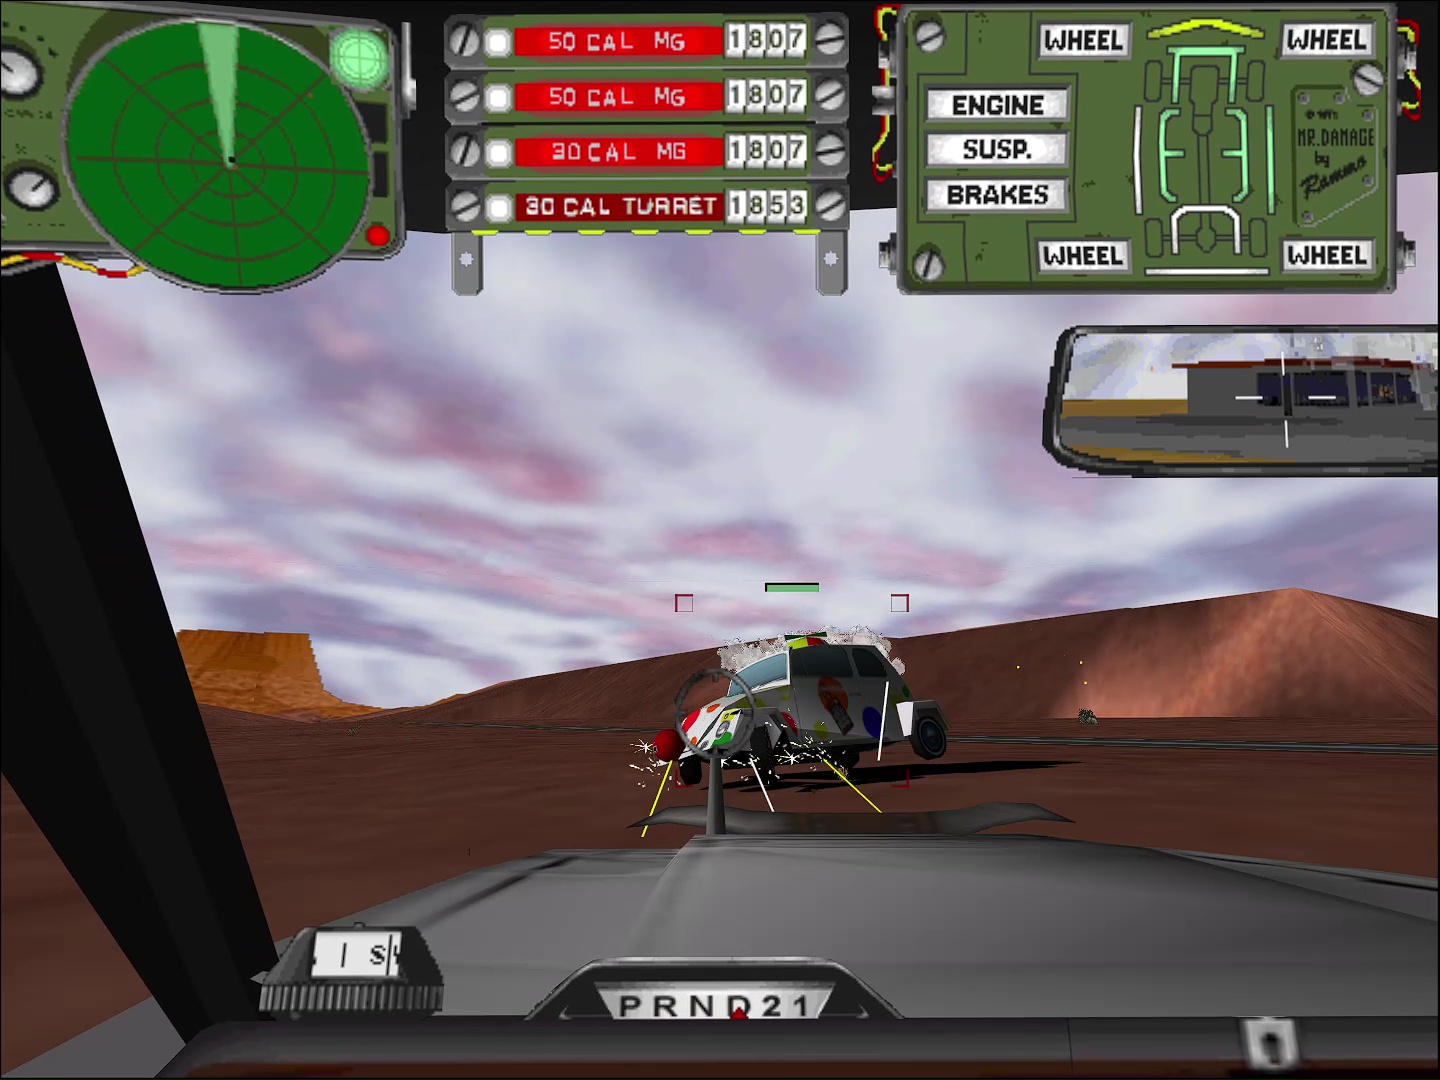
Once you win, Drinky makes a run for it. Now's your chance: Unload all the lead you can at this sucker. He's packing a Forget-U-Not, so he brings a little heat. Damage Drinky sufficiently (red, not dead) to finally shut him the hell up.
Episode 17: Velocity
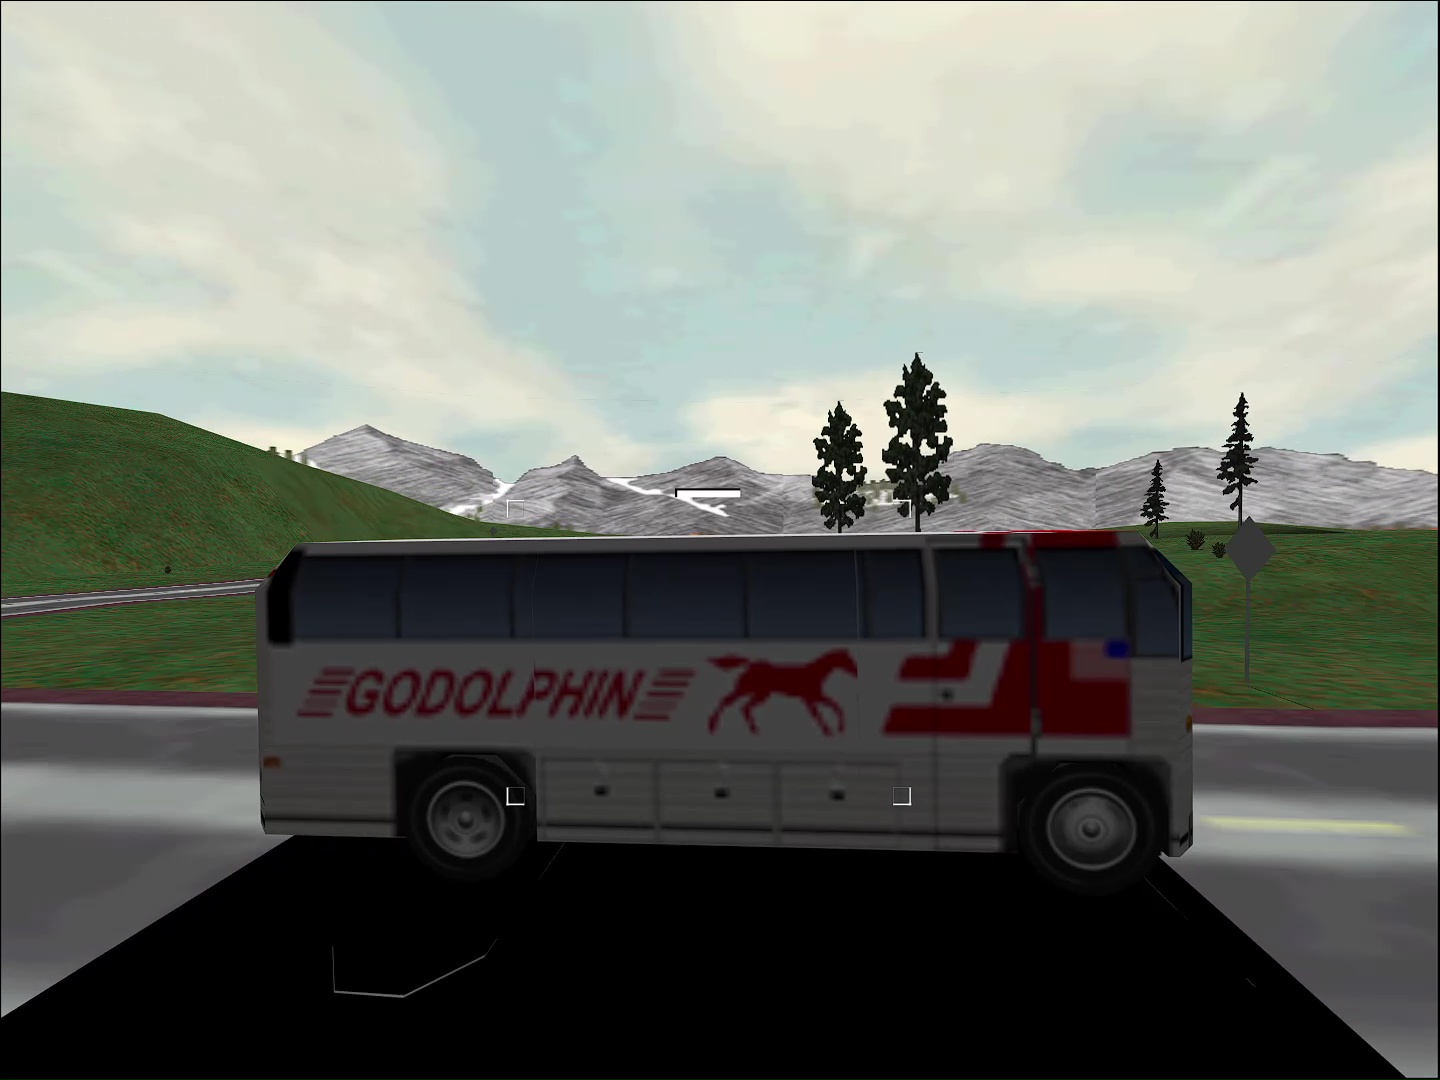
Whirlwind has put a bomb on a bus. If it goes over 55mph... BOOM! Hey, that sounds just like Speed. Except there's no Keanu Reeves. Or Sandra Bullock. Oh, and this one's in the '70s.
Objectives:
- Find the bus and disable it using your car. Remember: No weapons!
- Find Whirlwind and wipe him out!
Walkthrough
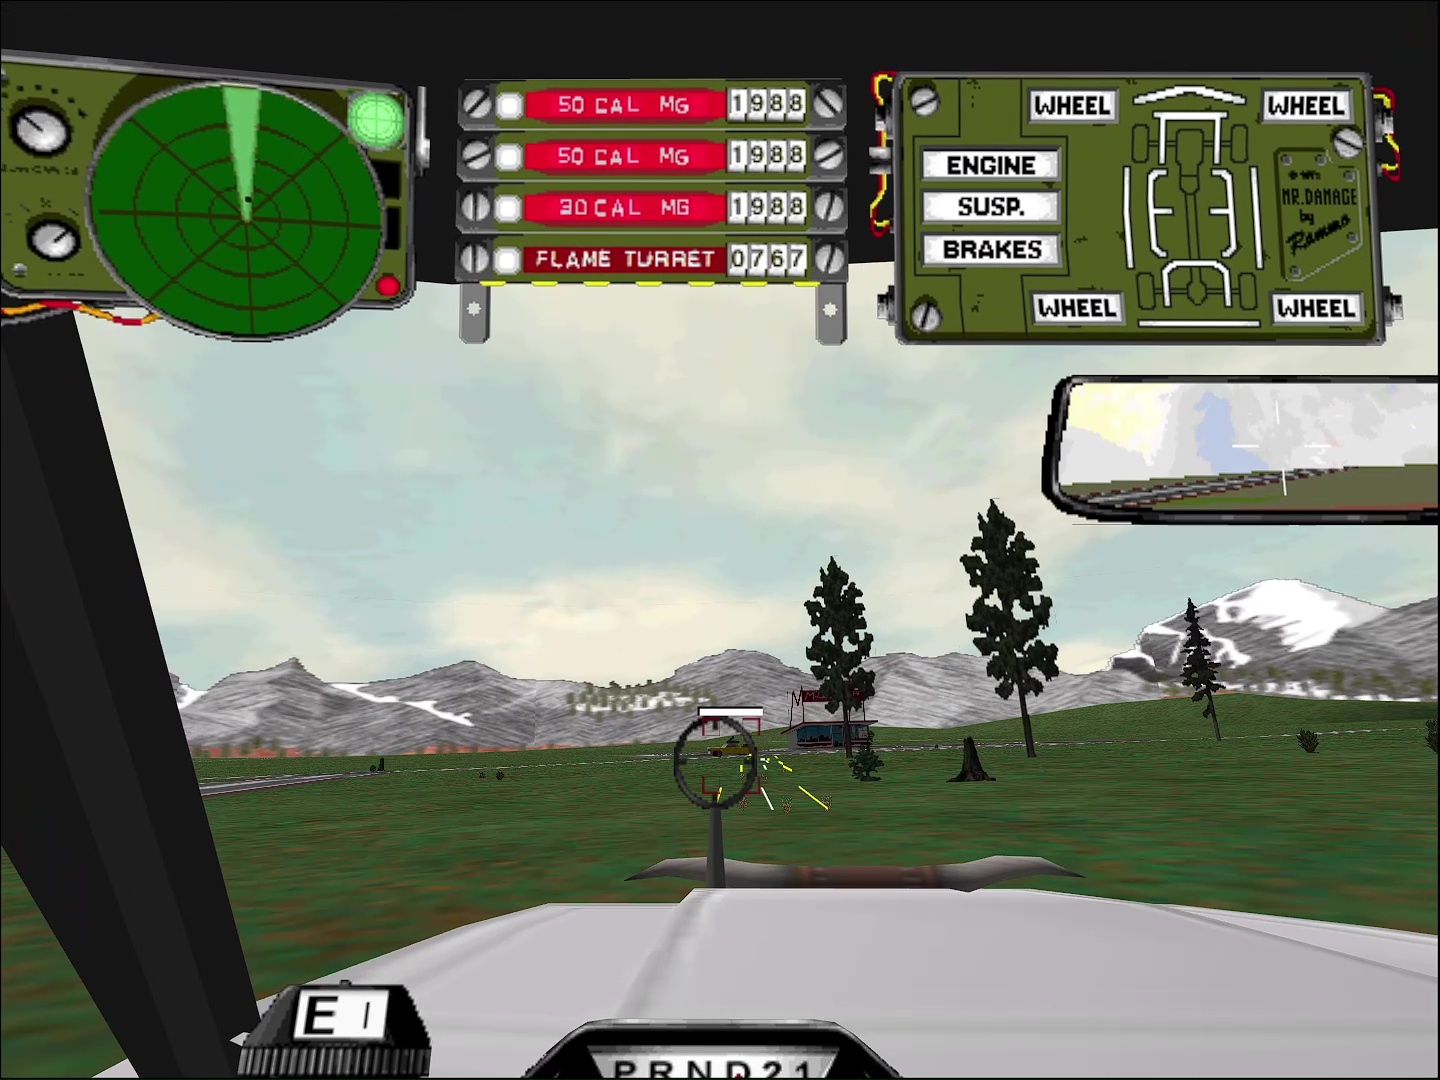
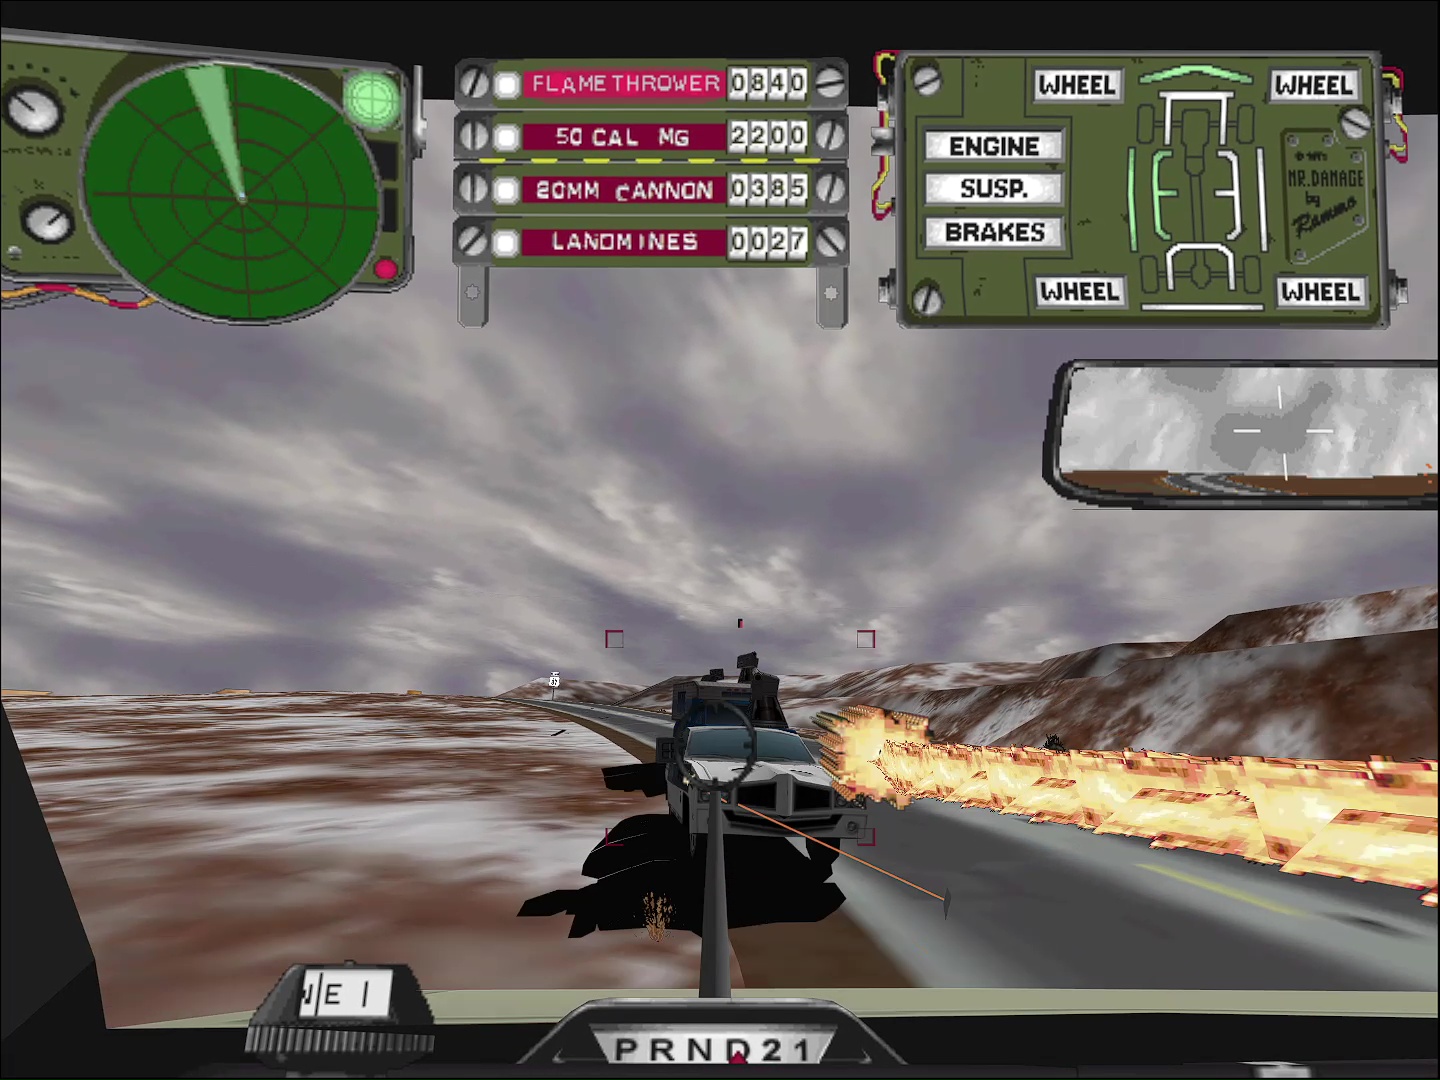
Short version: Use a flamethrower. Having issues with flamethrowers? They aren't shooting past the front of your car? You'll need to adjust your frame rate to about 30fps or less. Check the Install Guide and FAQ for fixes!
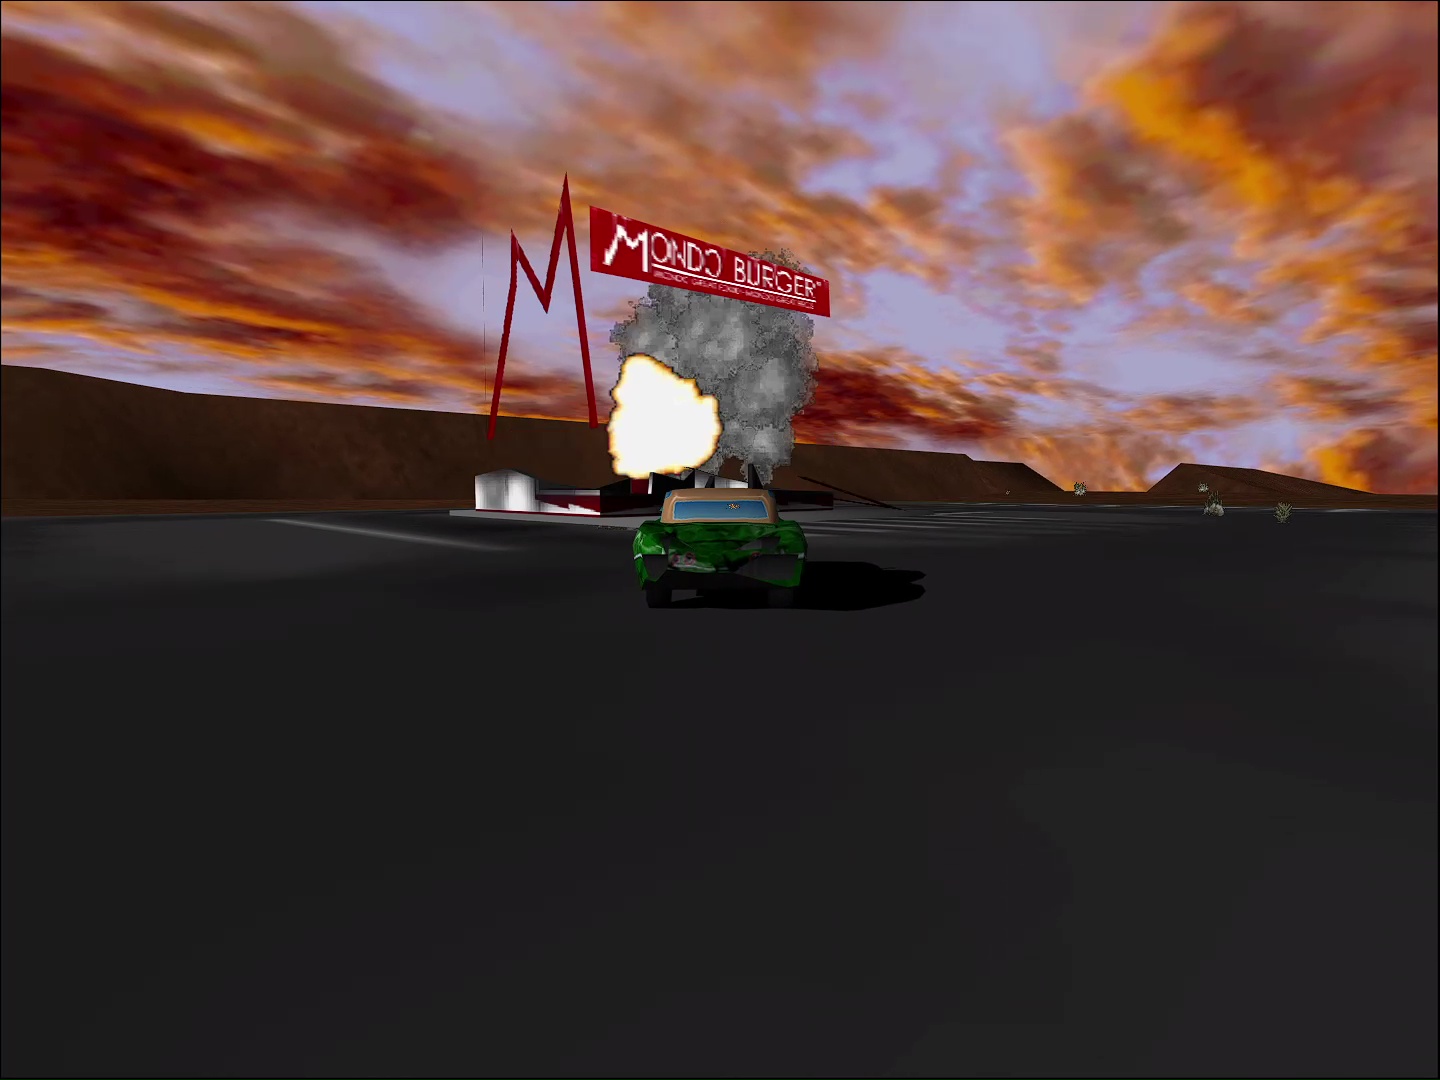
You start off at the Mondo Burger. Even a vigilante can't resist the delicious taste of not-McDonald's!
Hang an immediate right, then a left to head west. You should very soon encounter a bus. The bus.
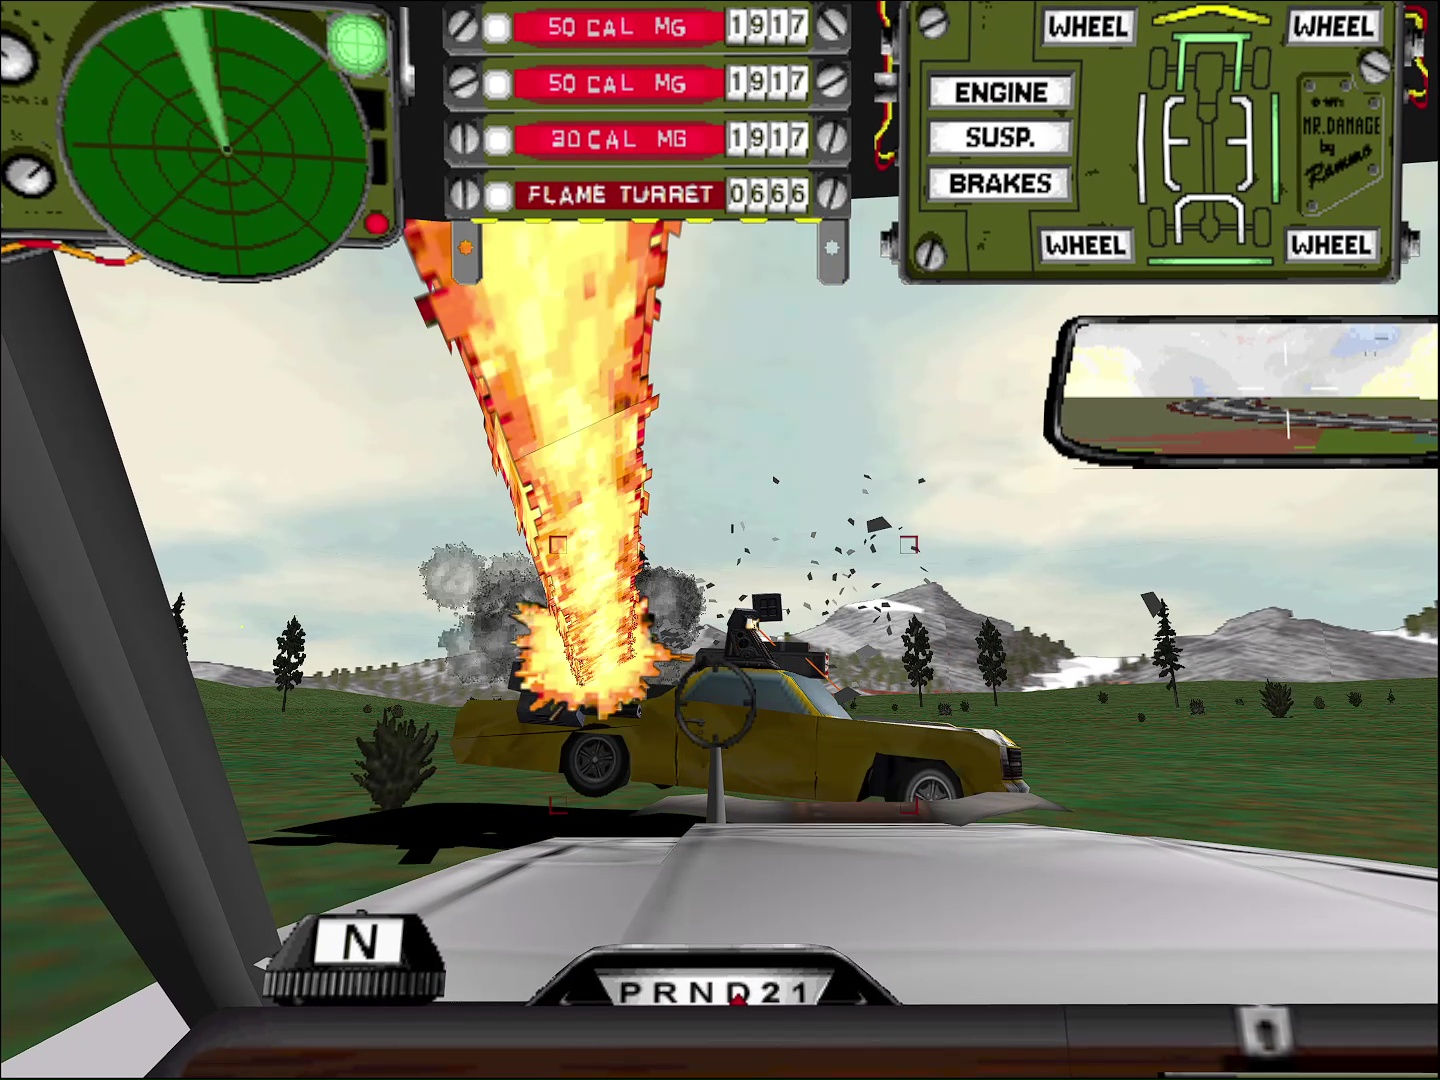
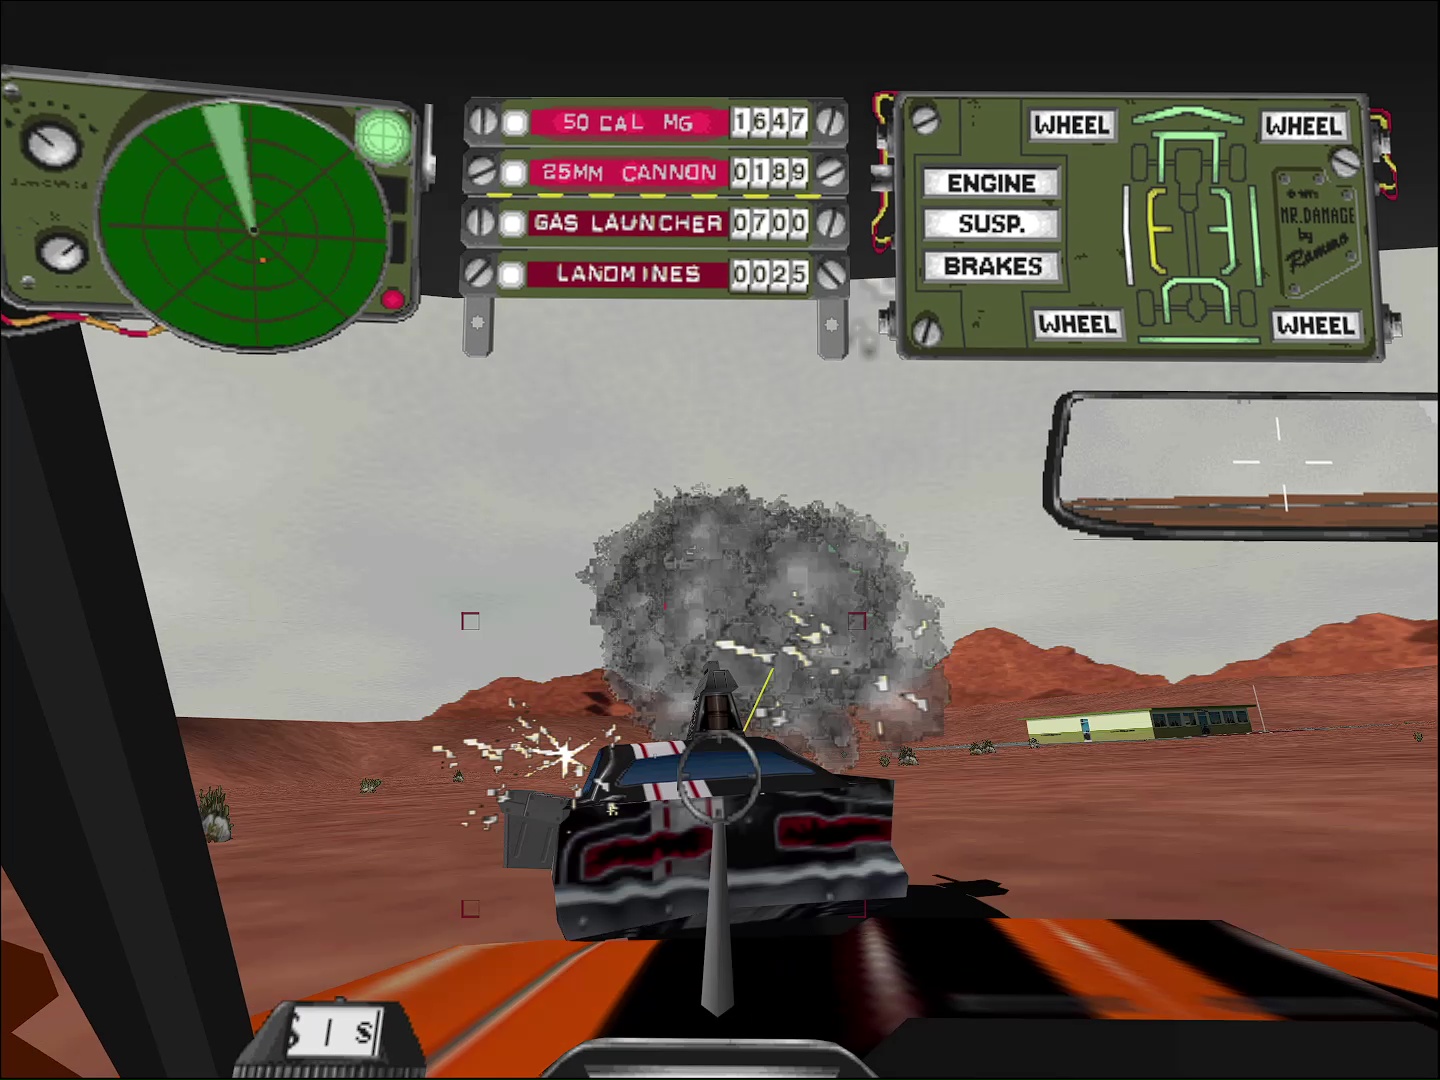
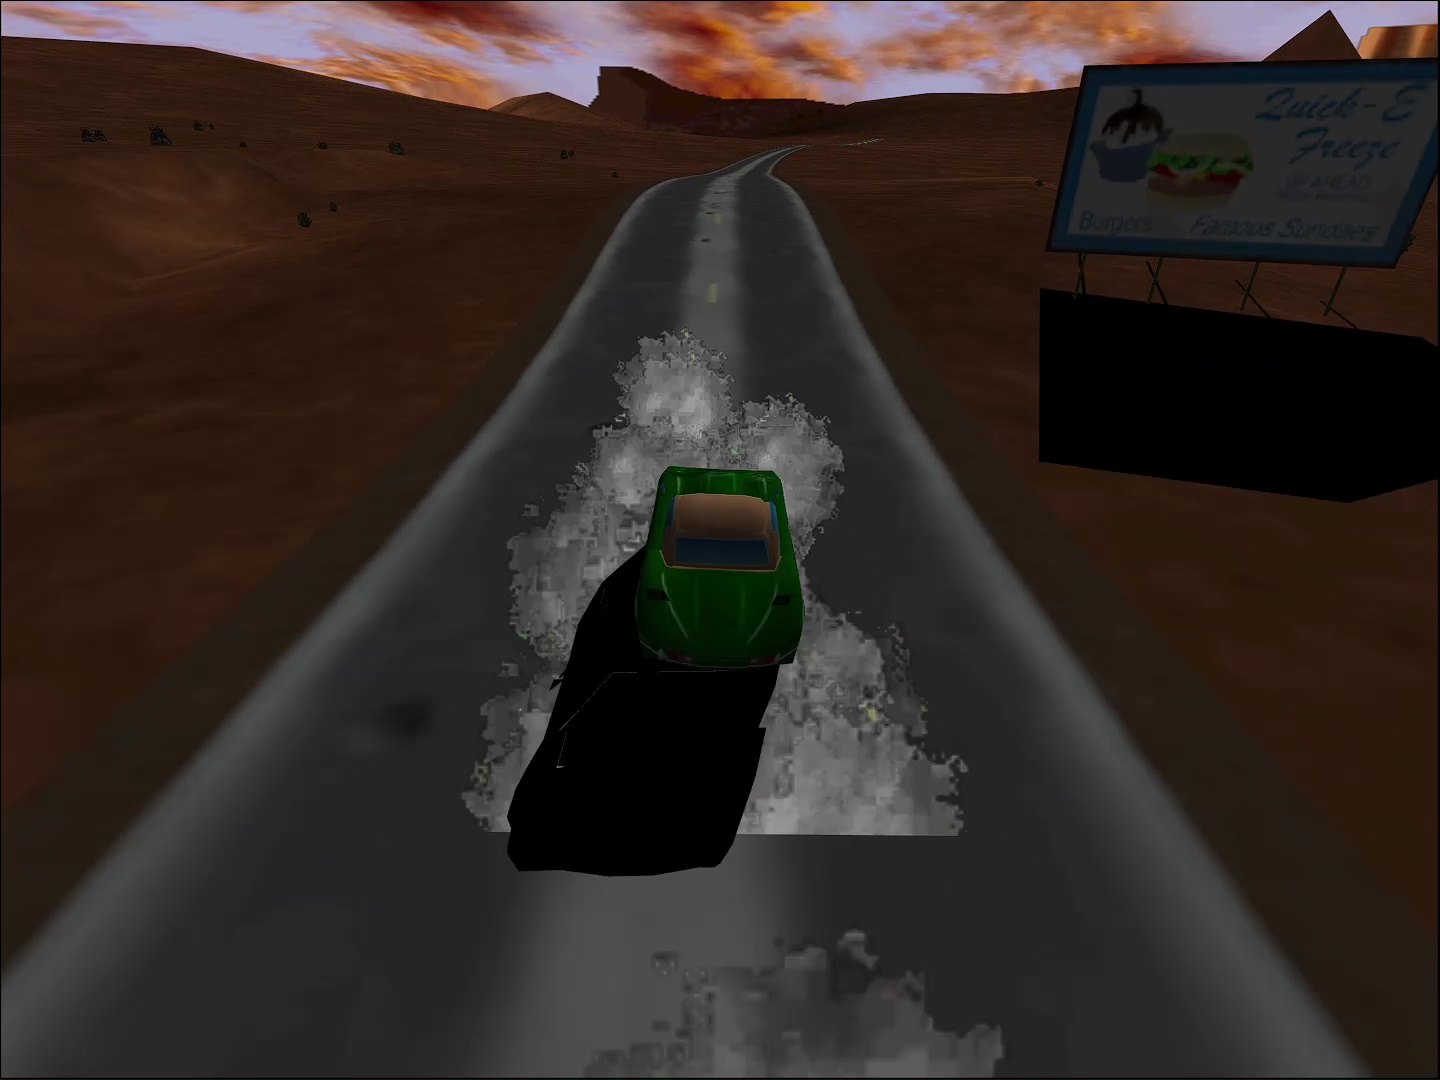
You can't shoot... but there's a technicality: Flame weapons will massively damage the internals of the car with while bypassing the armor. Personally, I like the standard flamethrower here for its longer range. Gently touch the bus with it. Success!
Love your 60+ fps and still want to stop the bus? Use a firedropper. Just... go gentle with it. (I've managed to stop the bus, destroy it, then keep playing out the level, so feel free to push your luck, I guess.)
Now for Whirlwind. He's hiding... back at the Mondo Burger. Even a creeper can't resist the delicious taste of not-McDonald's. Sometimes, he chooses to hide elsewhere. So, if he's not at the Mondo Burger, keep following the road in front of the Burger (as if you turned left out of the mission's starting position). He's usually at one of the buildings near by.
Get there and the fight begins. He's got a couple of 7.62mms, a Dr. Radar, an armor-covered ass, and he's pretty fast to boot. So get some speed and kill your engine if needed ("S" key). He's a runner; if possible, bump him and force a spinout. Once he's in your sights, fire with all you've got and finish him off to wrap up the mission.
Side note: Is this the most frustrating mission in the game? First, you have to figure out the flame trick, which can take forever if you're forced to blindly experiment. Then, you have to find Whirlwind on this huge map with all sorts of pathways... only to find he's right where you started. Makes for a good dose of irony, I suppose.
Episode 19: Assassination
The CEO's got connections to the governor, tons of friends in the industry, and he's hiring every auto-mercenary group in the area to do his dirty work. Despite Jade's objections, Taurus insists he must be taken out.
Objectives:
- Assassinate the CEO! Take out his limo before it reaches the compound!
- Get back to the airfield. Rendezvous with Hell Toupee in the chopper.
Walkthrough
Norman Industries, huh? Just like Zach Norman, lead designer and head writer of I '76. No coincidence, I'm sure. In the original I '76 manual, there's a newspaper article about Antonio Malochio, representing Norman Industries Limited (N.I.L.), donated $500,000 to the Texas Rangers to fight crime and corruption.
Quick tip: Listen to Jade.
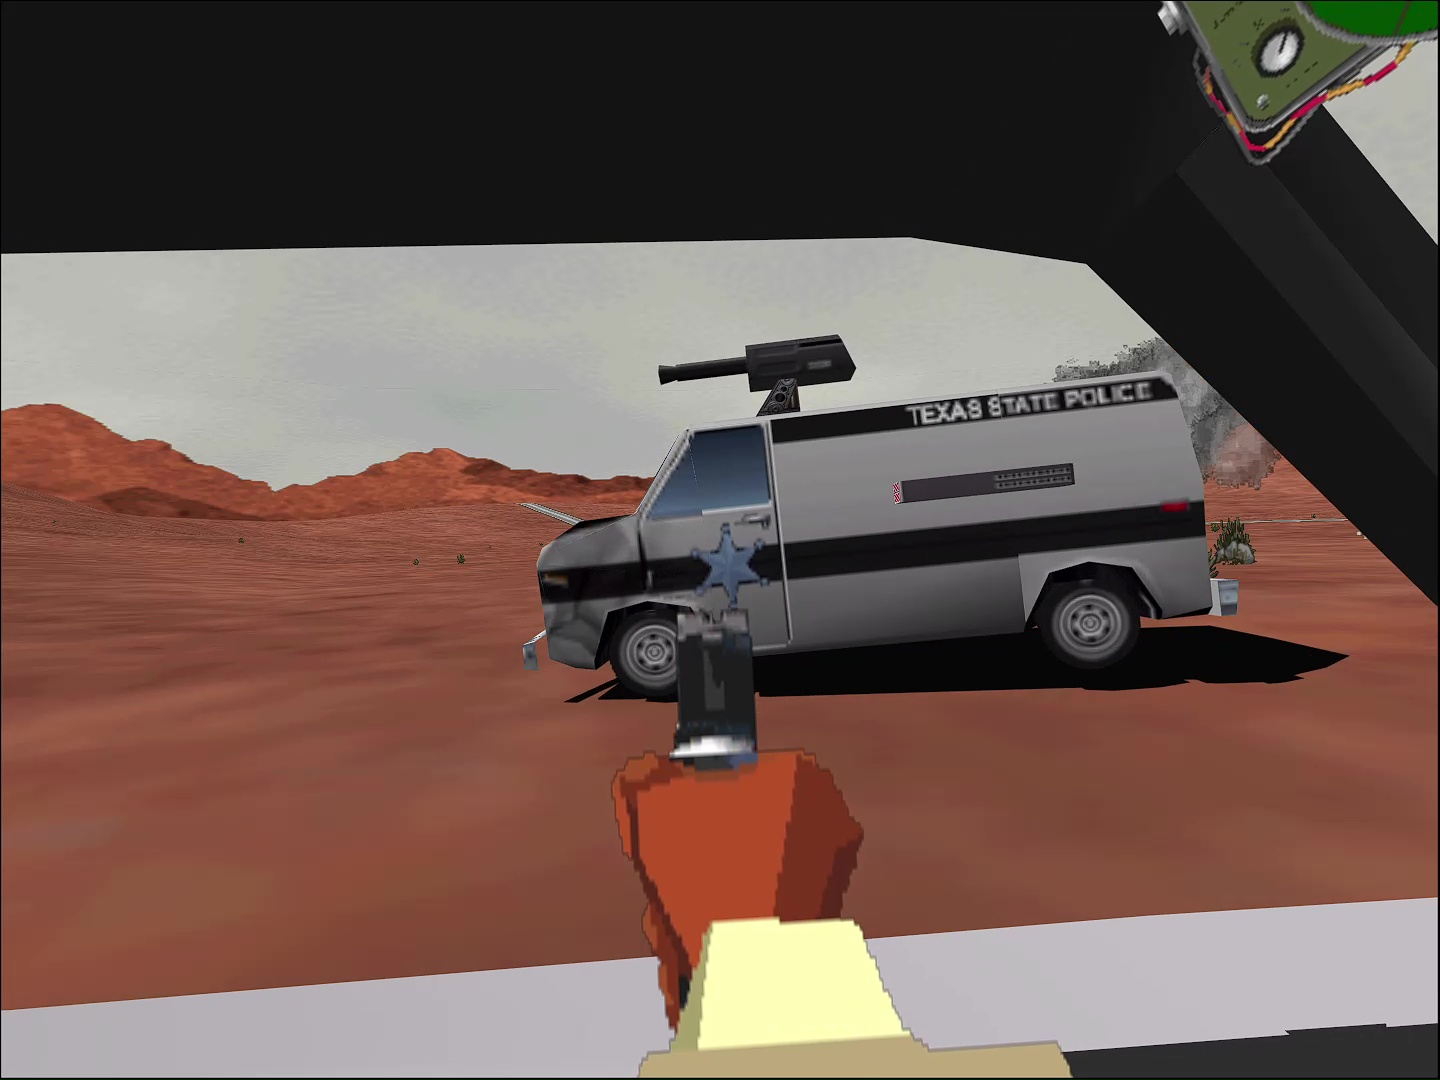
Head north. There'll be a couple of cop vans along the way. They're big and are easy targets for your handgun, so make'em red and cap'em in the head.
Towards the mountain, head right.
(That being said, if you want to go left, you can do it. Hang a left and follow the dirt road. The CEO's already escaped. So, stay on the dirt road, ignore the cops, and race to the end of it. It'll lead you back to the highway and if you're fast enough, you'll catch the CEO there.)
(Another option: Instead of going left or right, just go straight. You'll find a very spacey easter egg. A little hint: There's a billboard for a New Mexico city that's only 15 minutes away up 385.)
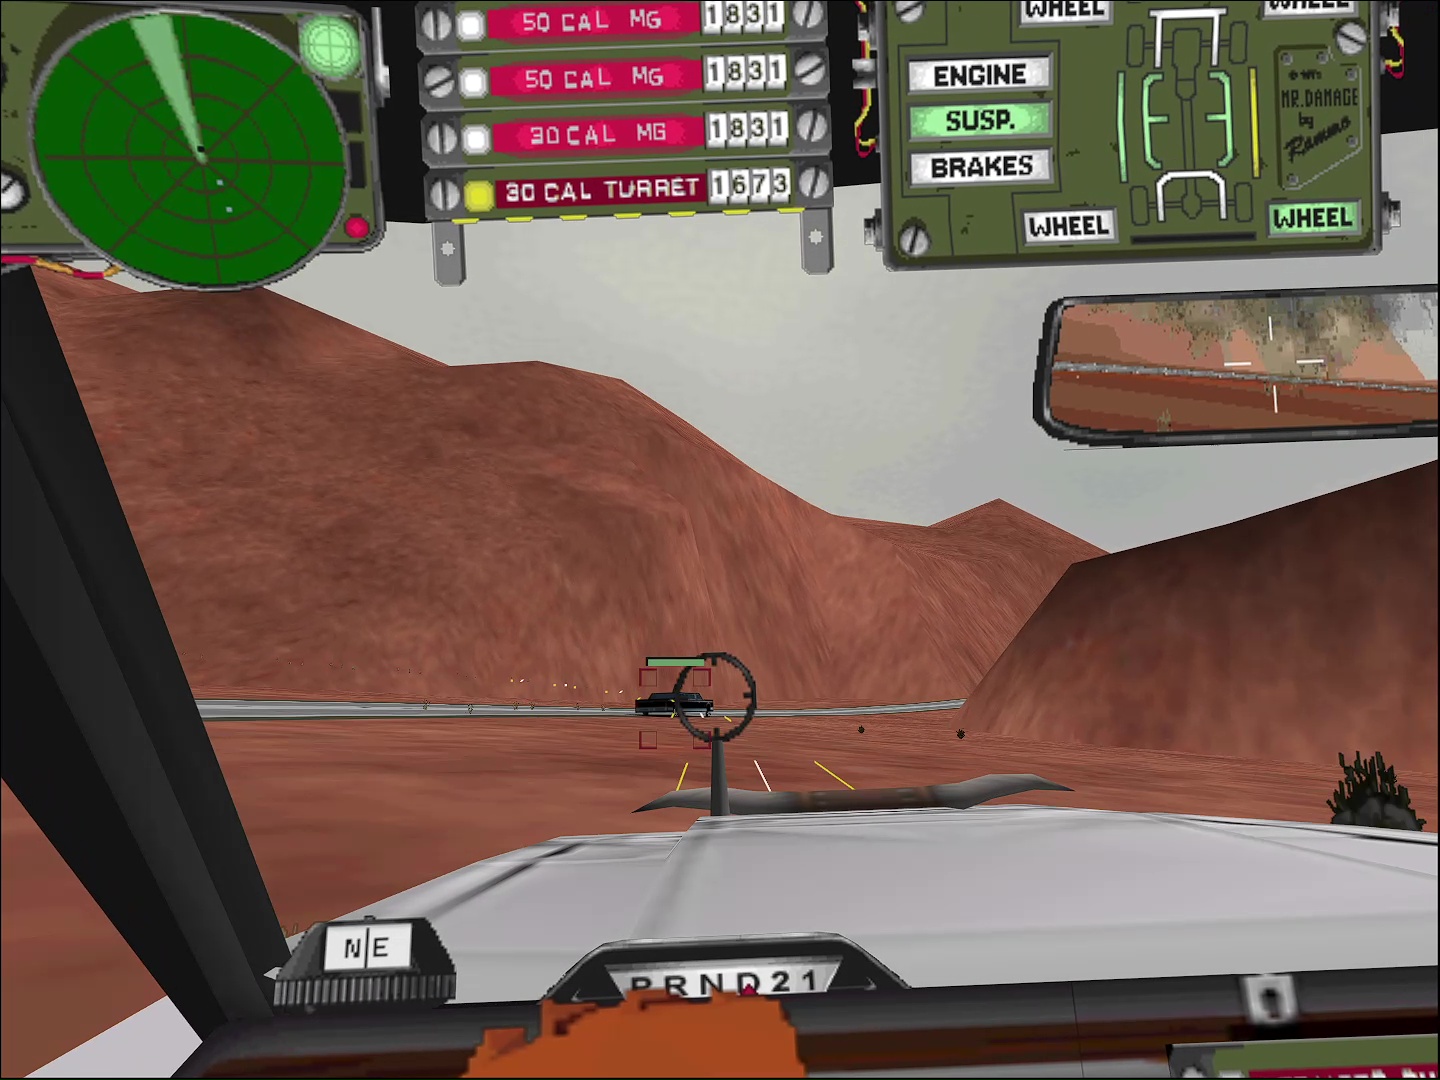
While driving, you'll pick up the CEO and his escorts on your radar. After you have one targeted, try pressing F5 to switch to the targeted vehicle view to confirm you've got the limo targeted. F1 will get you back to the in-car view.
Ignore the escorts and go for the CEO. The CEO's armored and fast, so light'em up with all your weapons. "L" to link if you haven't already. Bump'em off the road if you can to slow his ass down and make his trip a little more miserable.
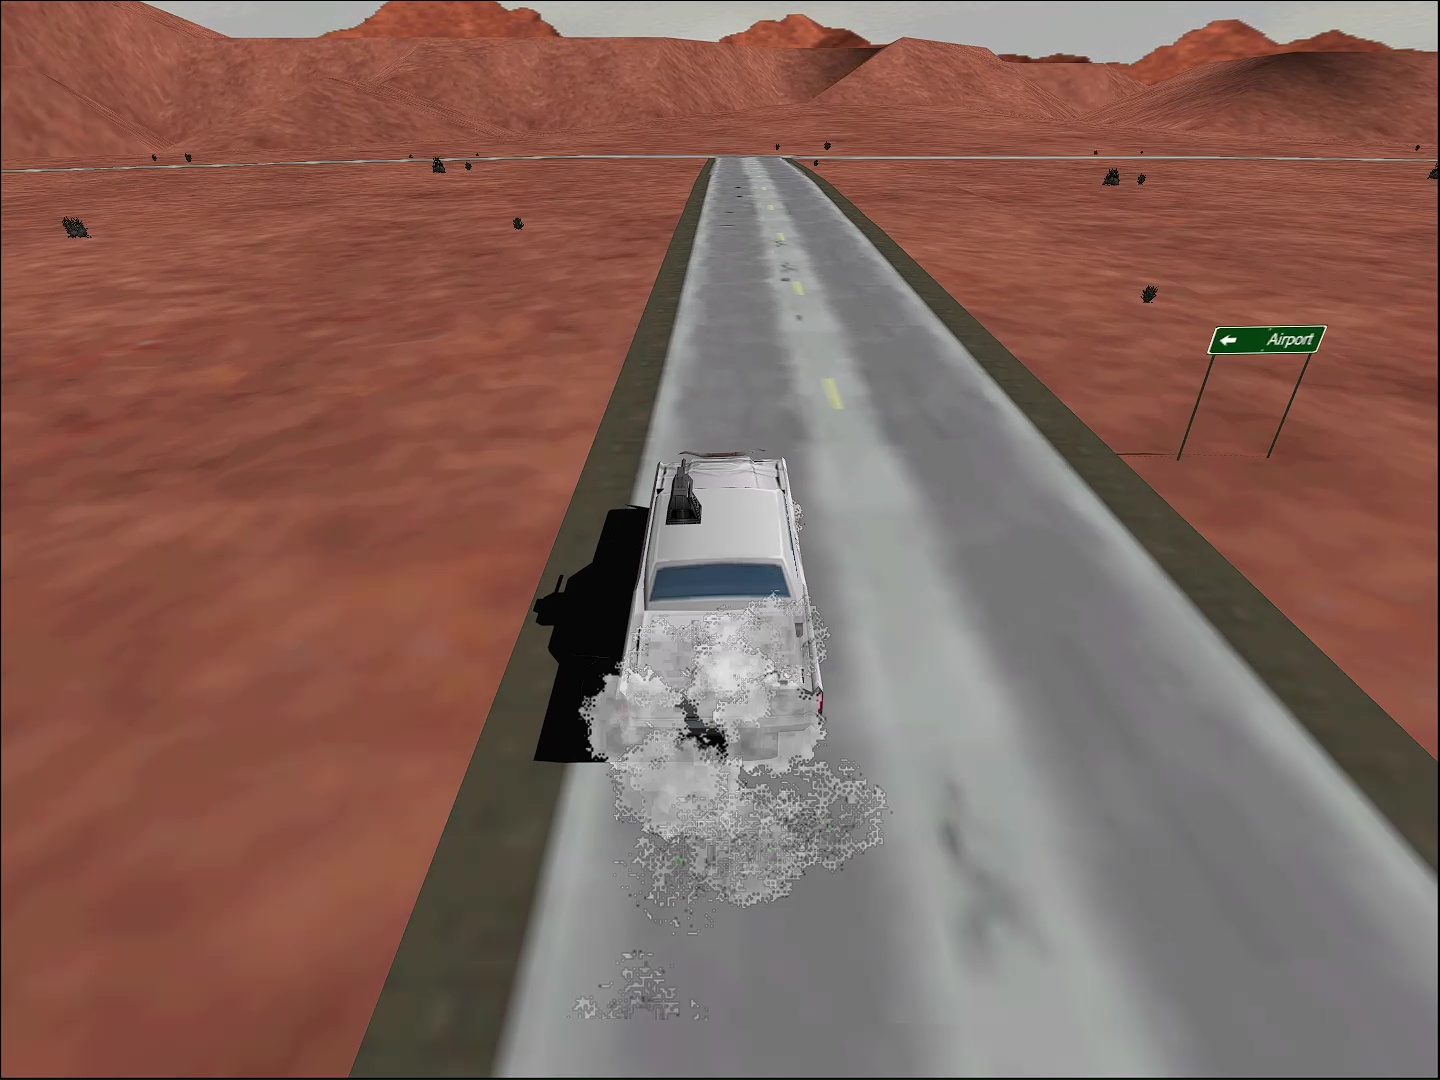
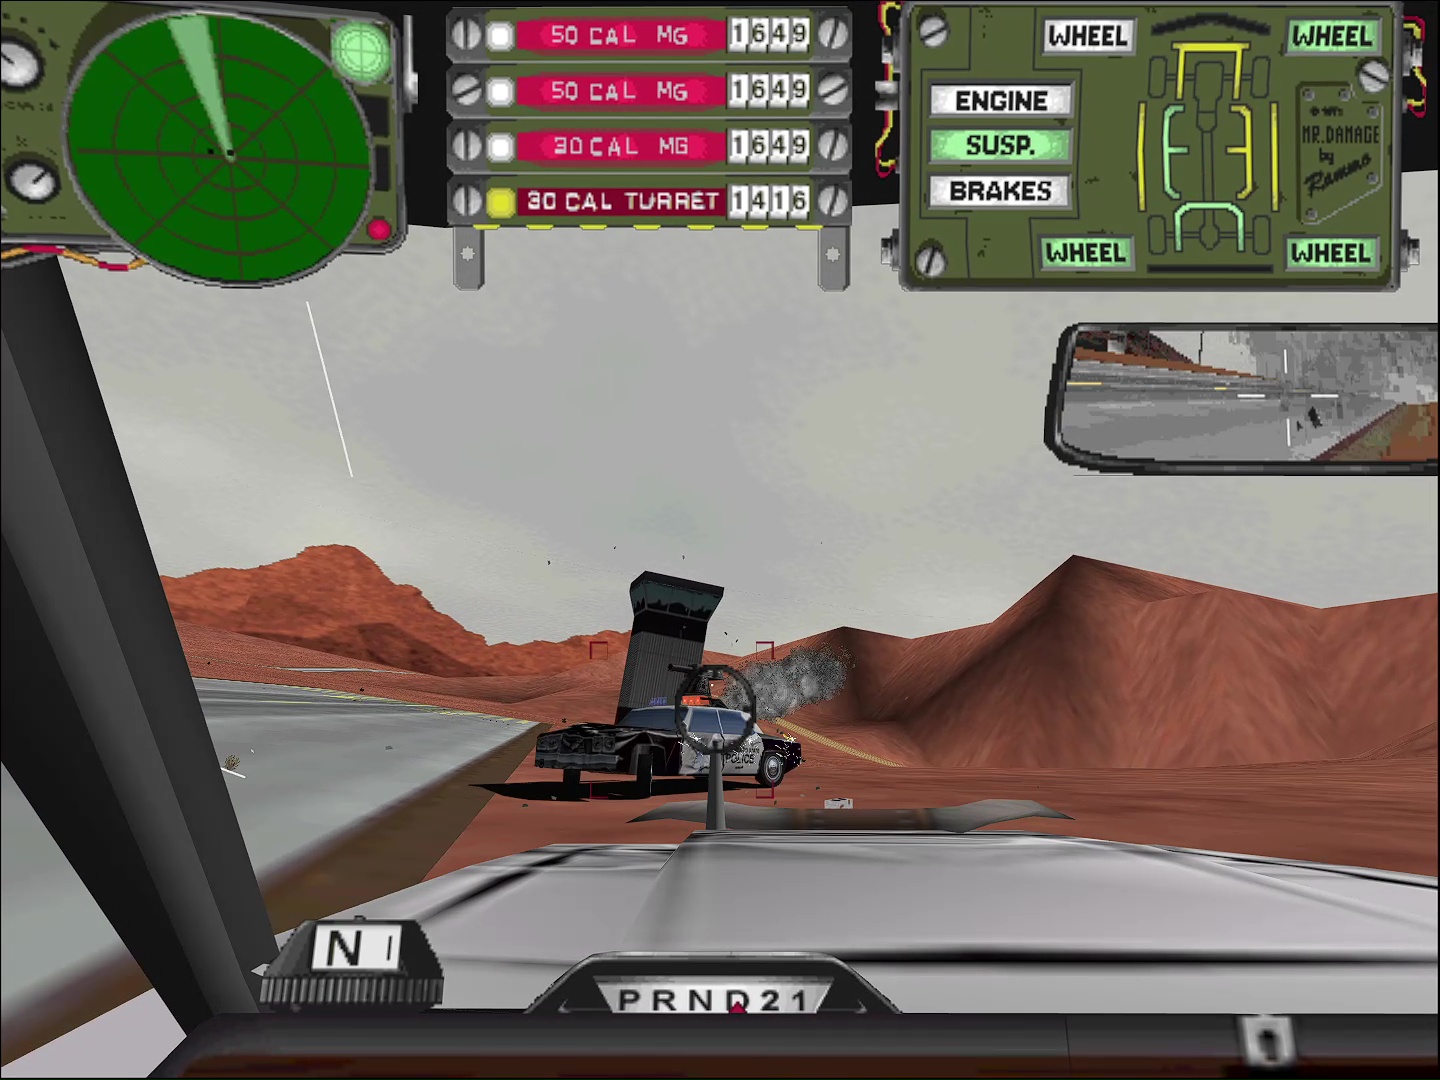
When you reach the CEO's escape route, there are a lot of creepers. Turn back and head towards the airfield. When you get there, you'll need to battle another 3-4 cops. Take'em out and Hell Toupee'll show up in the 'copter ready to get you out. Poor Eloise has to fend for herself!
Episode 4: Two Days Before
A dude's been tearing shit up and has already taken out several auto-vigilantes. He's using a hangar at an old airfield as his main staging area. Time to get in, interrogate the place, and figure out why this dangerous dude is recruiting all of the mercenaries in the area.
Objectives:
- Create a diversion near the enemy airfield. Wait for Jade to enter and exit but DON'T go in or you'll blow her cover!
- Escort the truck to the rendezvous point.
Walkthrough
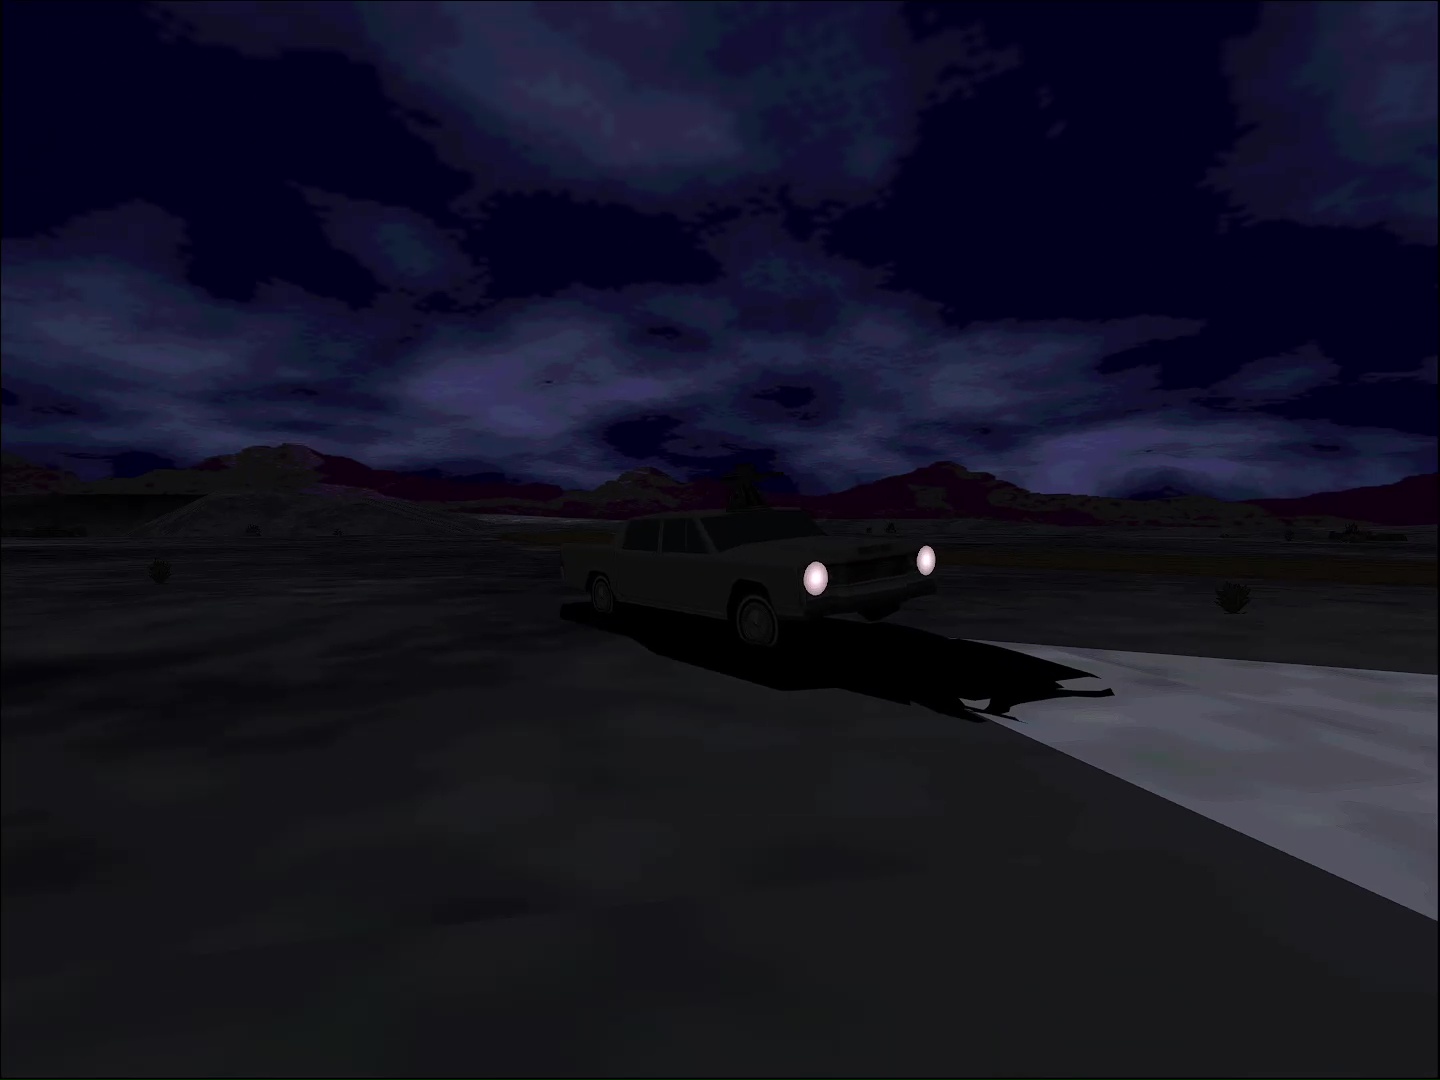
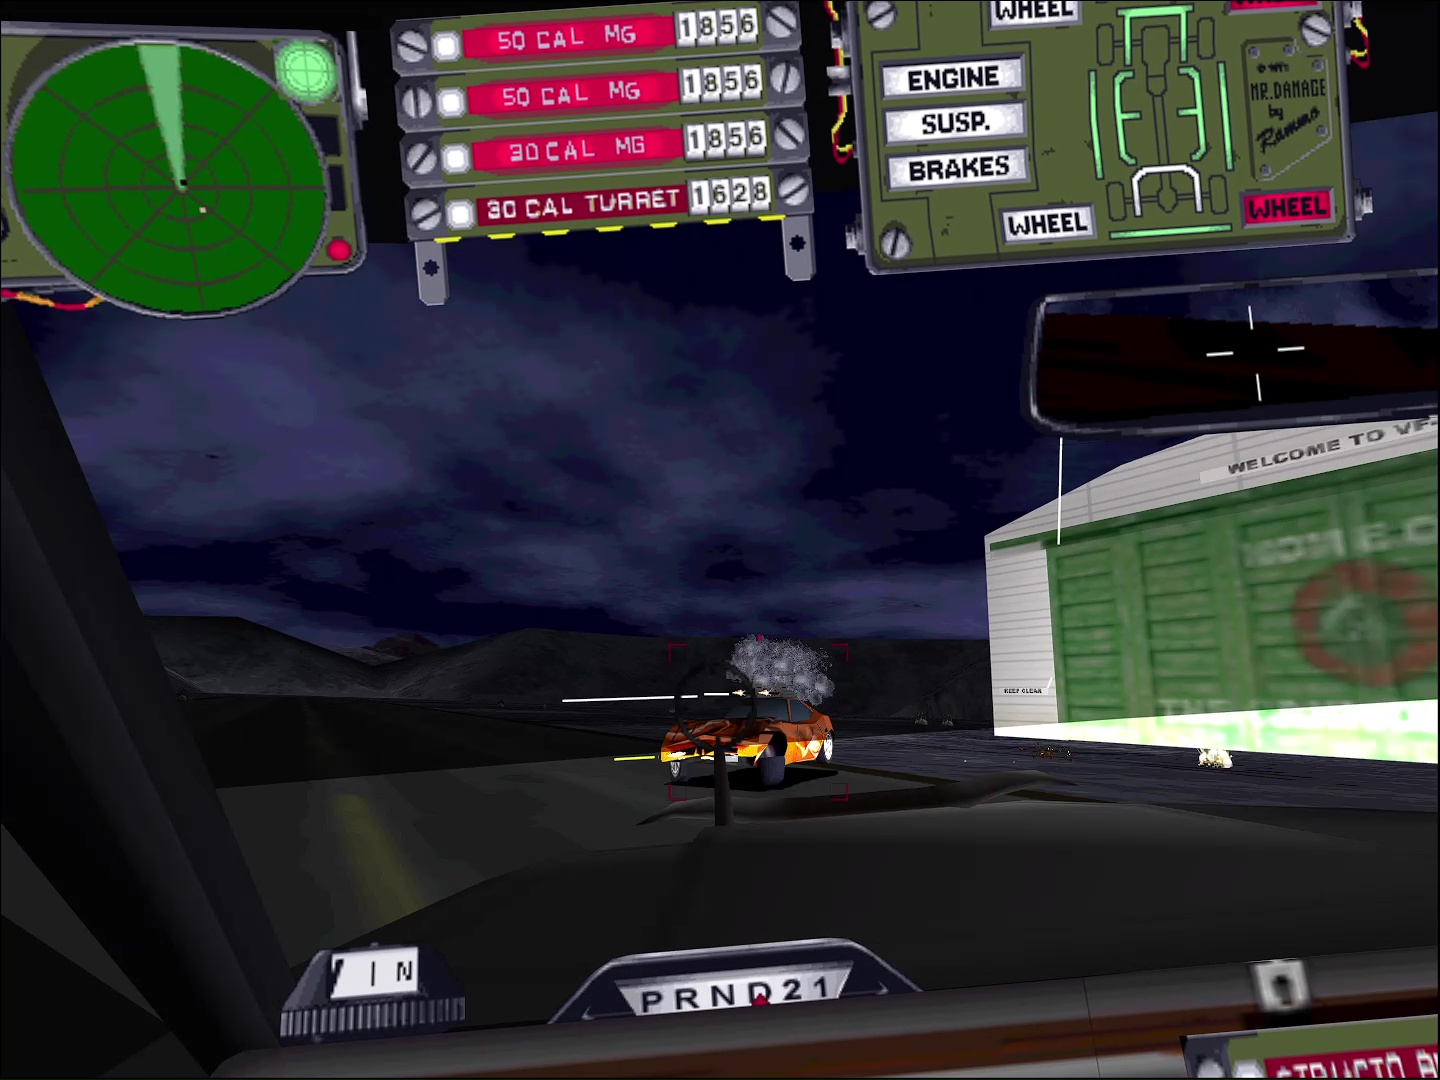
Head south on the road and hang a right onto the dirt road. As you approach the airfield, there'll be two turrets outside. Hit "S" to turn off your engine so that they can't target you, and blow'em up for an easy diversion.
As Jade and Skeeter enter the airbase, two creepers will bite on your diversion from the outside. Take'em out.
Oh no! Jade and Skeeter are spotted! The jig is up, so feel free to run into the base now to defend them from a Manta.
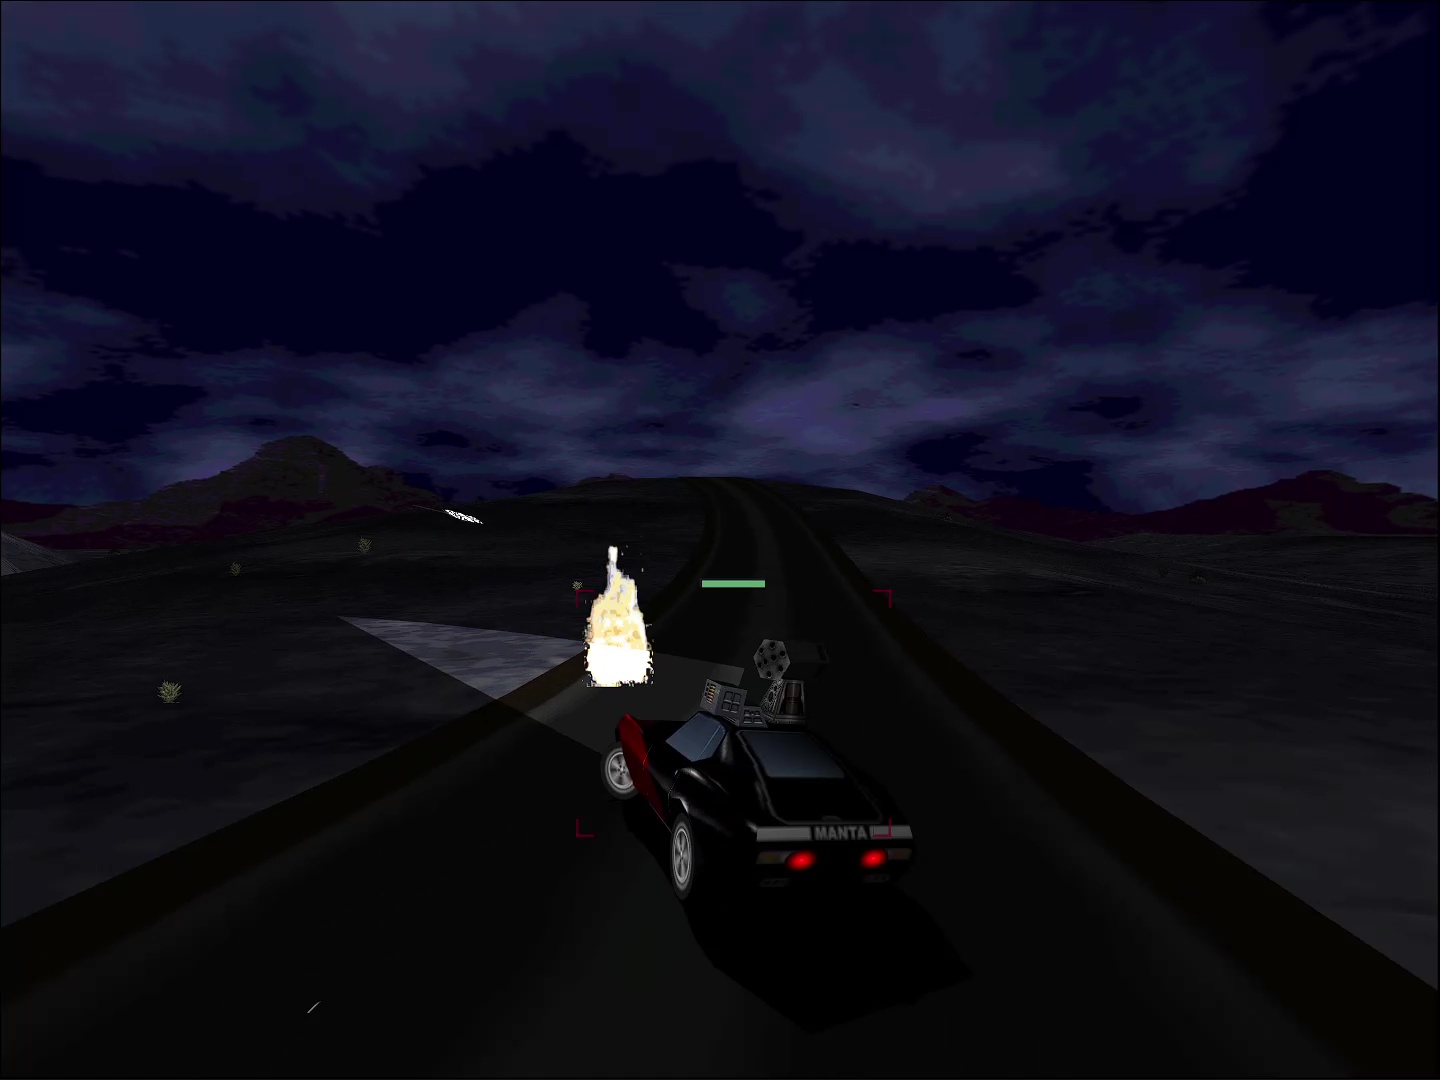
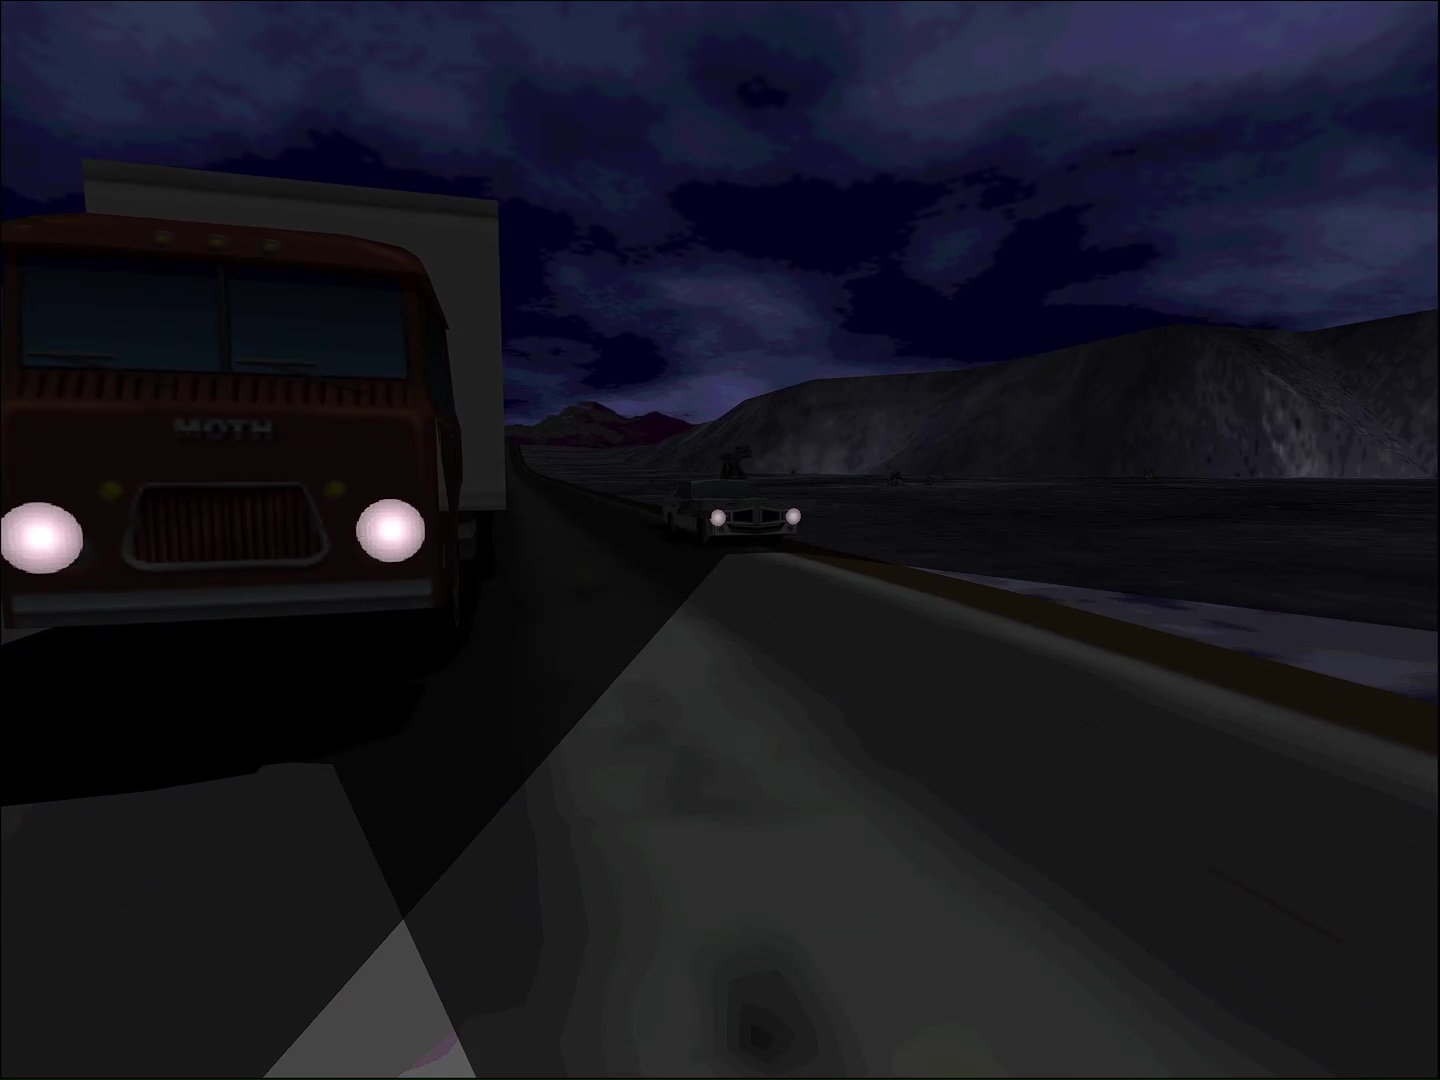
After that, back to the main road. Stay ahead of the van as you'll encounter several creepers: First, a lone Manta, then a Courchelle, then a Manta and a Courchelle, and a little more after that. Destroy them, make sure the van gets to the end, and that's all she wrote.
There's something crazy going down. In the hangar, Jade and Skeeter find weapons packed to the ceiling, maps, names... Lead Sled, Automag, Playboy. This feels too big, like something is going to happen...
Jade Walkthrough
Episode 6: Crimson
A little friendly race between friends/companions/lovers? That can only end well.
Objectives:
- Race Taurus to the gas station.
- Get rid of Crimson & Co!
Walkthrough
Car setup: If you want, add some nitrous or a blower for this mission. If you don't want, that's fine — you'll still be able to outrun Tarus. Jade built a good car... at least for racing. Oh, and leave your weapons on the car. If you're having trouble, feel free to cheese it: Pack three to four Dr. Radars, put on some Heated Seats, and let it rip.
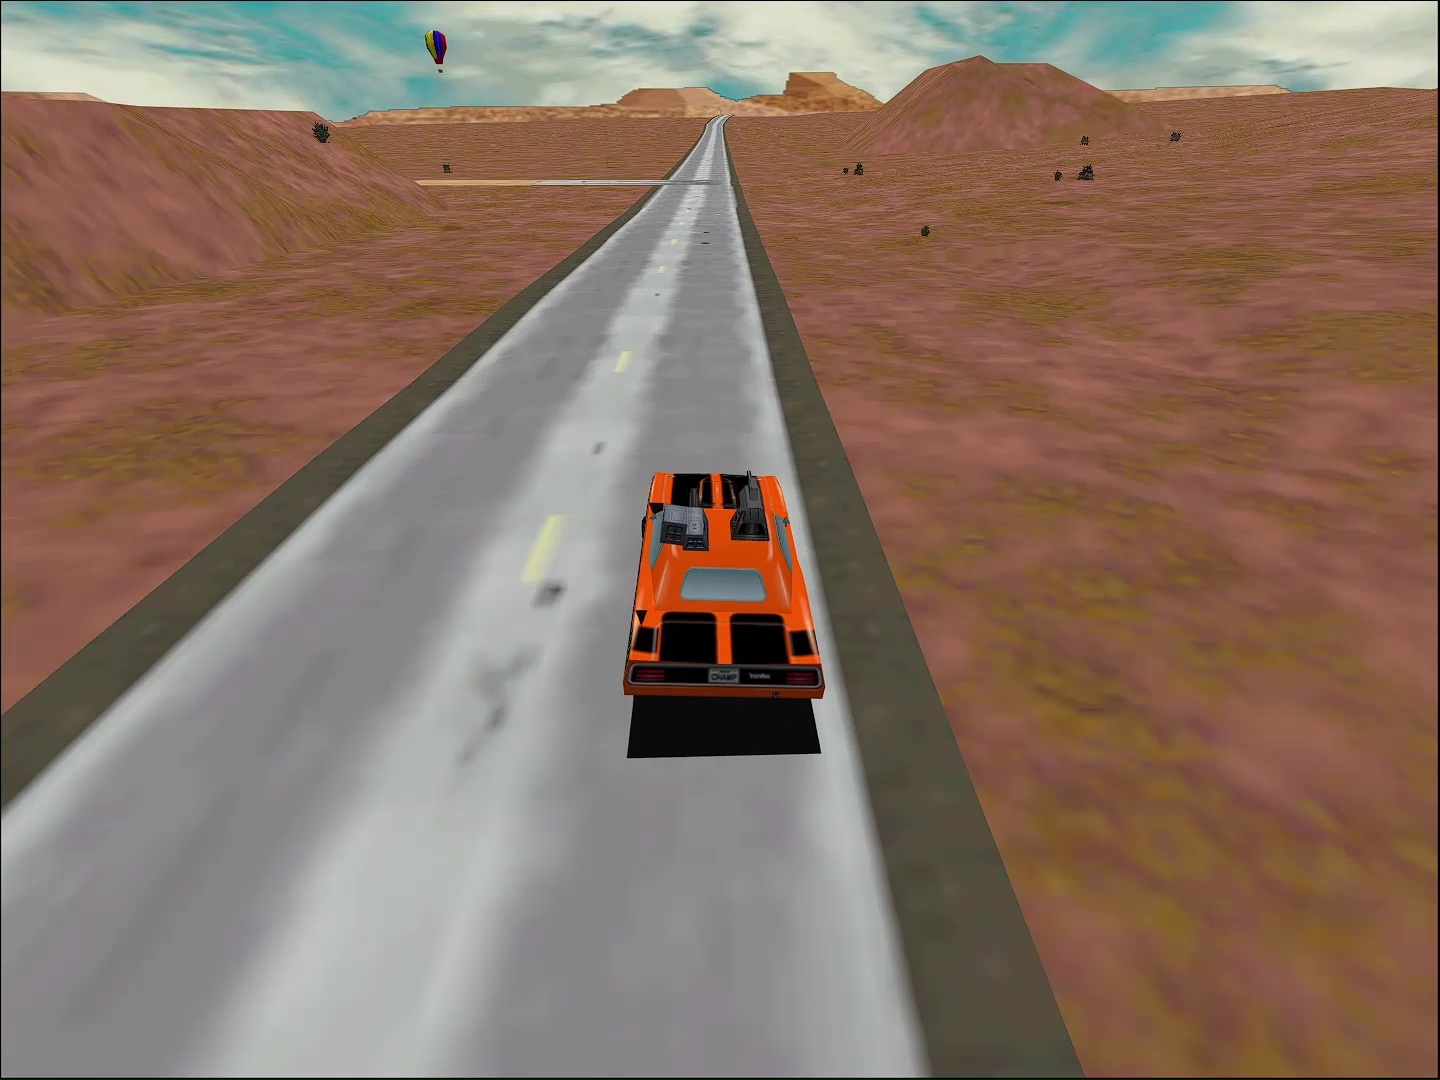
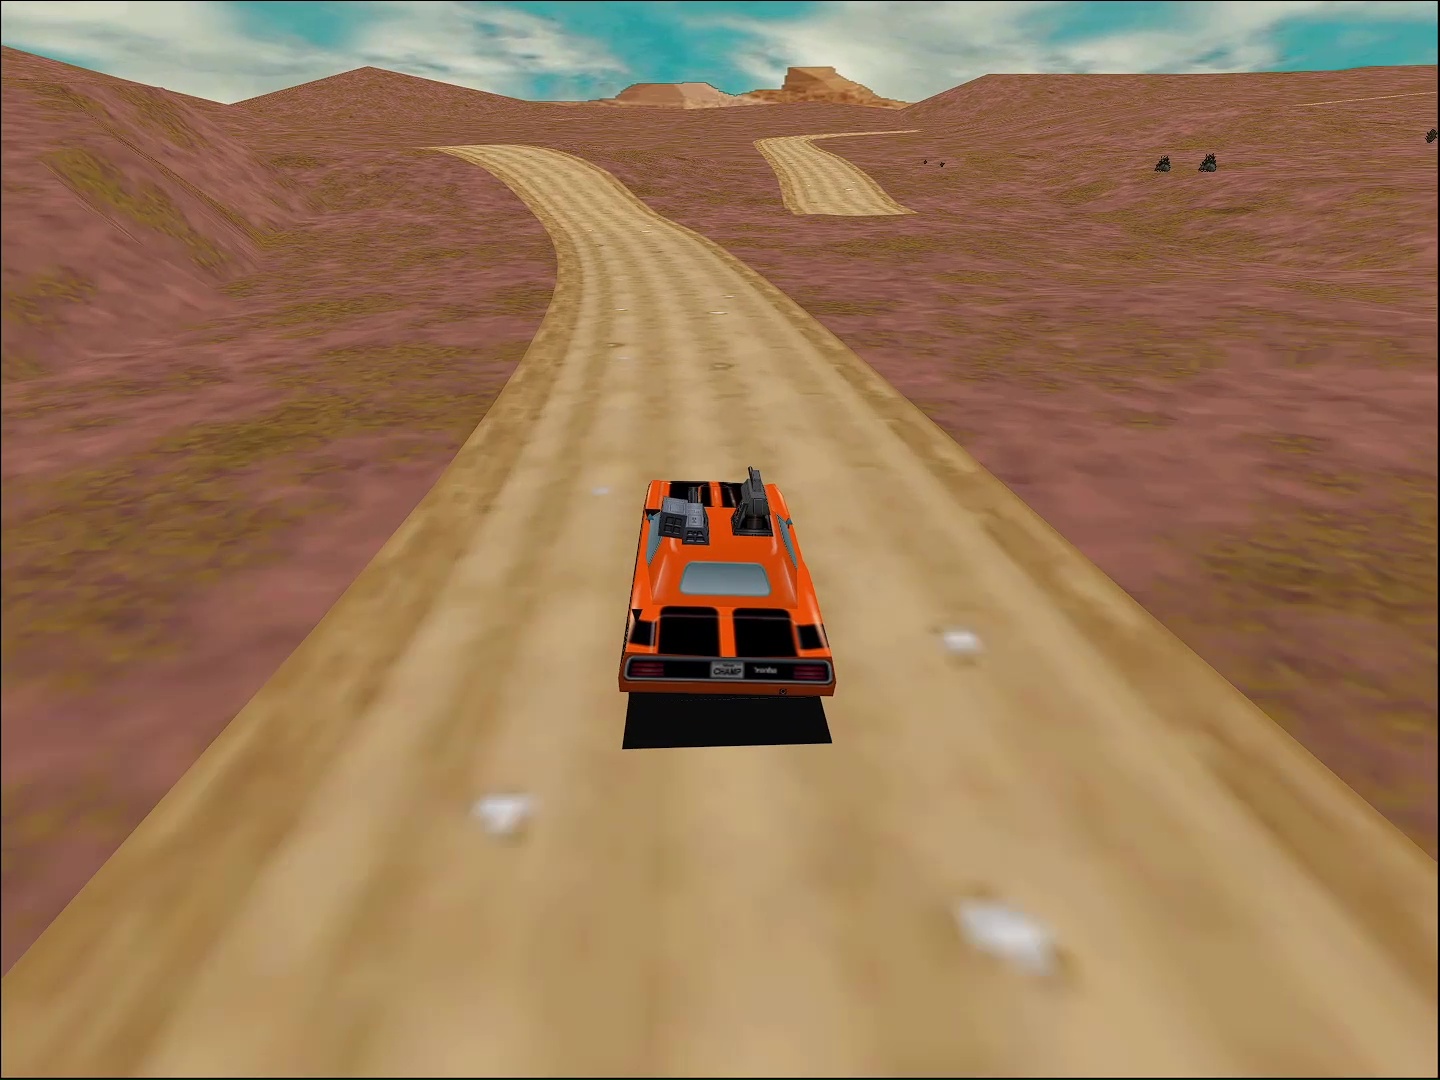
Taurus is gonna take a shortcut. Prepare to turn left when you see a hot air balloon overhead. There are some hills here. Depending on your car's setup and I '76's physics, it's possible one of these may become a ramp and launch you. Tap your brakes at the tops of the hills to avoid going airborn.
Once you hit the dirt, there's a slightly-disconnected dirt road to the right. It's got a jump at the end of it, though. If you've got some nitrous, you can make it. If not... stay to the left.
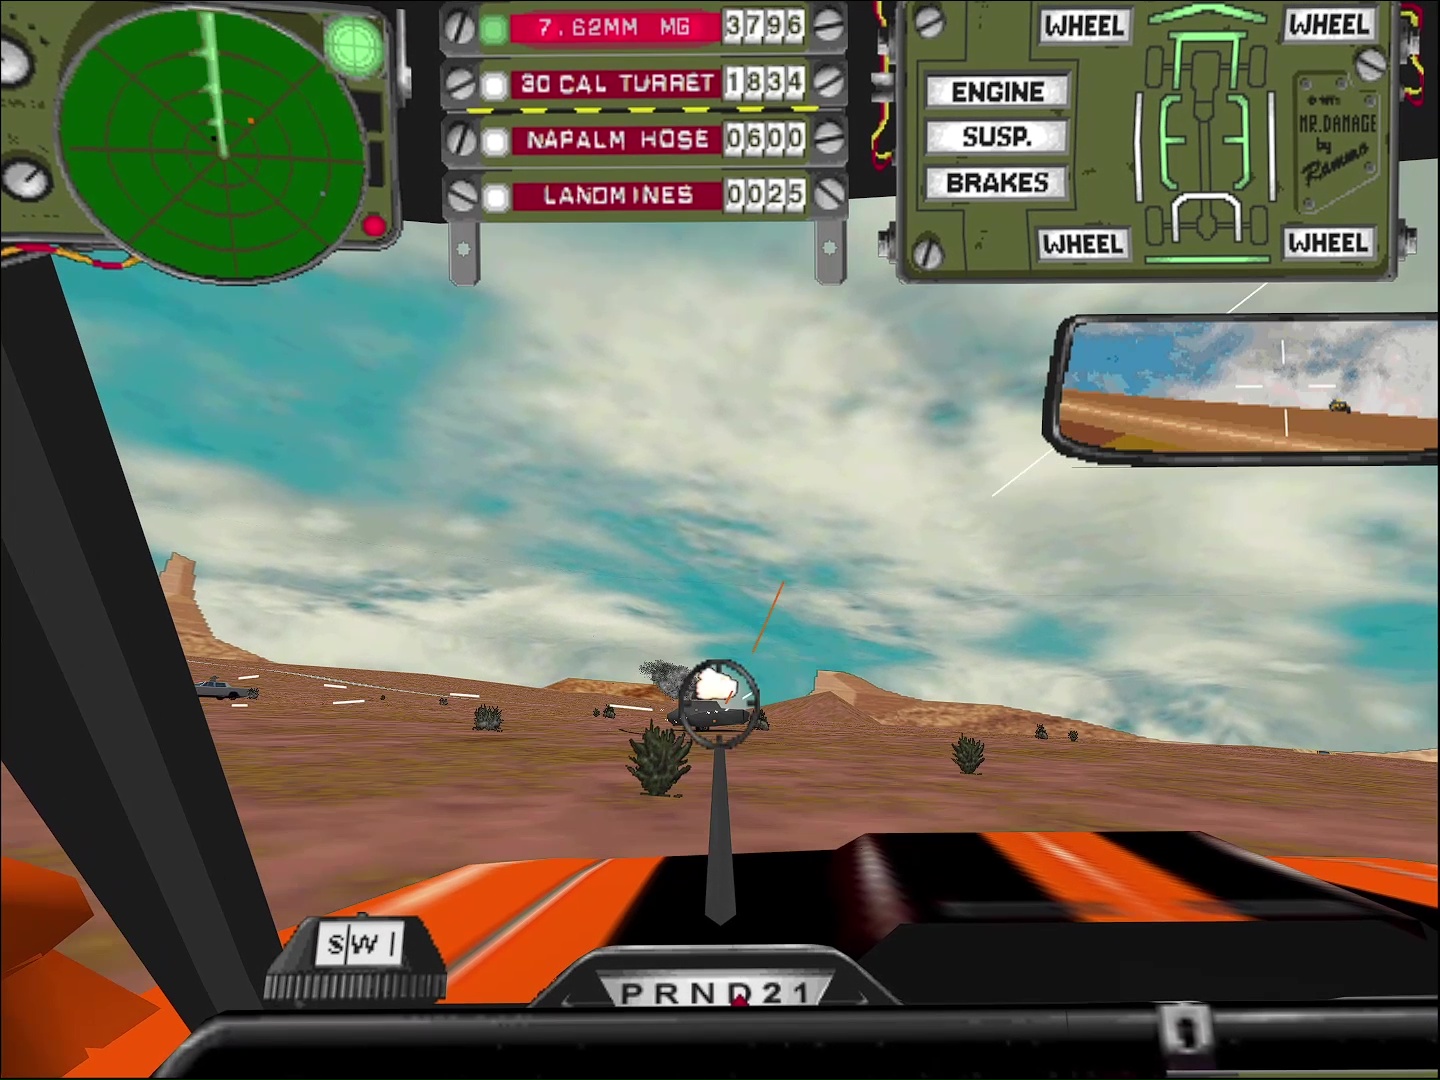
At the Gas 4 Cash, another vigilante, Crimson, is waiting for Jade. Apparently, she's upset about Jade waxing Wingnut & Bad Moon. Hey, Wingnut, wasn't that another prominent I '76 online player? Most commonly, you'll find Crimson traveling down the dirt road, but she occasionally shows up from different directions, so check your radar.
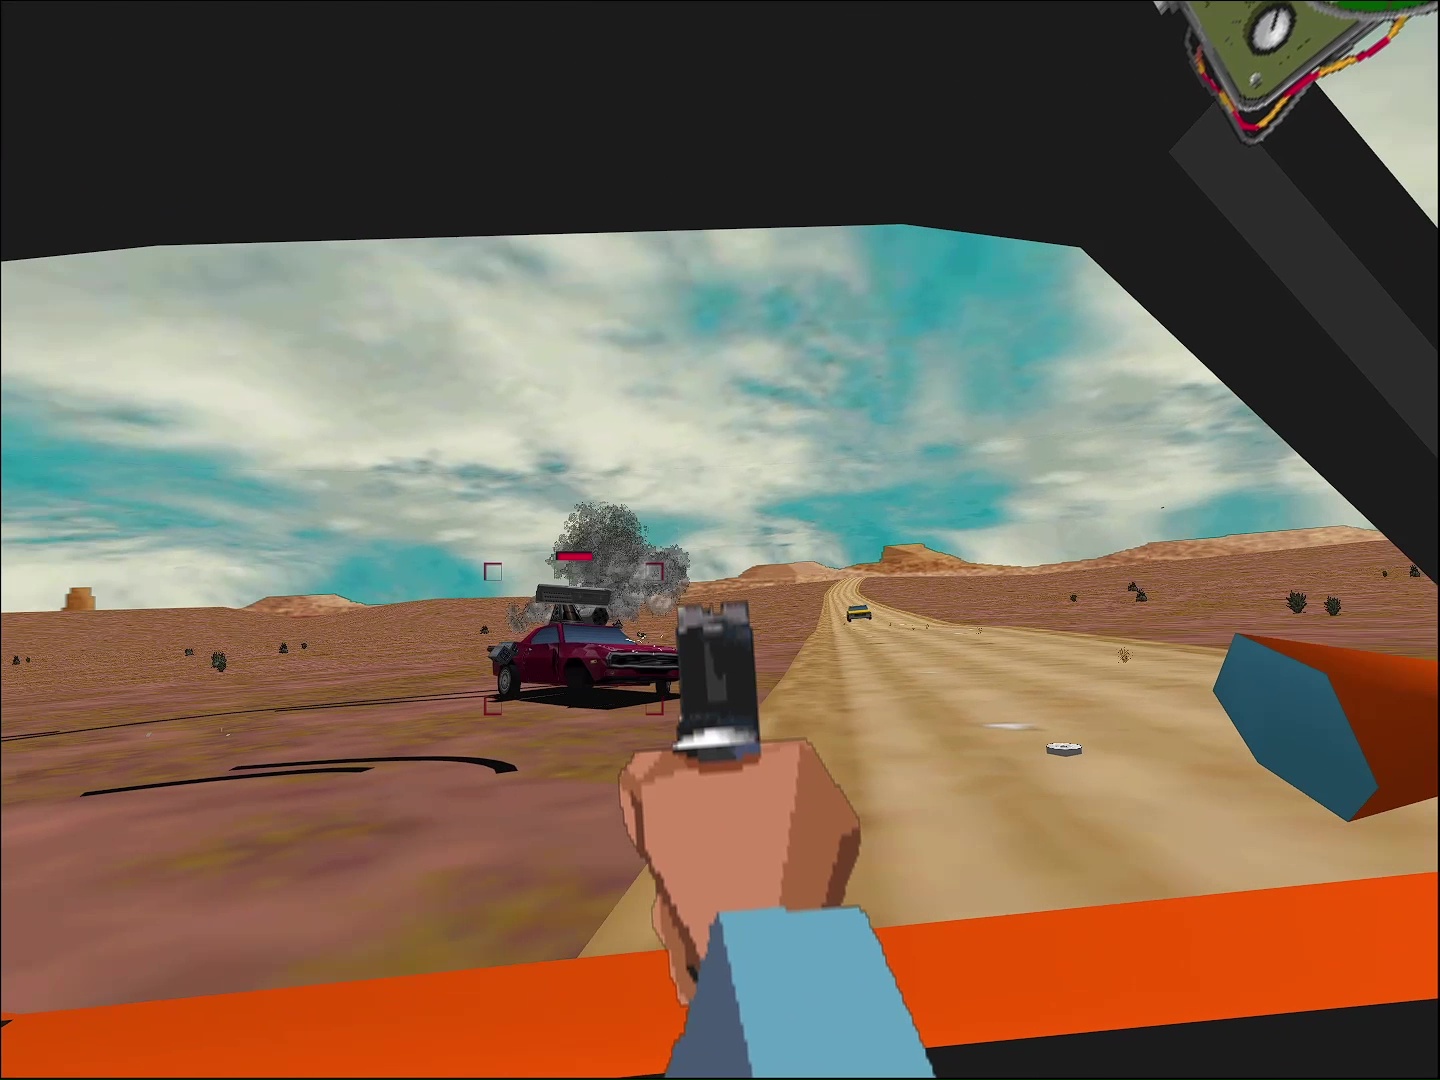
Prepare to battle two creepers and be sure to keep Taurus alive. Although Crimson suggest he should stay out of it, he's in the fight, too. For me, this feels like a Taurus defense mission more than anything. For whatever reason, the guy becomes a bullet magnet if you can't destroy these creepers fast enough. Maybe keep your engine on for once to be a good diversion.
Waste five of them; Taurus gets just what he wants — a good ol' fashion American catfight.
Episode 7: Piece Be With You
Preacher, who's pretty much what he sounds like, is out preaching the sermons of destroying all that is evil in Clairemont, TX. By evil, this guy means the entire town. Stop him!
Objectives:
- Protect the town. Wipe out Preacher and his goons!
Walkthrough
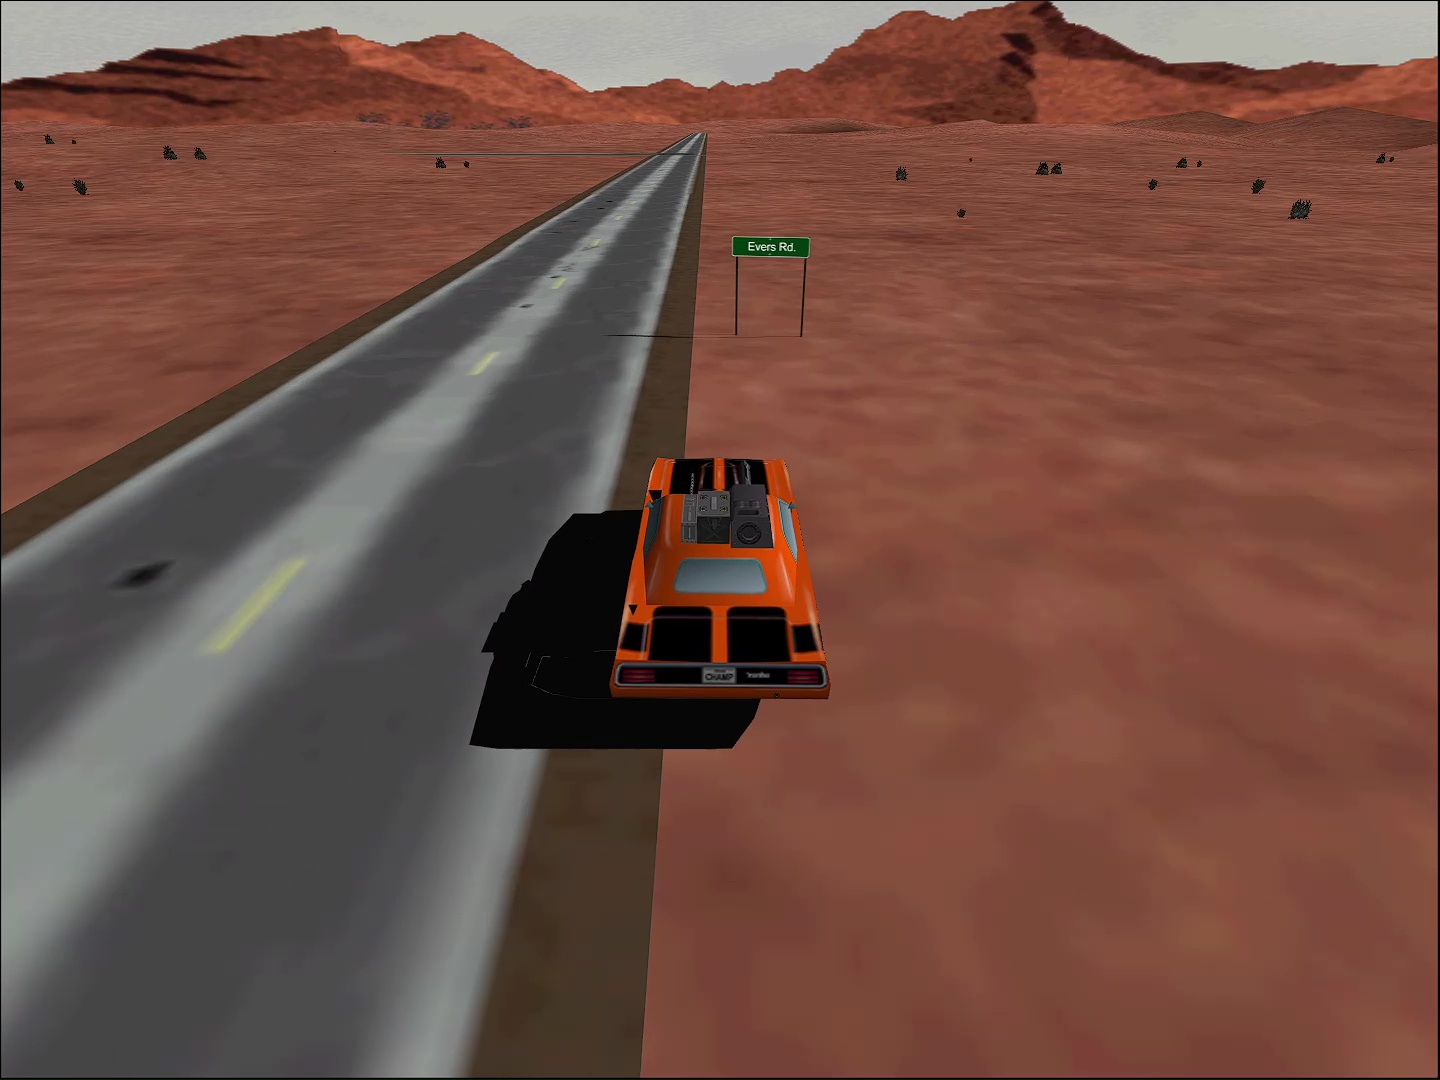
Hang a left the first chance you get, onto Evers Road. Once you get in town, this is basically a straightforward firefight. Take out five creepers and call it a day.
A little exposition: There's a reason Taurus is out wondering the desert. His family was murdered by early auto-felons. No wonder he's not into Dirty Harry, and Jade starts to apologize for bringing it up, but Taurus cuts her off.
Taurus is more into Love Story. A notable quote from the film? "Love means never having to say you're sorry."
Episode 8: Betrayed
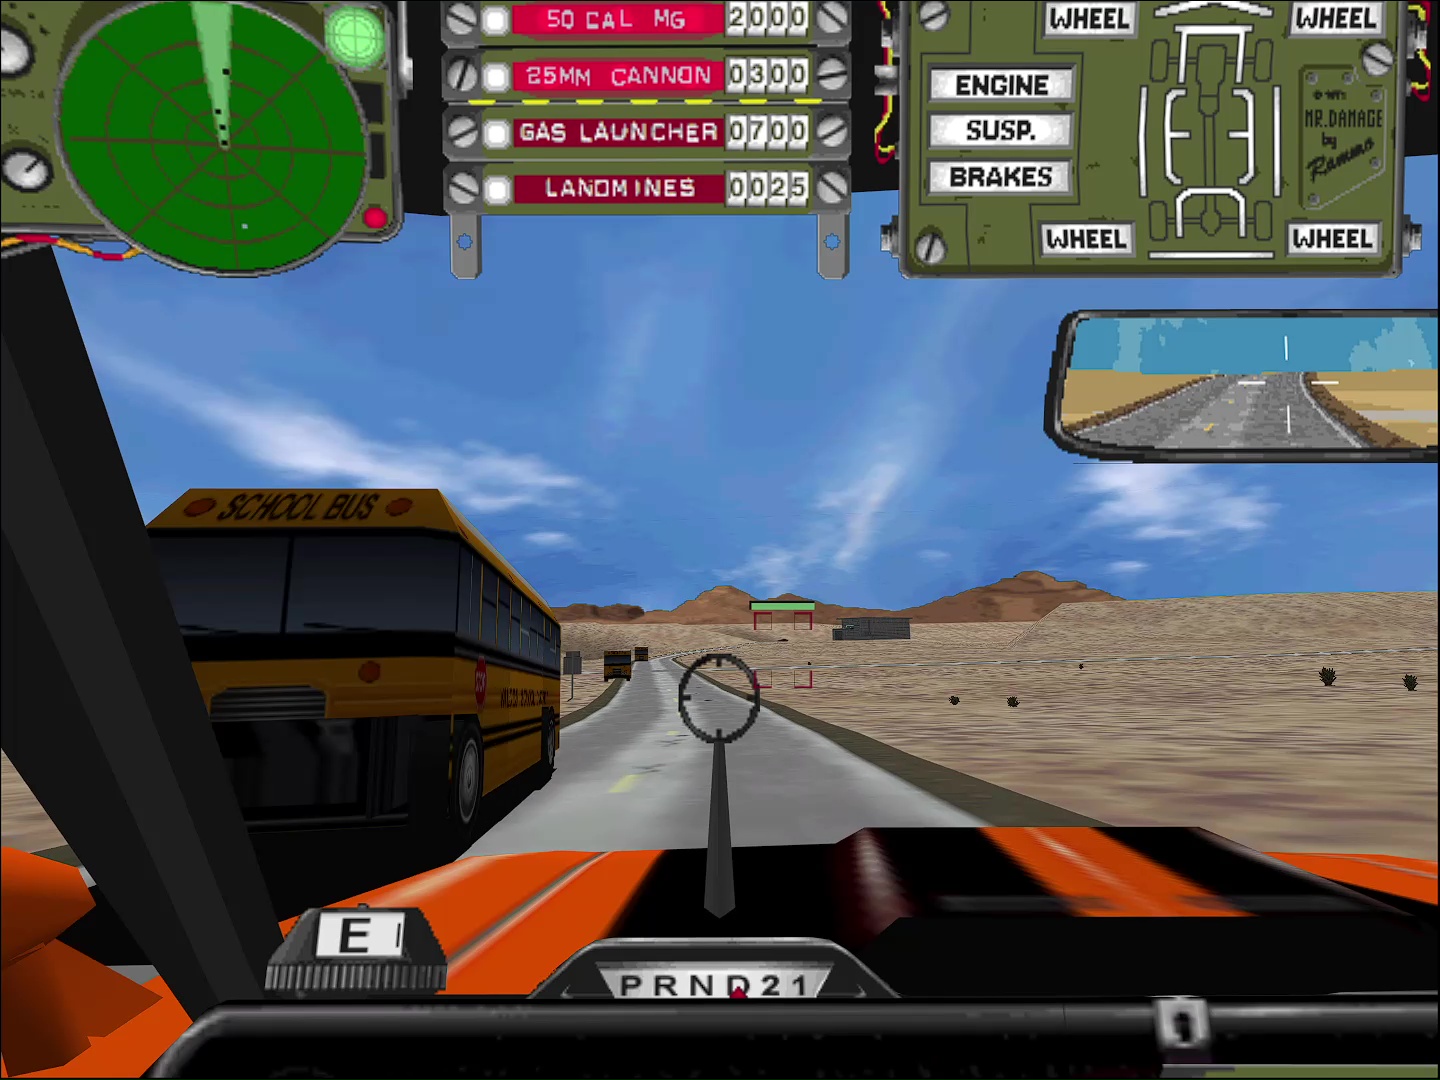
School buses are perfect for undercover transport. After all, who'd attack a bus?
Objectives:
- Protect buses at all costs. Make sure they reach their destination.
Walkthrough
Another '70s topic du jour: Jade contemplates the realities of the Six Million Dollar Man.
That's soon interrupted with a cry of "Oh god!" over the CB. Need I say more?
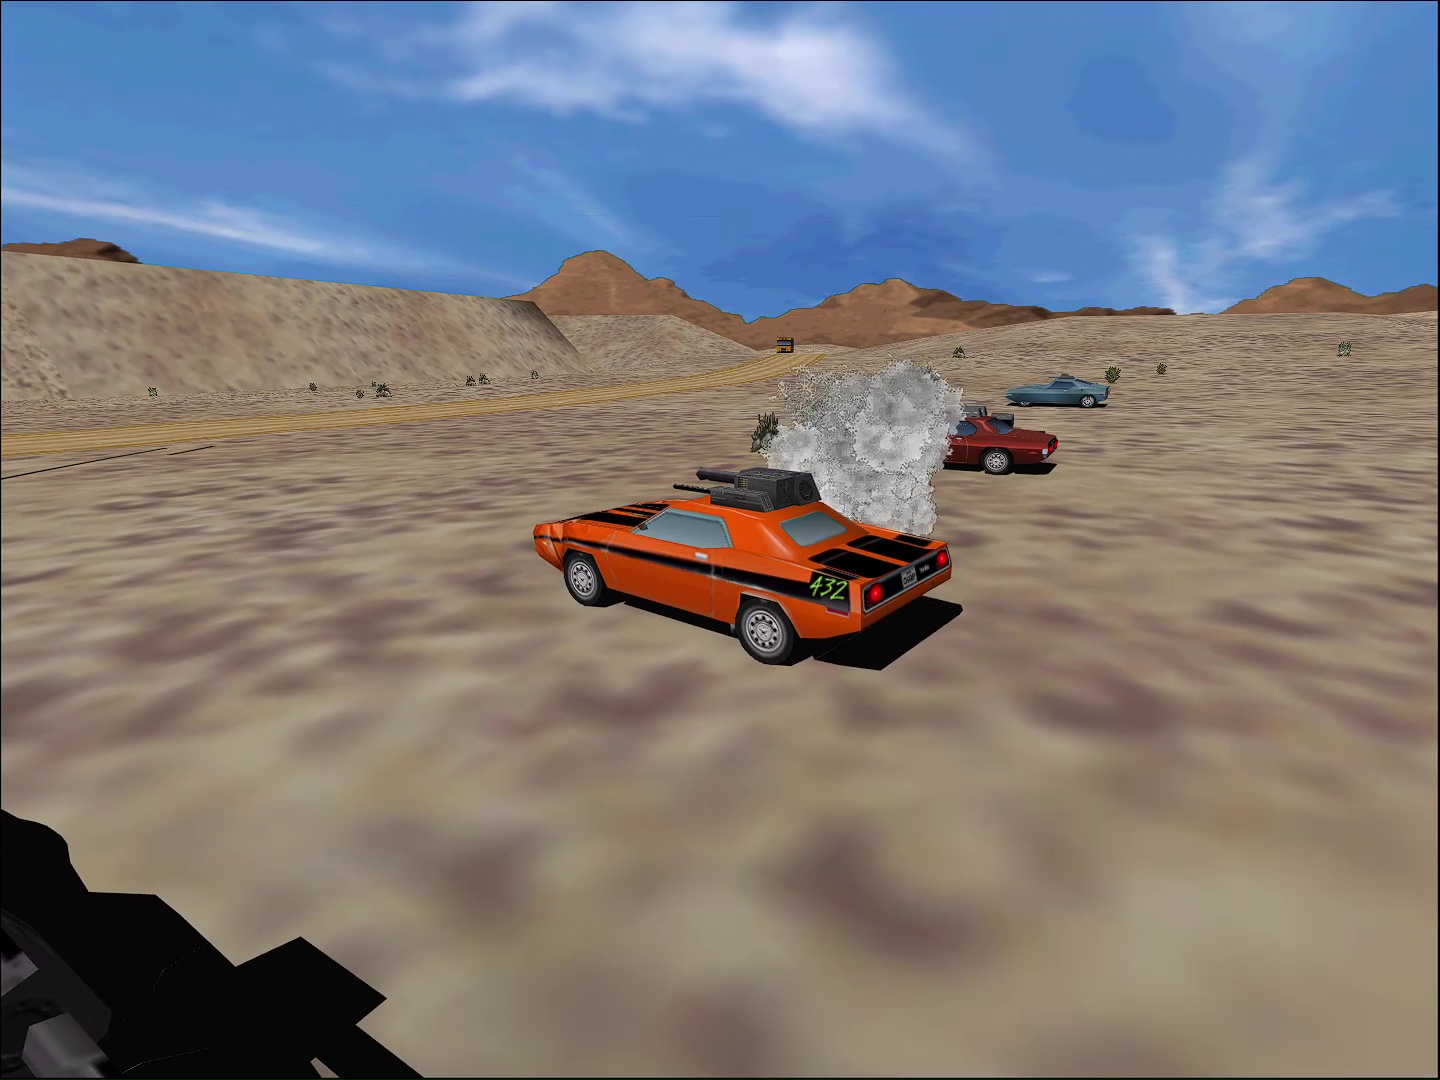
Continue north/east on the roadway. Stay on the road and you'll find the buses. There's a creeper in a Cavera just past the gas station. Take it out, then immediately turn around heading west/south to get back on guard duty. If you've got the space and speed, stay in front of the bus pack.
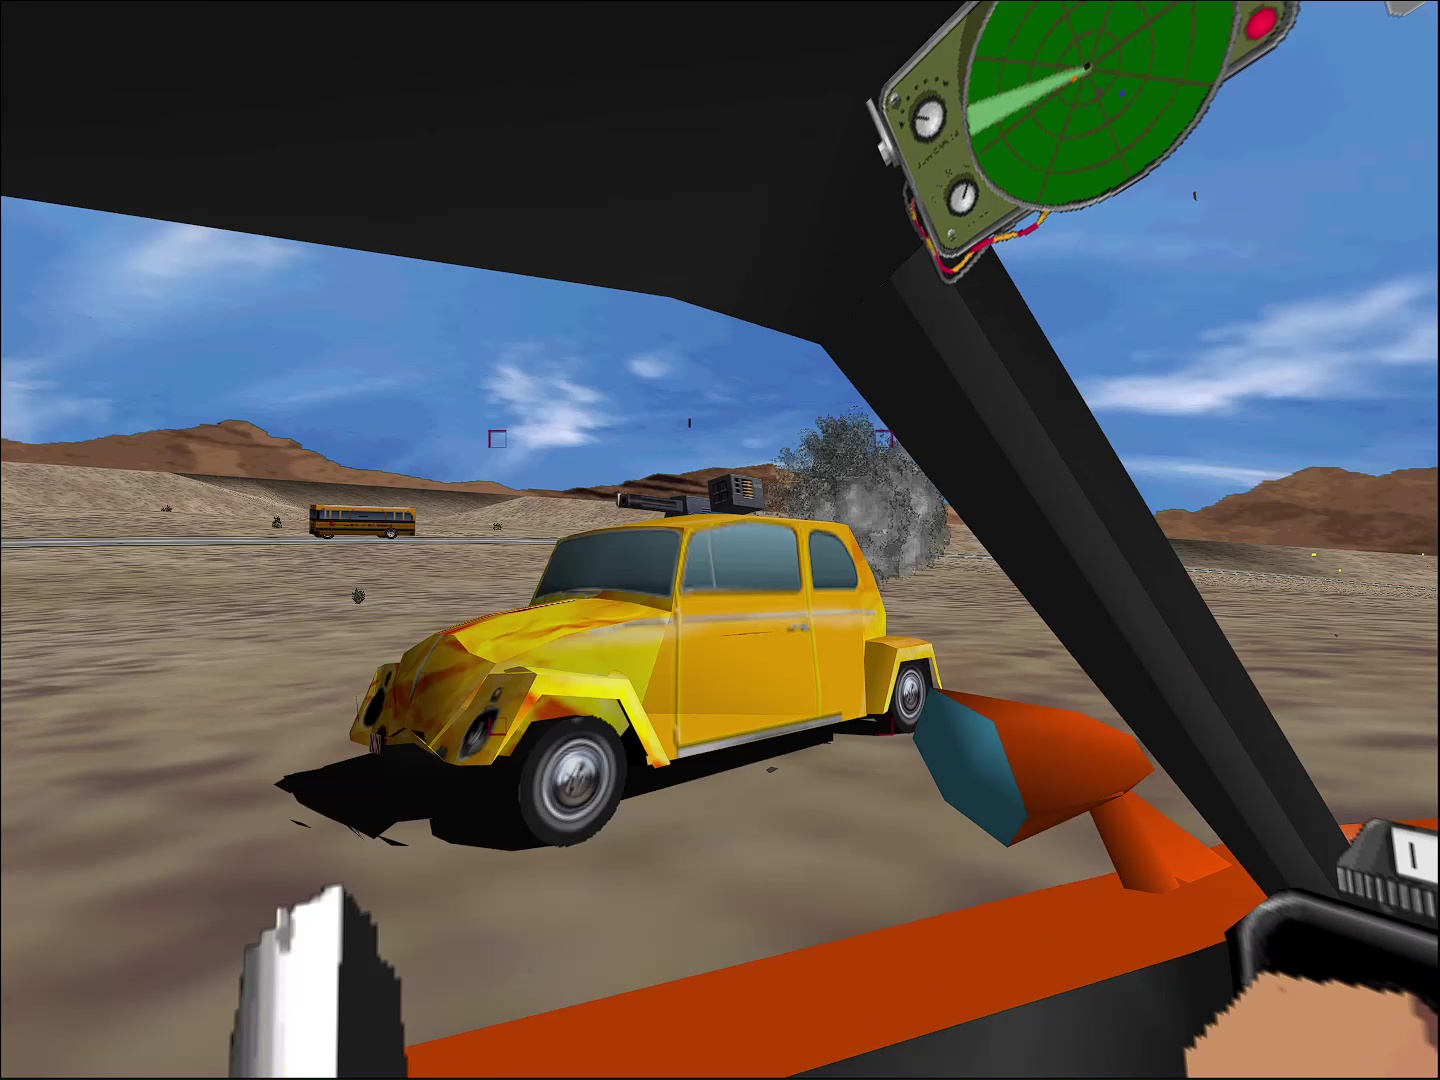
Another three creepers after that, including a pretty nasty Warendorf. Toast'em.
When you see a dirt road on your left, take the turn to deliver the cargo to the Wolf Raiders. (Heard that name before? In the I '76 manual, Wolf Raiders 1, 2, and 3 are all missing members of the AVG. Taurus confirms that they're deceased in the original I '76 Scene 1 intro.)
How did the creepers know to attack the buses? Something's fishy...
A few months prior, creeper Natty Dread tracked and destroyed several hearses that were to transport goods to Taurus. Natty's been on to them for a while.
Episode 18: Break In
The crew's been scouting out a military base storing new prototype weapons. Time to sneak in, get the goods, then get out.
Objectives:
- Get in to the base. Wax any guards and find Hangar Three.
- Get out of the base as quickly as possible!
- Find and save Skeeter!
Walkthrough
Setup: You may want to take a turret to deal with a helicopter later on.
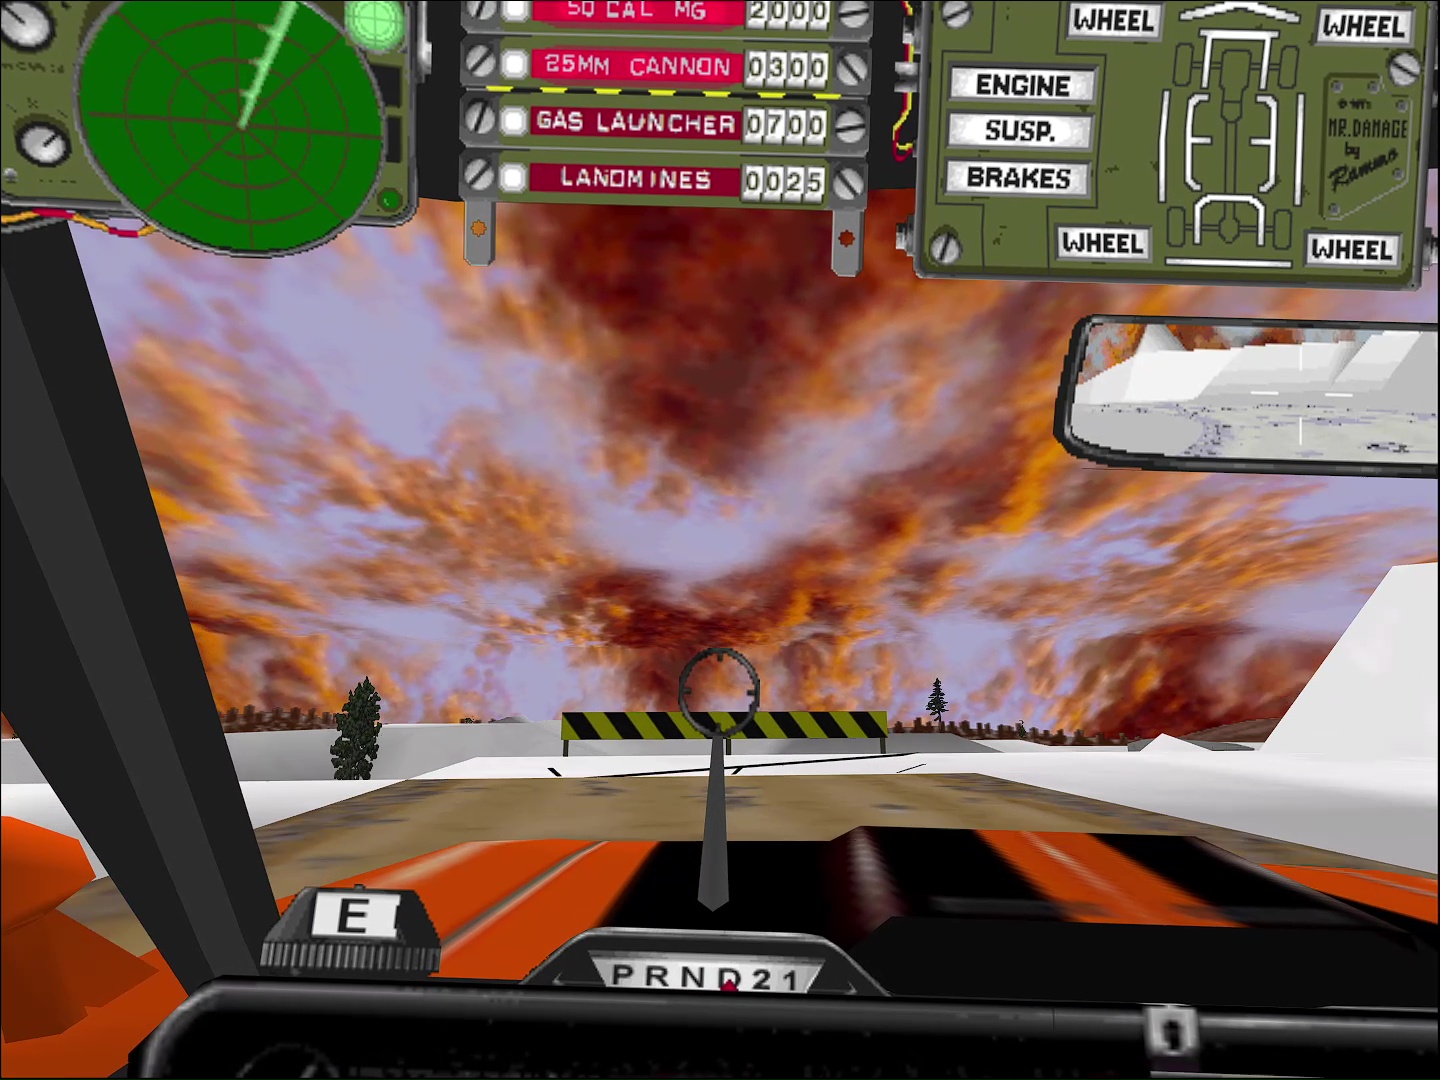
Take the dirt road to the right. There's a jump at the end. No ramp, but there is a gap. Just cruise straight and you should be fine.
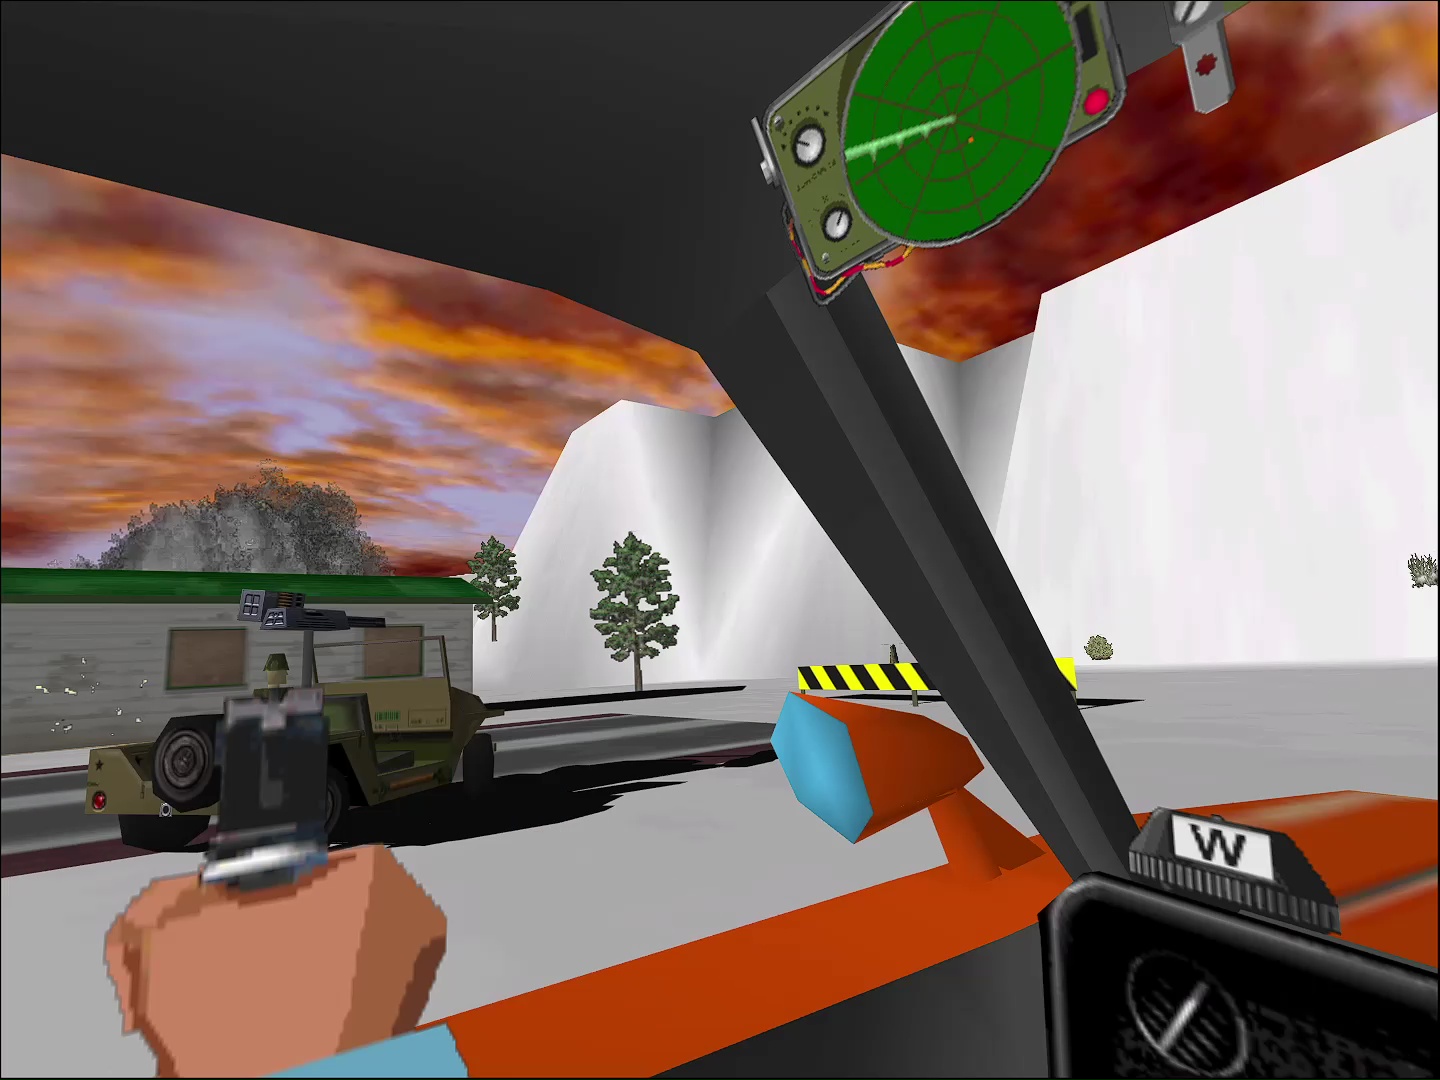
In the base, take out the two Jee... Grappler guards. (By the way, how's a vehicle with no doors going to be helpful in auto-combat?)
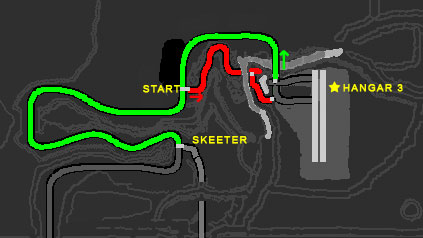
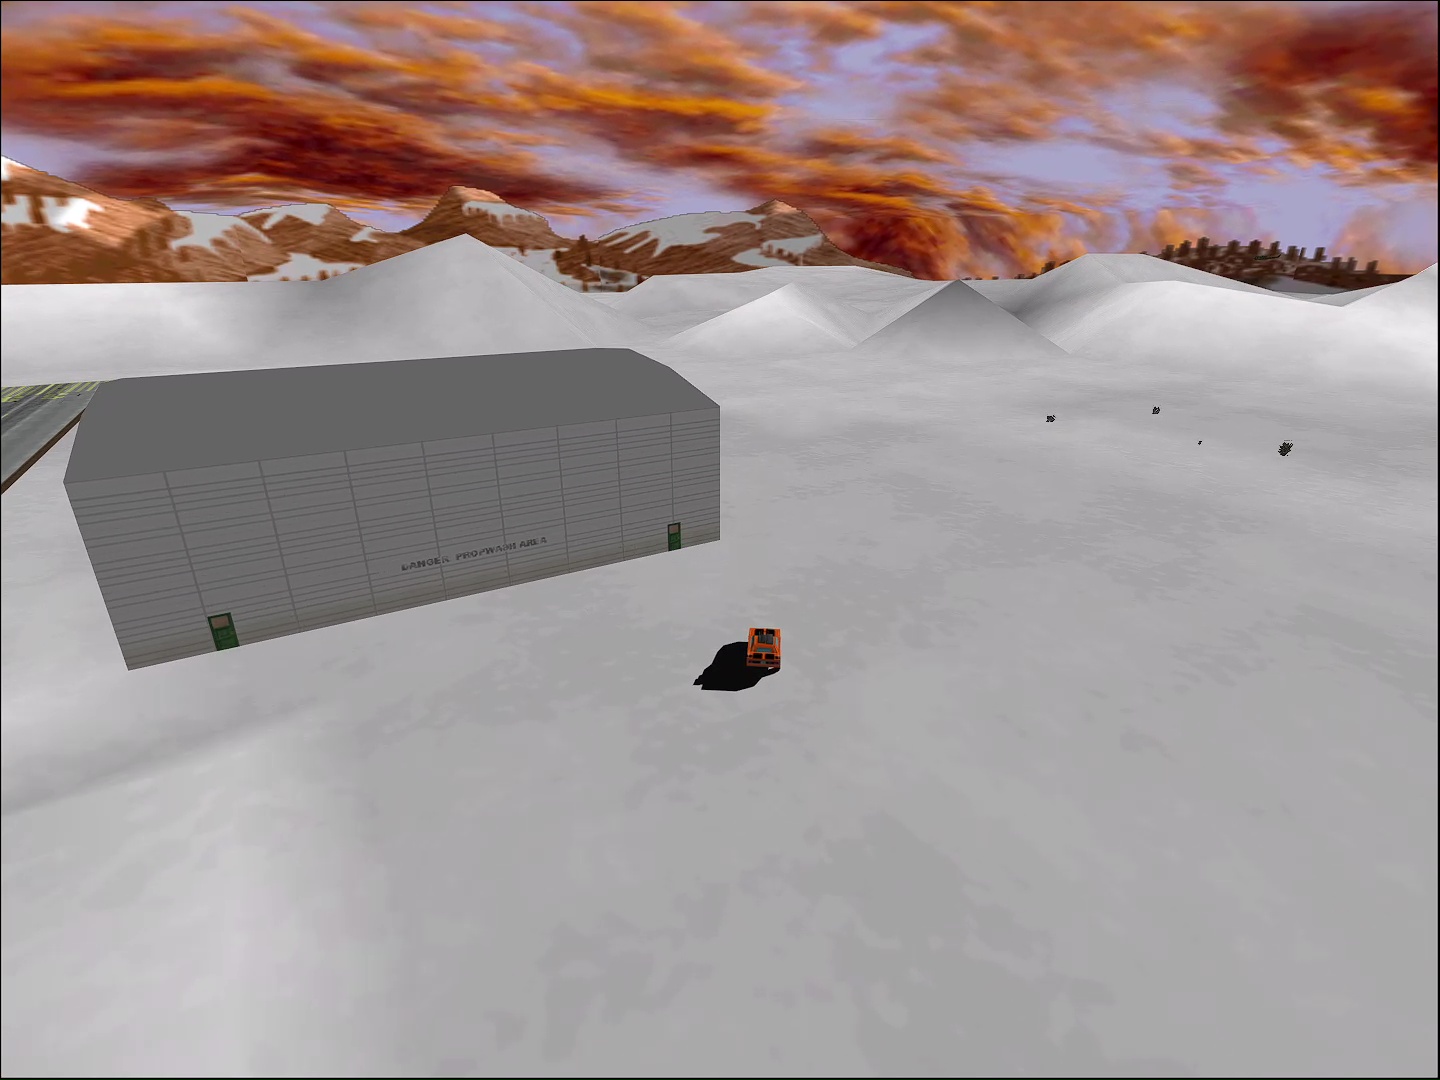
After that, find the hangar. Fortunately, it's a close one. View the map image to the side for more details.
(Want to maps like this for every level of the game? Head to the Nitro Pack Downloads section at Local Ditch Gaming.)
From here, two more guards show up. Kill the first one; more units will head towards the base and the guard doors will open. The window's pretty small; you'll have about 30seconds to get out. Head to the gate shown on the map (close to where you came in).
Head out... now our finest are after Skeeter. Race past the mission starting point to your favorite van-dweller, take out another four Grapplers and that's a wrap. Adios, Gomer! (Another reference!)
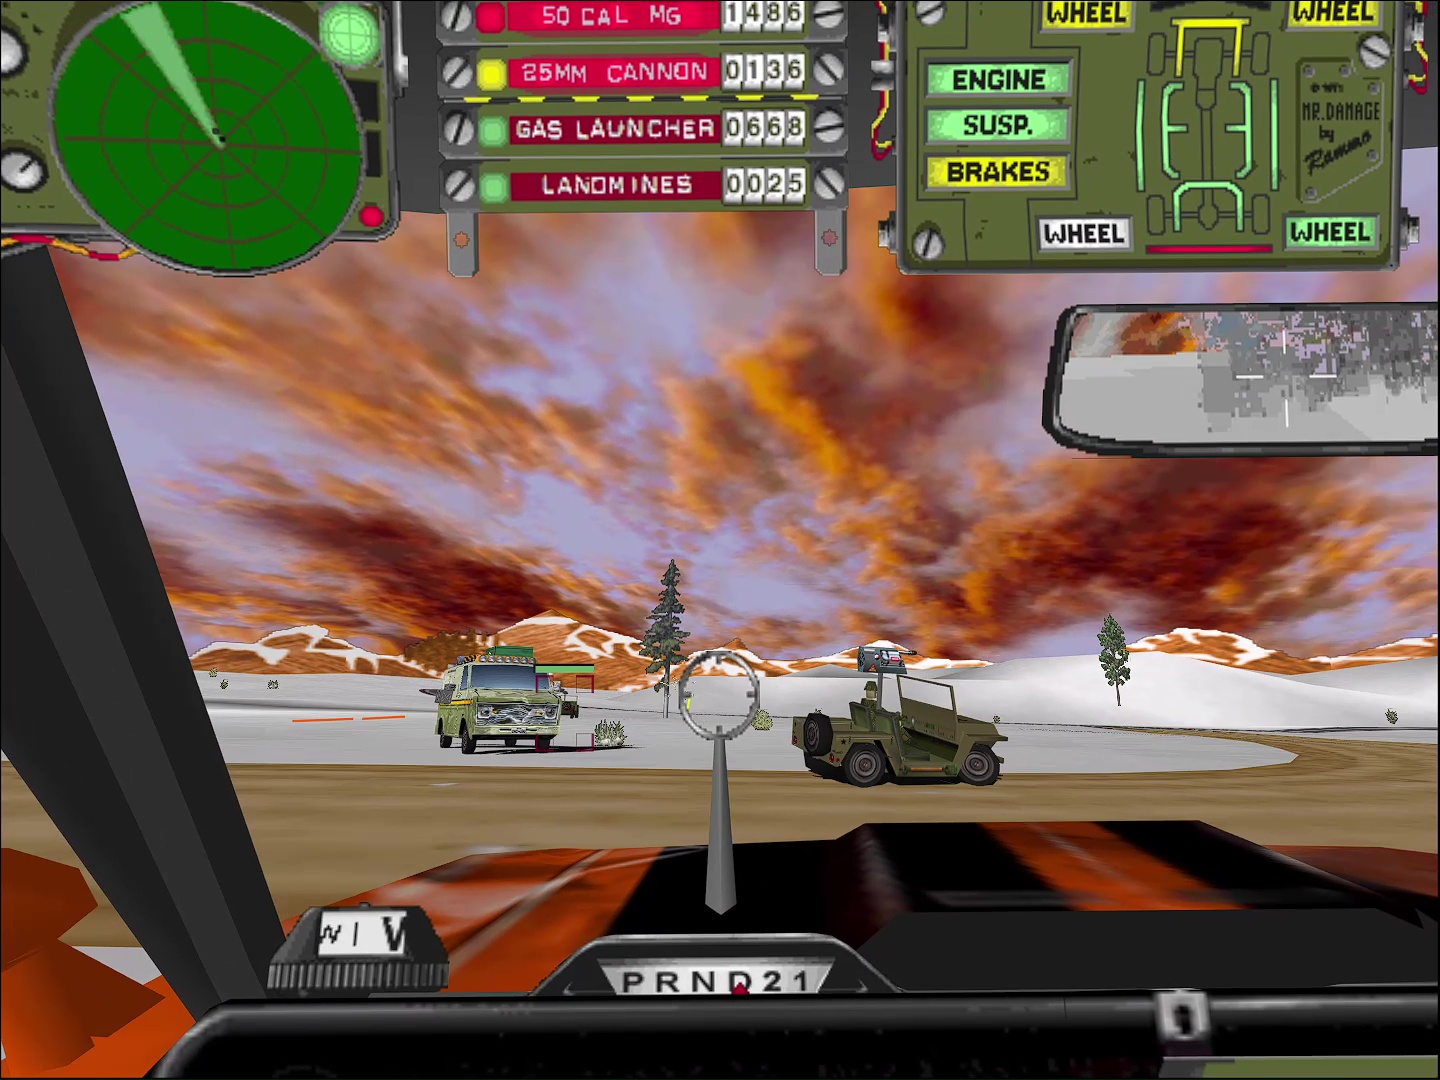
Episode 5: Stop "N" Go
Jade has to escort Hell Toupee as he transports the latest modifications for their rides in a moving truck. Only problem is they've got to cut through the Pesos River bed to avoid too much attention. Some creepers have been spotted down there lately, led by none other than Patriot and his cronies.
Objectives:
- Protect and escort Hell Toupee to the warehouse.
Walkthrough
Setup: Be prepared to take these creepers out quickly. Sometimes they come from multiple directions and it's hard to keep them from unloading on the truck. A Dr. Radar or two makes this level much easier.
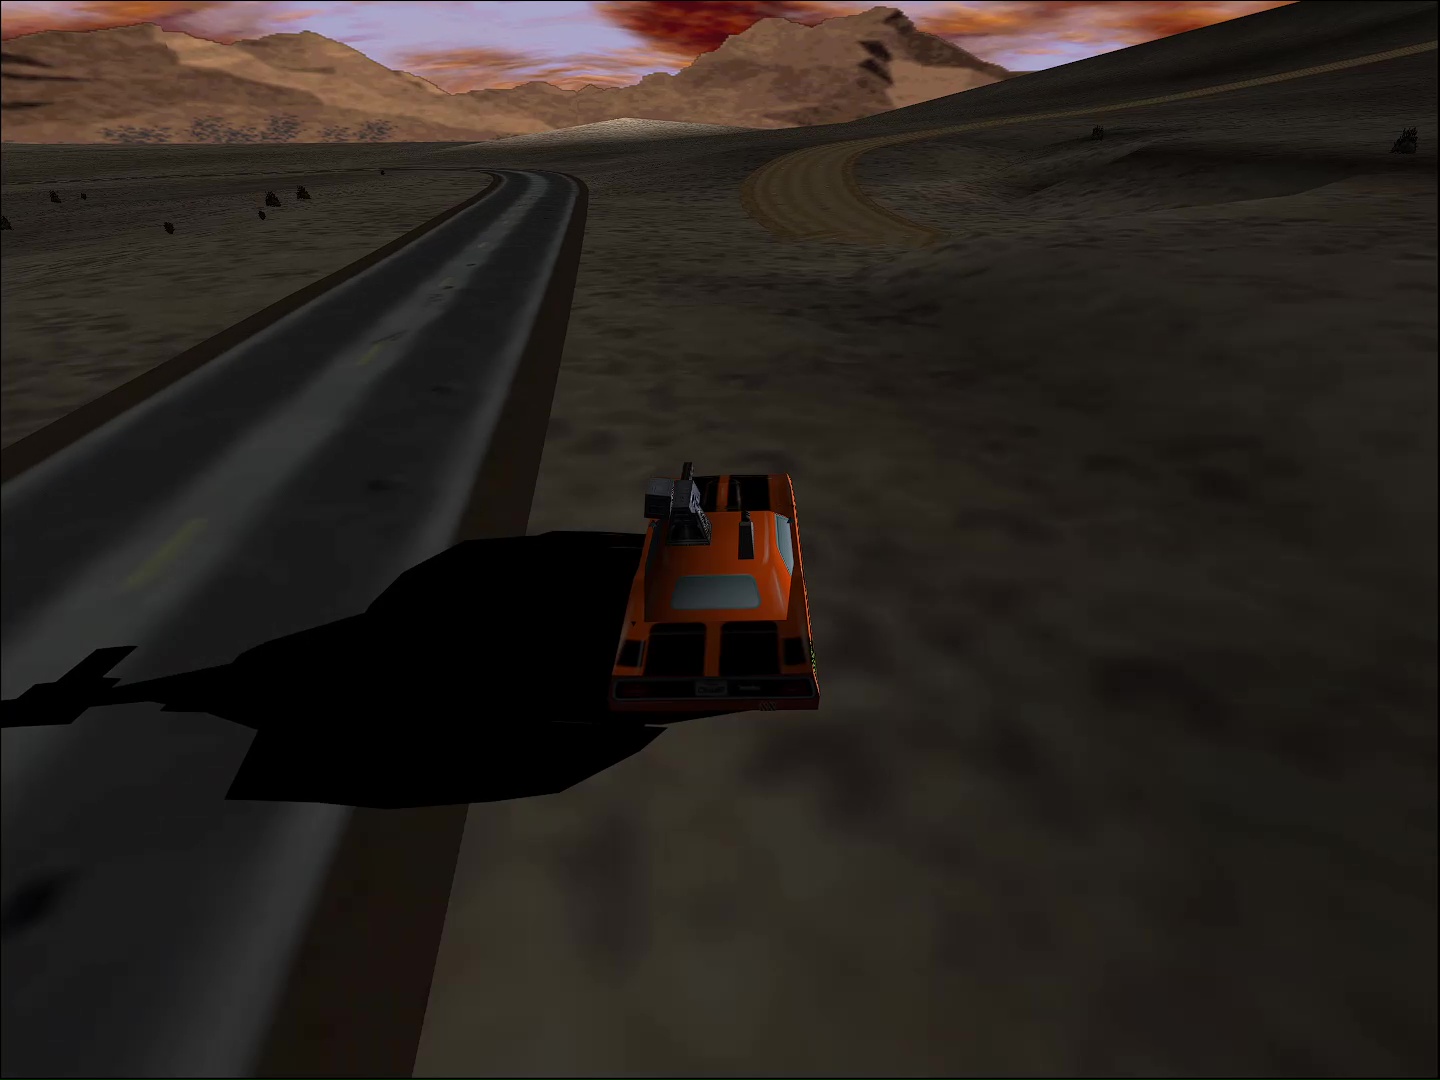
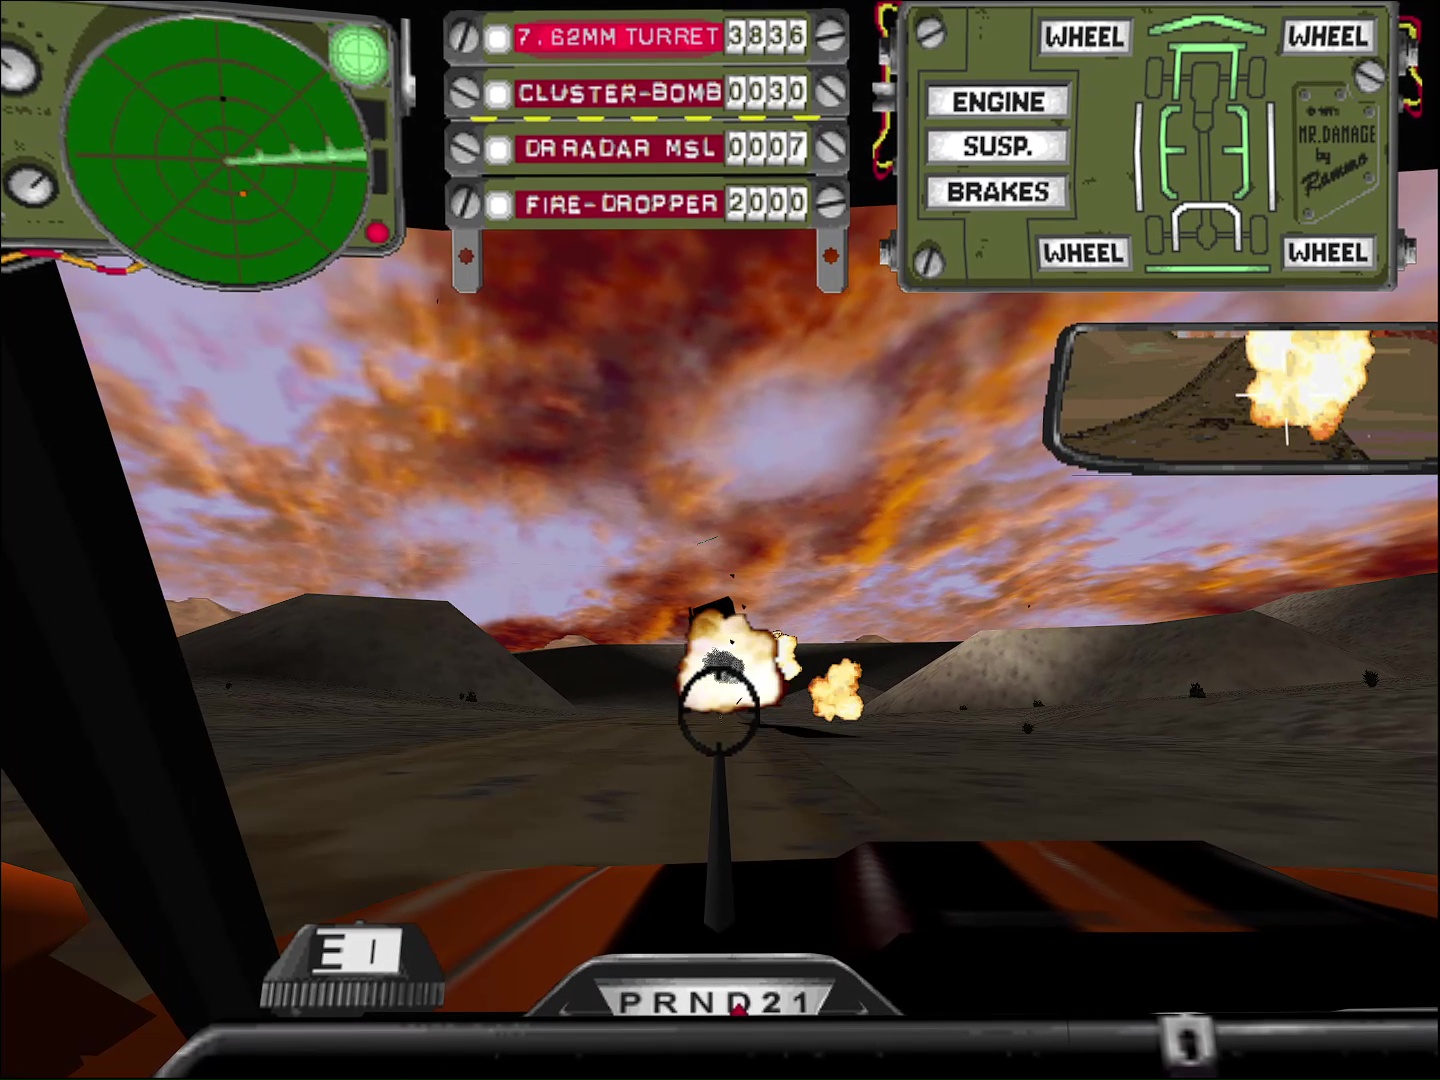
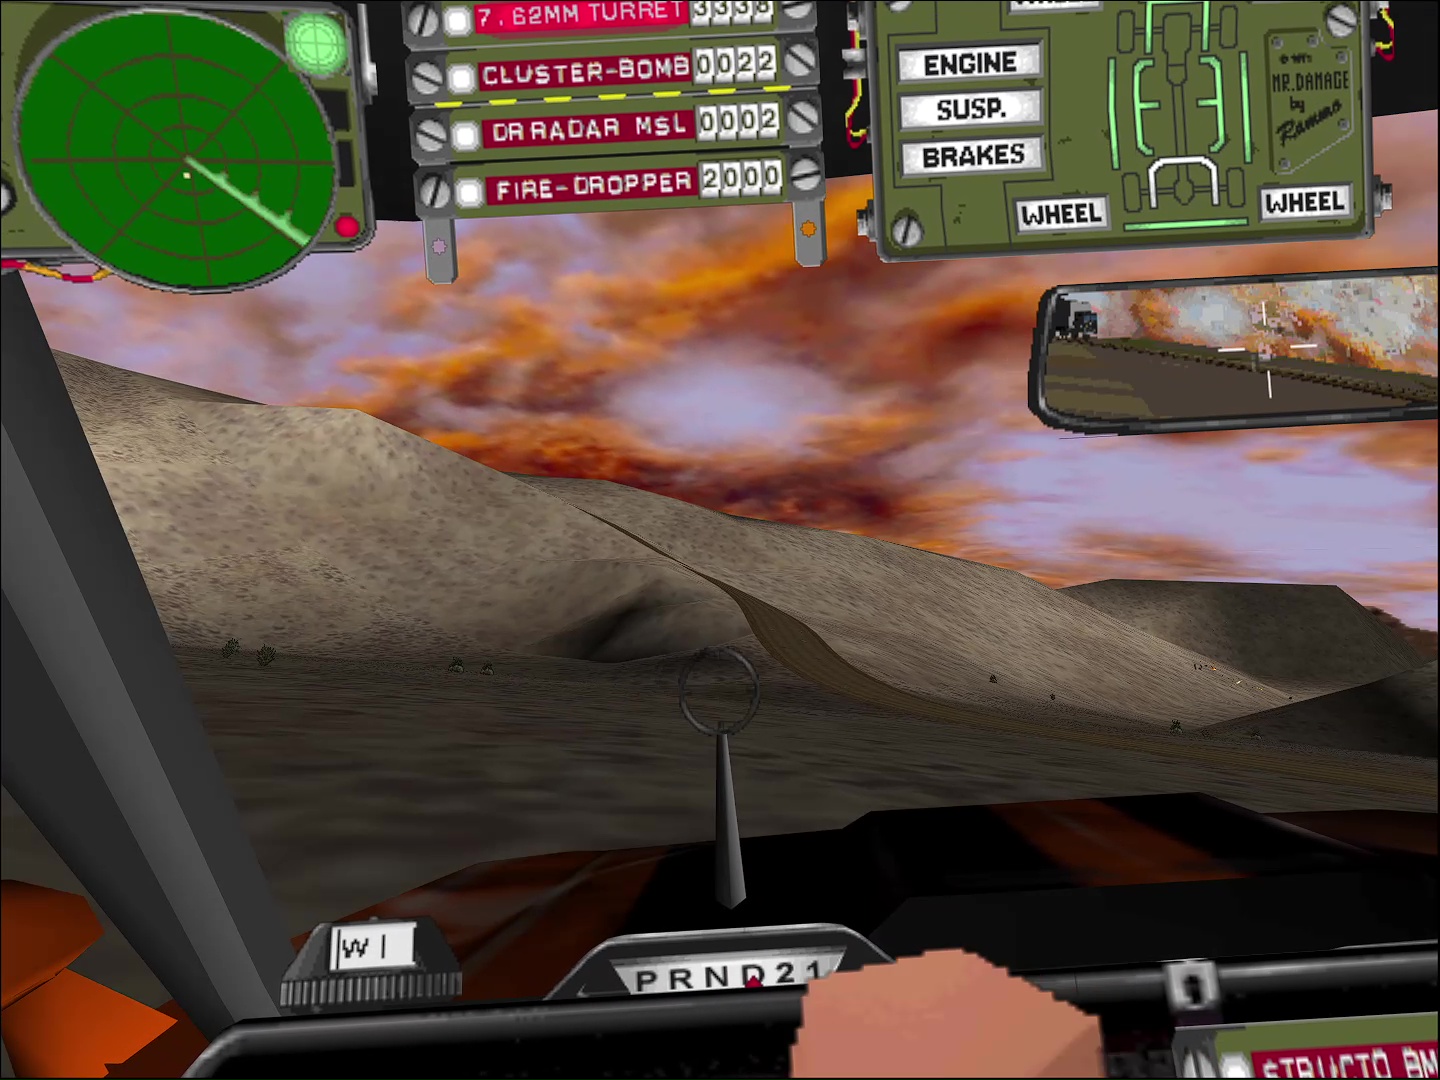
We've got an escort mission this time. Enter a dirt road via the first right you see. Once you get into the riverbed, Patriot pops up on the radio. Shortly after, he and one of his buddies will be right on your scent. Blast'em and make sure the truck doesn't take too many hits in the process.
Up next is the weird-ass "Vixen, I can smell you" creep from Groove's strange dream in the original I '76. He's driving a Vikea Wagon. Put him down.
Once the truck takes a hit, Toupee'll let you know the engine's "Stop 'N' Go" in a very obvious nod to the mission title.
Another five or so creepers attack after that, including a Coupe and a Hacienda. Once you hit topside, there's one last battle. After that, head to the warehouse and you're home free.
Skeeter Walkthrough
Episode 11: Never Get Out
Taurus is holed up in a barn surrounded by creepers and Jade's out of town. It's up to Skeeter to take care of things.
Objectives:
- Take out the fools who are attacking the farm.
- Hunt down Leper Messiah and eliminate him.
Walkthrough
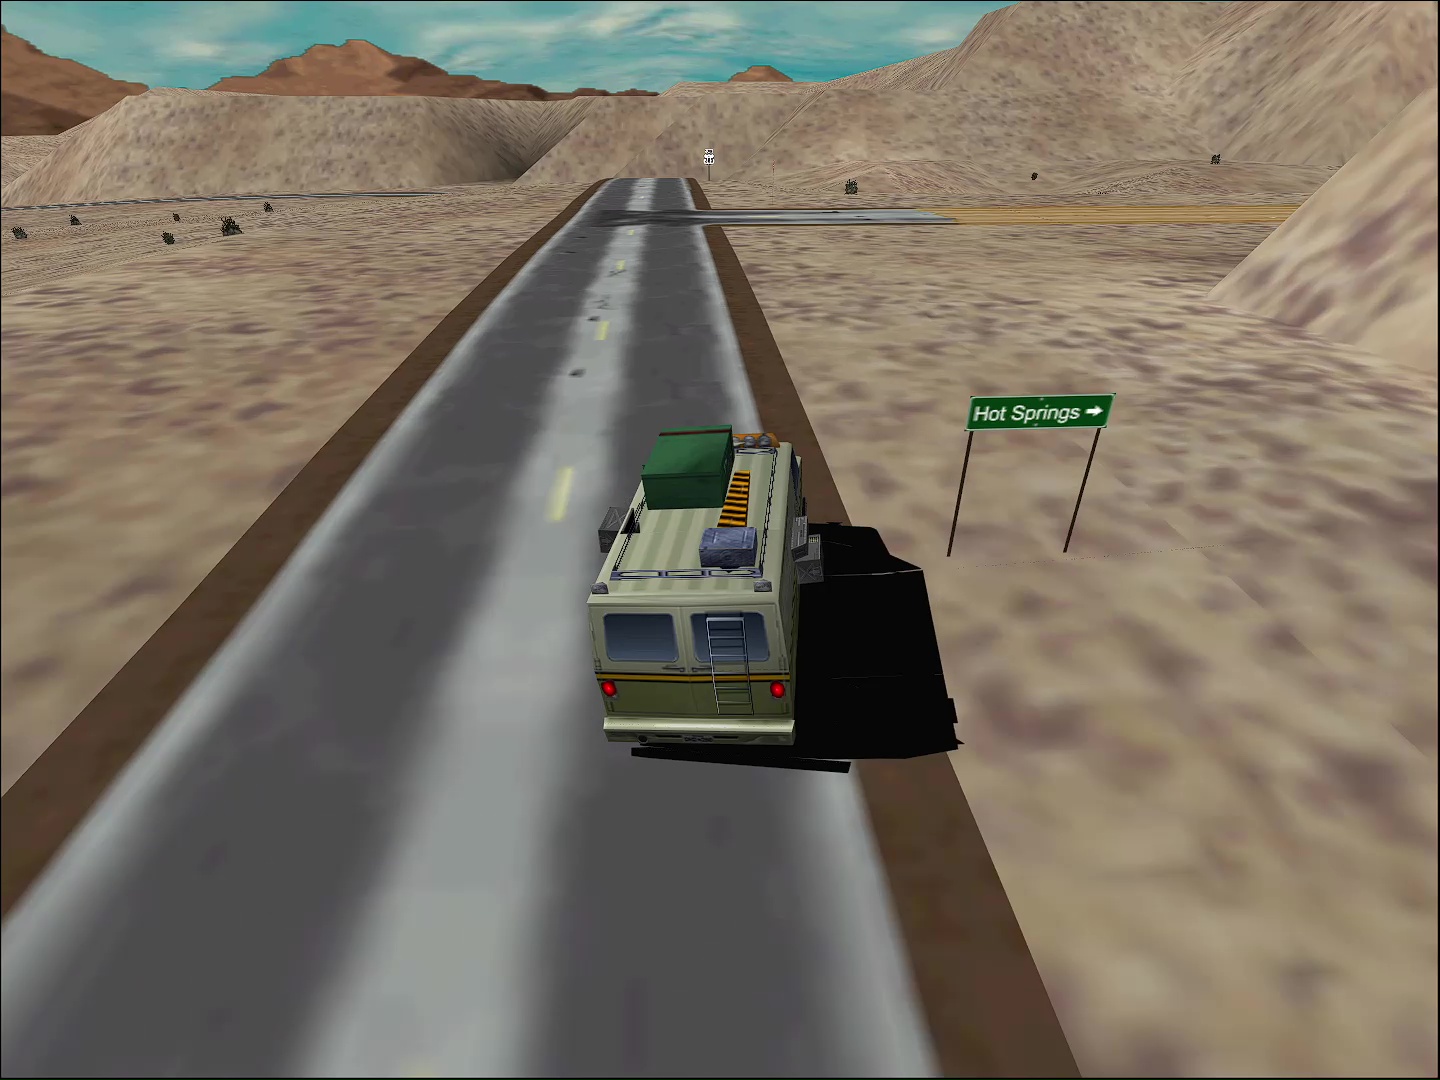
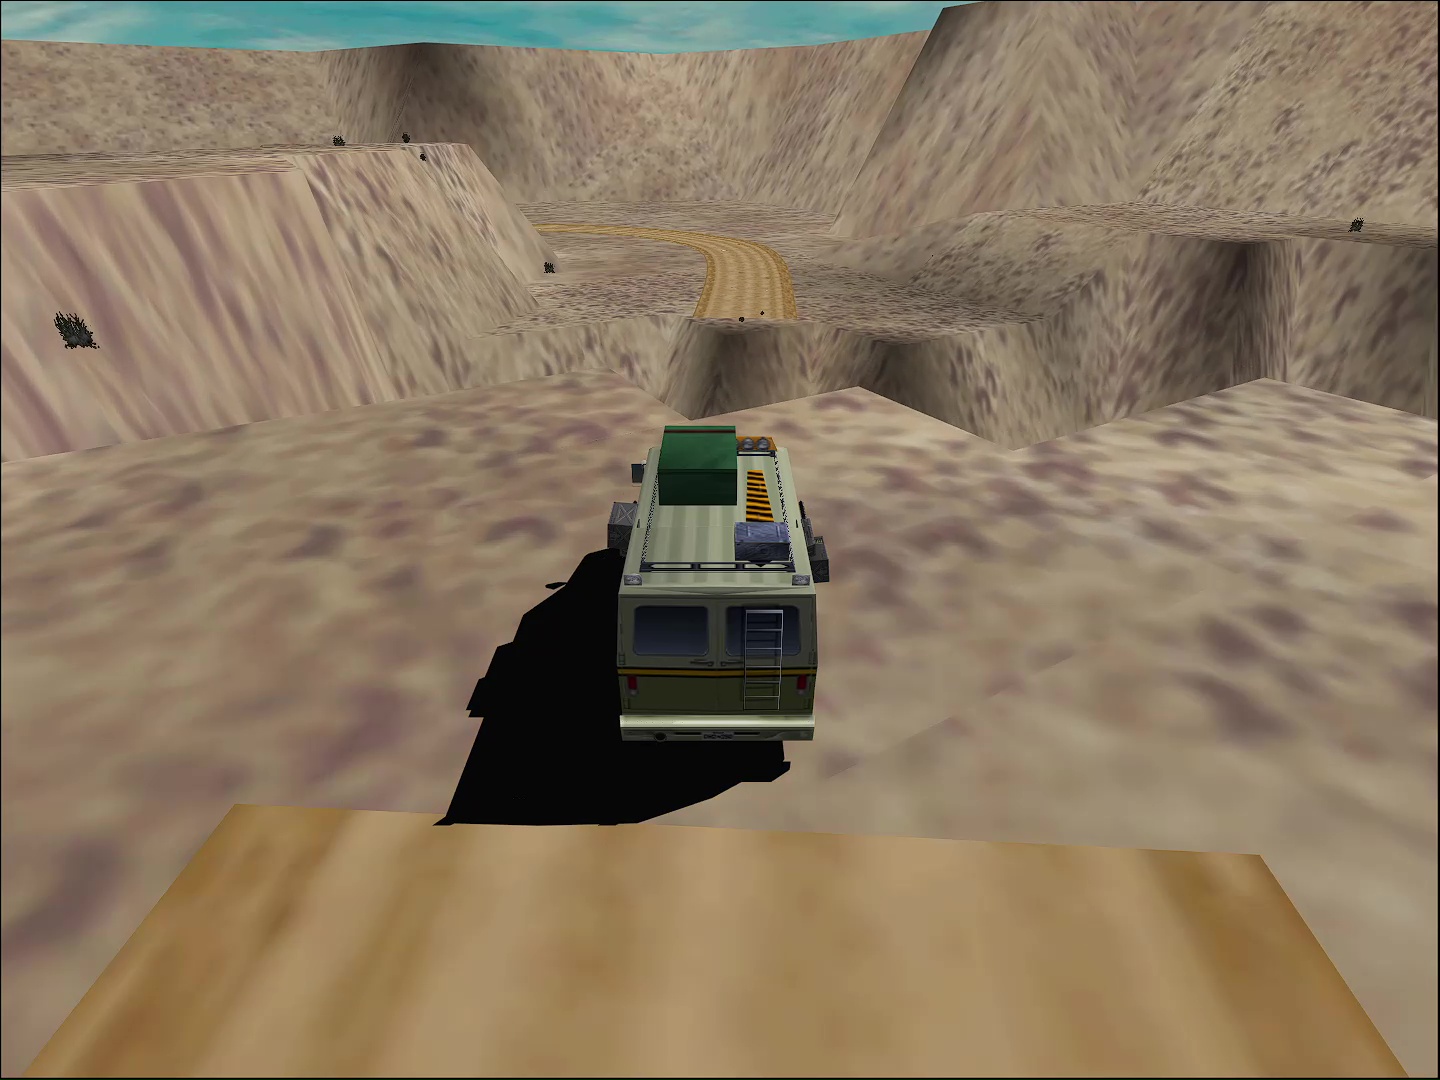
Head past the gas station and hang a right on the first dirt road you see. There's a hidden jump along the way, so you keep your speed up enough to not get caught.
After the jump, a couple of... minions will light up on your radar (likely a Courchelle and a Palomino). Head towards them. You'll find a barn with Taurus and Eloise nearby.
From here on out, it's a simple all-out attack mission. Take out six minions, lead by one Leper Messiah. (Bow to Lepper Messiah! Gotta be a Metallica reference, right? I can't remember if there any famous I '76 community members by that name or not.)
Leper's gonna run, so take out the last two creepers quickly in succession — get'em both red before you finish'em. Or, brace for a race and get on their tail as you mow'em down.
And always, "Never get out the car."
Episode 10: Mother
Notorious Bob has stolen Radiator Mother's sweet ride. Get it back!
Objectives:
- Disable Notorious Bob before he gets away. Remember — Don't kill him!
Walkthrough
Skeeter's at the nationwide burger joint ordering a Mondo Mondo with cheese and no meat. Perhaps it's a callback to Vigilante's for a Meatless America in the I'76 mission Mondo Burger.
Let's make this easy: Equip a flamethrower.
The mission starts traveling north. Target an enemy — there's a good chance the first thing you find is Notorious Bob. As he gets close, start spraying your flamers. Get him red... and that's it.
Having trouble with your flamers not firing correctly? Make sure your framerate is set appropriately. See the Install Guide & FAQ for more.
We hear a bit of character description for Skeeter in this mission: He doesn't like fighting, just working on cars. He seems to have a few screws loose... and everyone is aware of it.
Episode 9: Mojo Rising
Jade had a bad run-in with the Voodoo Riders and is stuck with no ammo. Bad news: more Riders are on the way. It's up to Skeeter to get there in two minutes and save her.
Objectives:
- Find and protect Jade!
- Take out Natty Dread and his gang.
- Kill Natty Dread before he reaches the Voodoo Riders' hideout.
Walkthrough
Mojo Rising... sounds like the Doors tune L.A. Woman (and slight variant of "Mr. Mojo Risin'," an anagram of Doors singer Jim Morrison). Oh, and more game-relevant: Mojo's the CB handle of one Natty Dread.
Head north following the road. Weirdly, there's an ambulance that shows as an enemy — it's not, so ignore it.
There's a dirt road the right, but it's probably not worth hopping on it. Stay the course on 70.
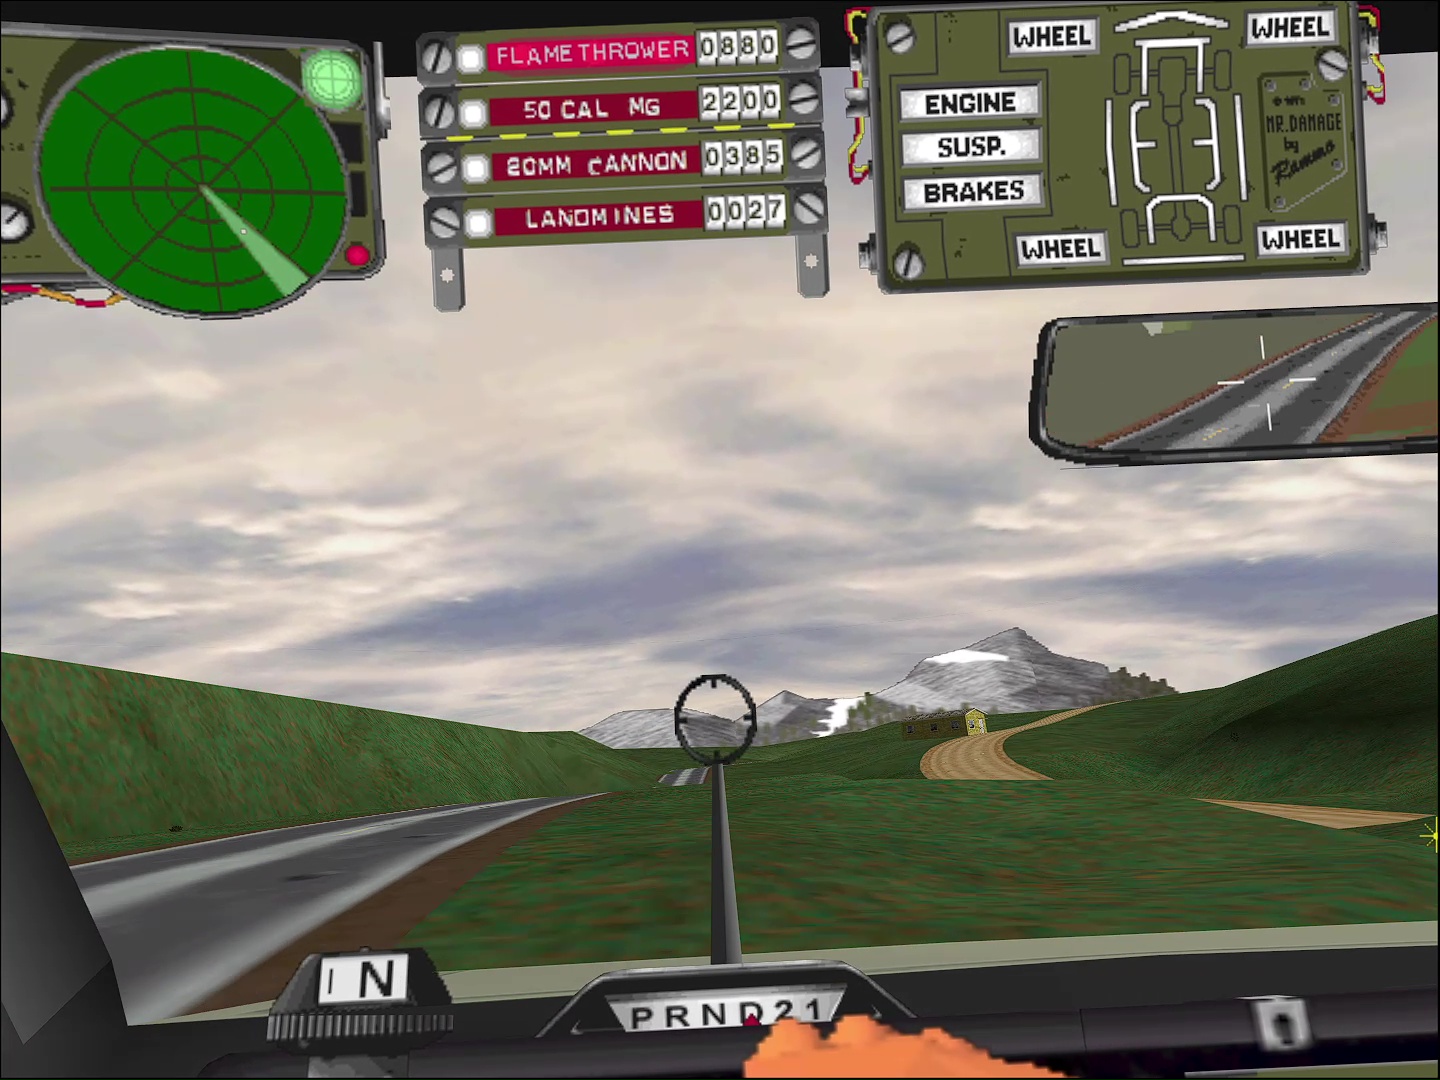
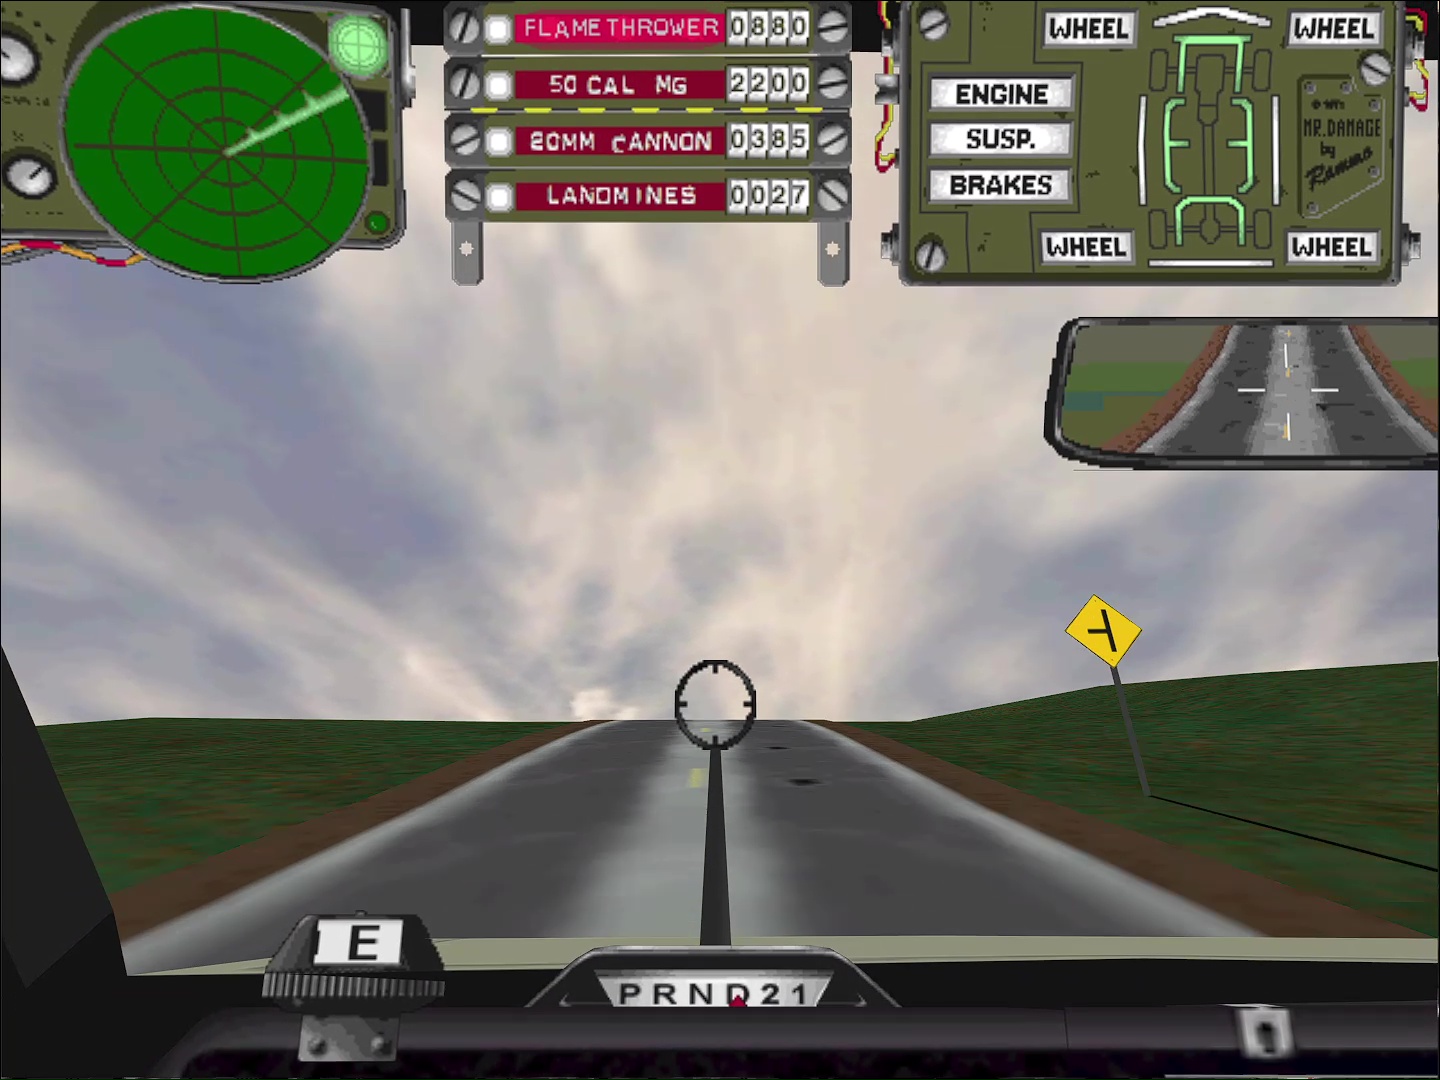
Past the gas station, prepare to make a left as you crest a hill. You'll see a sign for the road first.
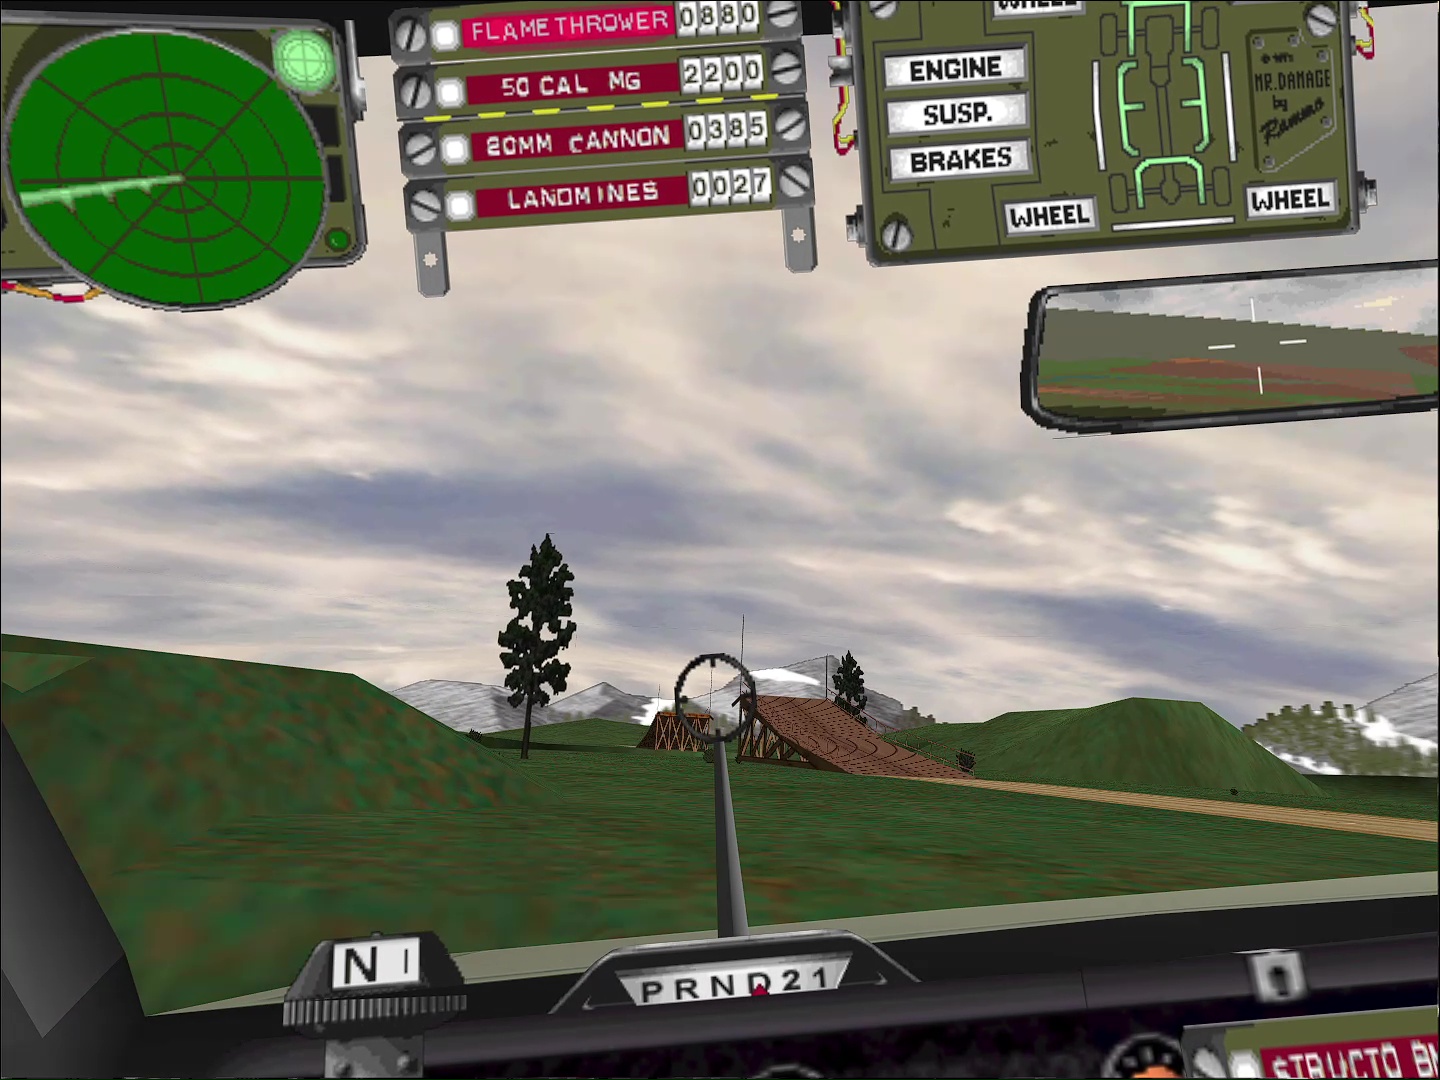
There's a ramp at the end of the dirt road, so hit it straight and with a decent amount of speed. If you can't get over the ramp, even with nitrous, a blower, and a super light car, then make sure your framerate is set appropriately. See the Install Guide & FAQ for more.
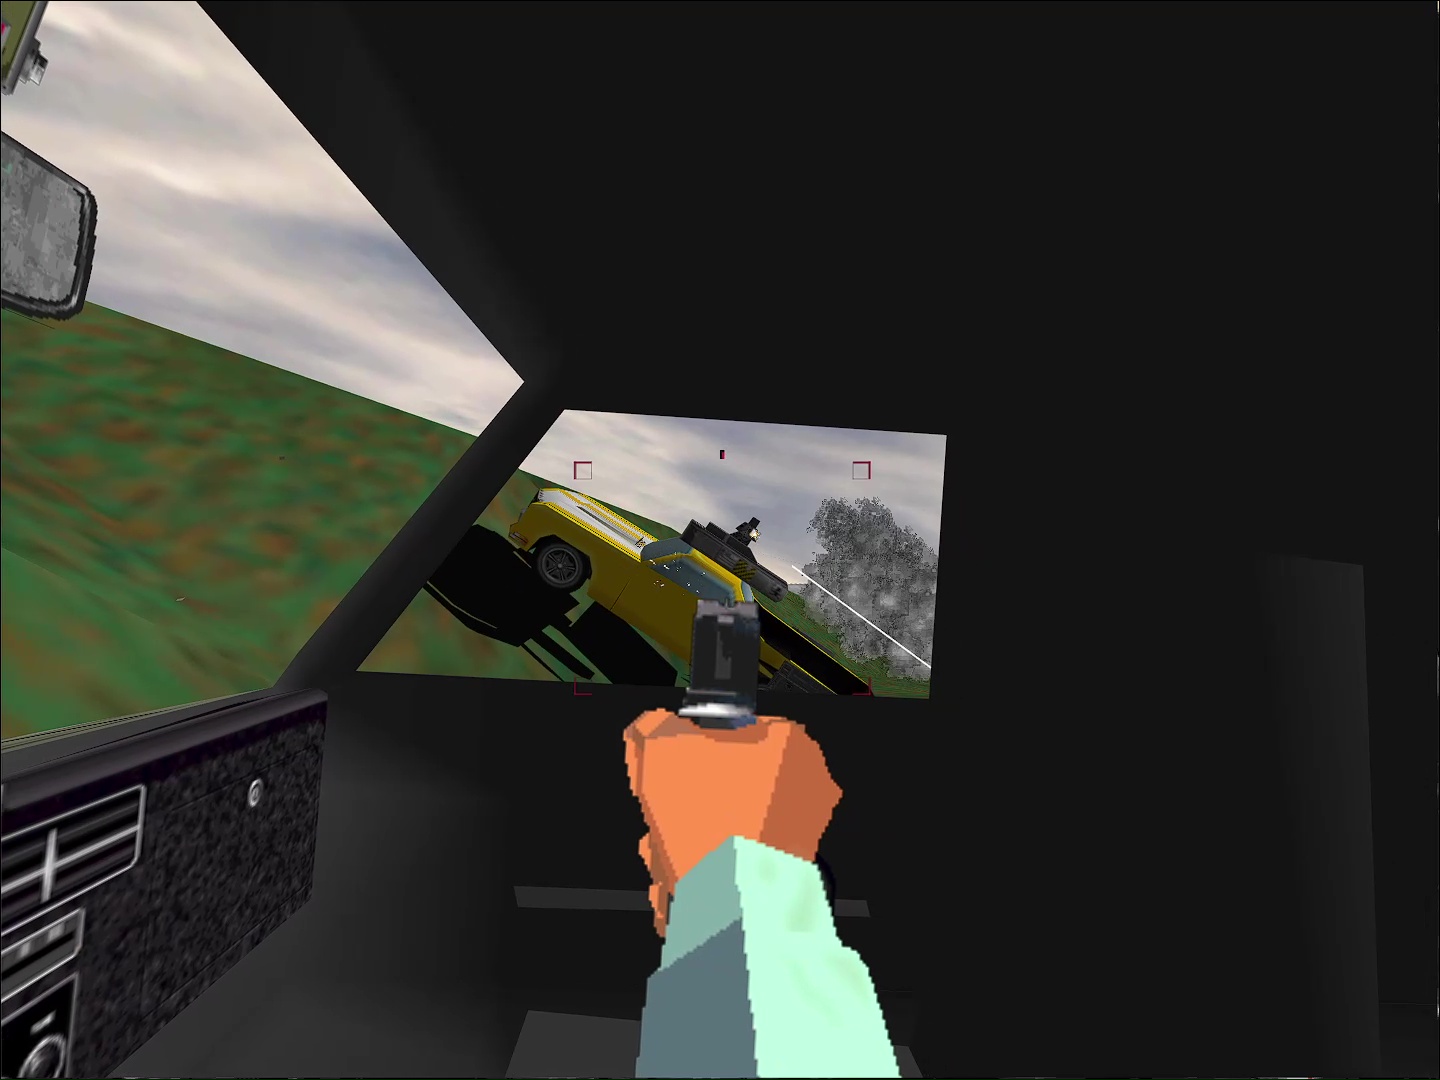
Ice Skippy, eighty six Nightmare, then take out their leader Natty Dread. For a guy that gets his own missions, it's a little anticlimactic.
Episode 12: Allies
The military's got a section of town quarantined off. Taurus and Hell Toupee are stuck inside of there. Jade's got no ammo. That means only one thing: It's up to Skeeter to find the chopper and keep the heat off long enough for everyone to get out.
Objectives:
- Find the helicopter with Taurus and Hell Toupee inside. Make sure no baddies are around them so they can escape!
Walkthrough
Setup-wise, you may want to bring a homing weapon like a turret or Dr. Radar in case a helicopter comes your way.
Hang a right and an immediate left to go south on 137.
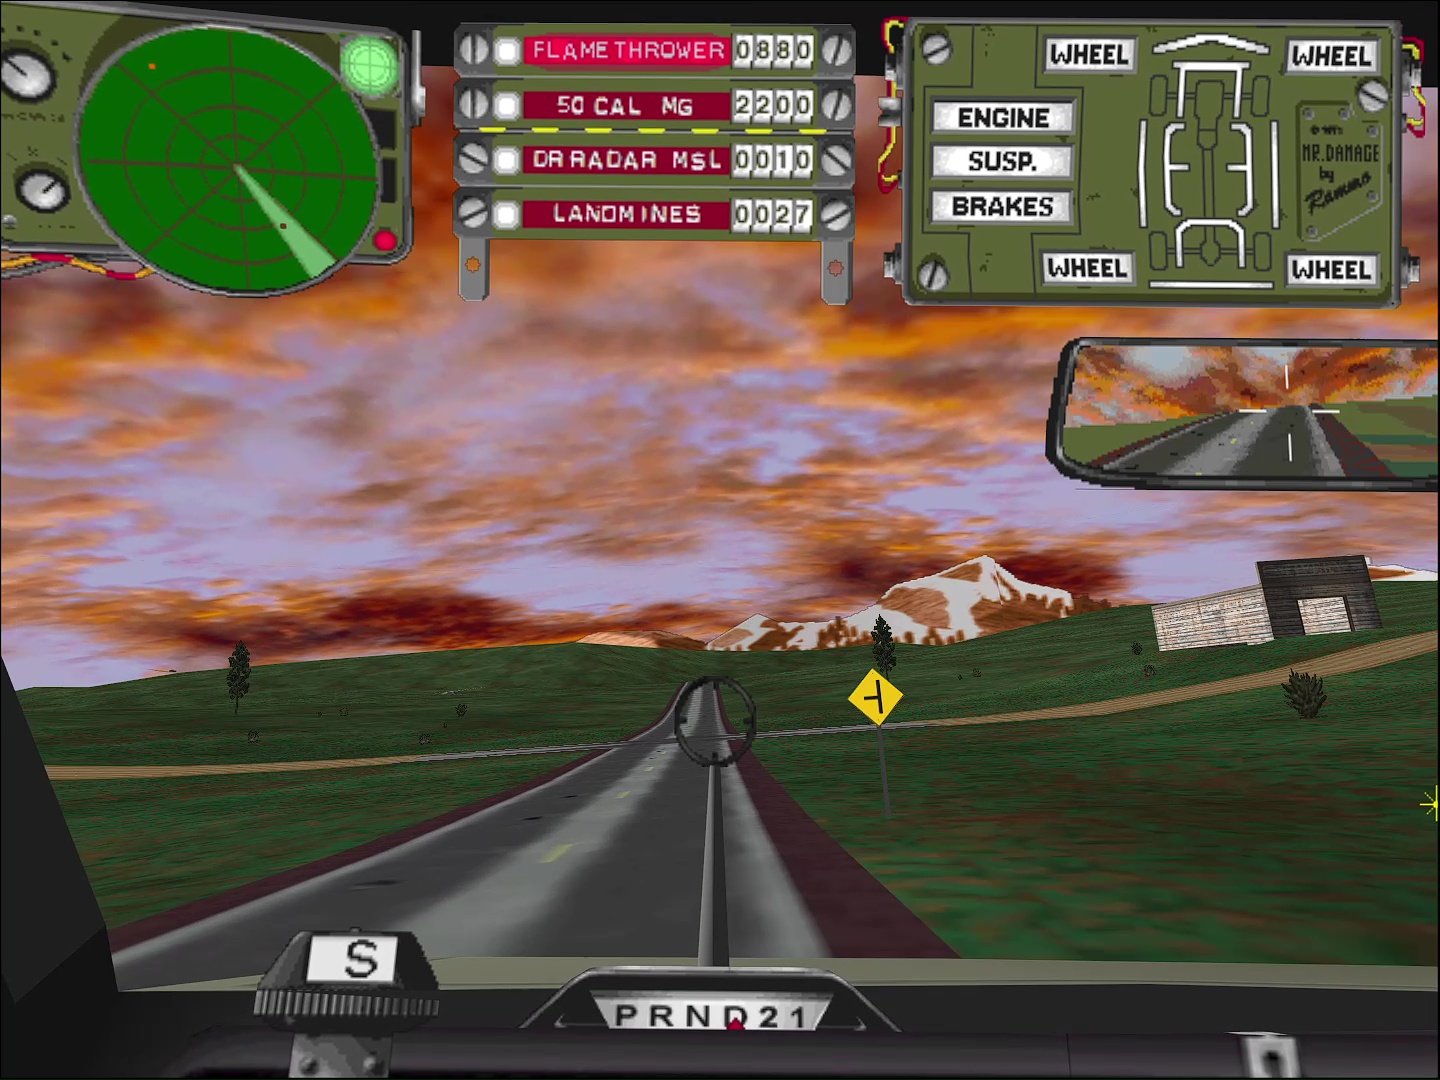
Hang a left at the intersection to enter the dirt road.
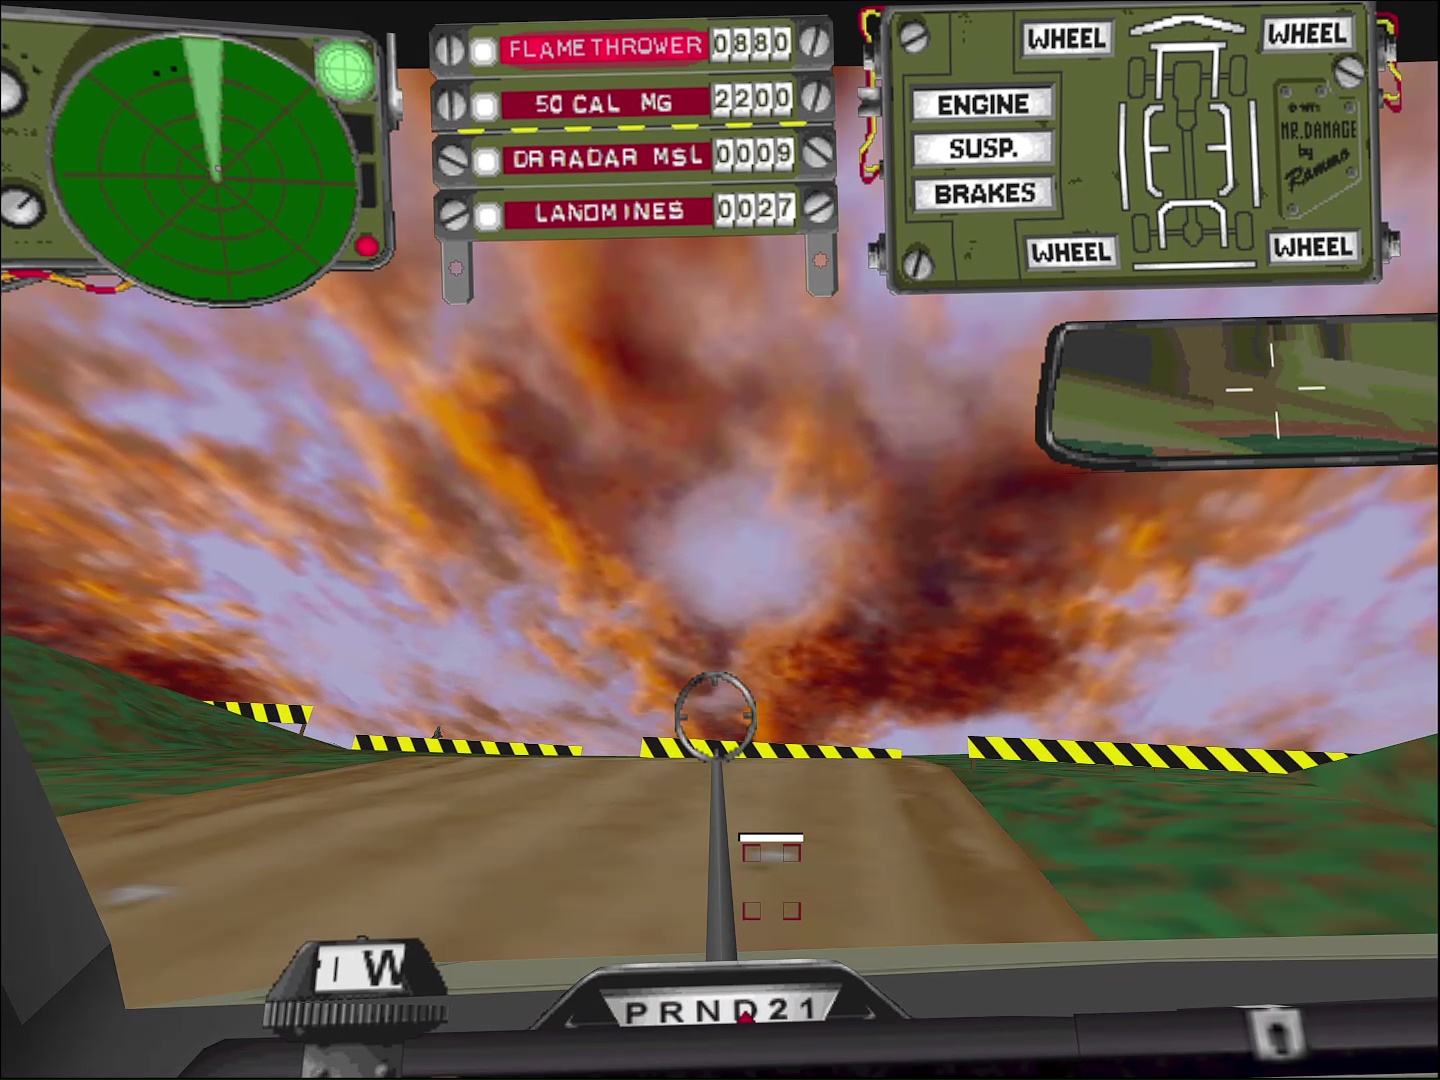
Follow the dirt road and break through the barriers.
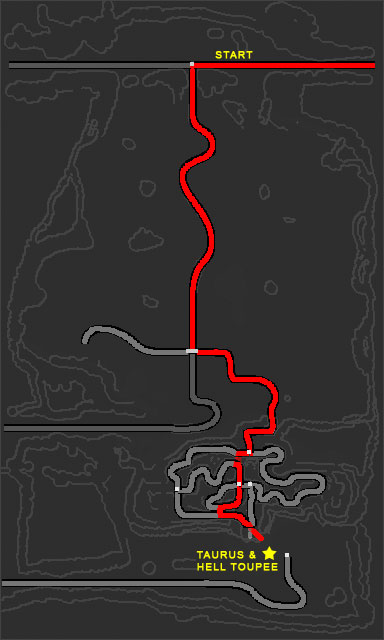
Once in, the place is a maze. You'll likely have a pair of creepers hit your radar off to the east. Track them down to a location at the base of a hill and you'll find Taurus and Hell Toupee. Watch the video to see how I got there. Or, check out an overhead map of the level here in the walkthrough images.
(Want to maps like this for every level of the game? Head to the Nitro Pack Downloads section at Local Ditch Gaming.)
After that, take out all of the creepers. There's an assortment of military and auto-mercenaries here. Clean up and that's a wrap.
In another round of character building, we hear again of Skeeter's unwillingness to fight. Plotwise, something's brewing. The quarantine is a charade to hide that creepers are in cahoots with the military. The heck is going on?
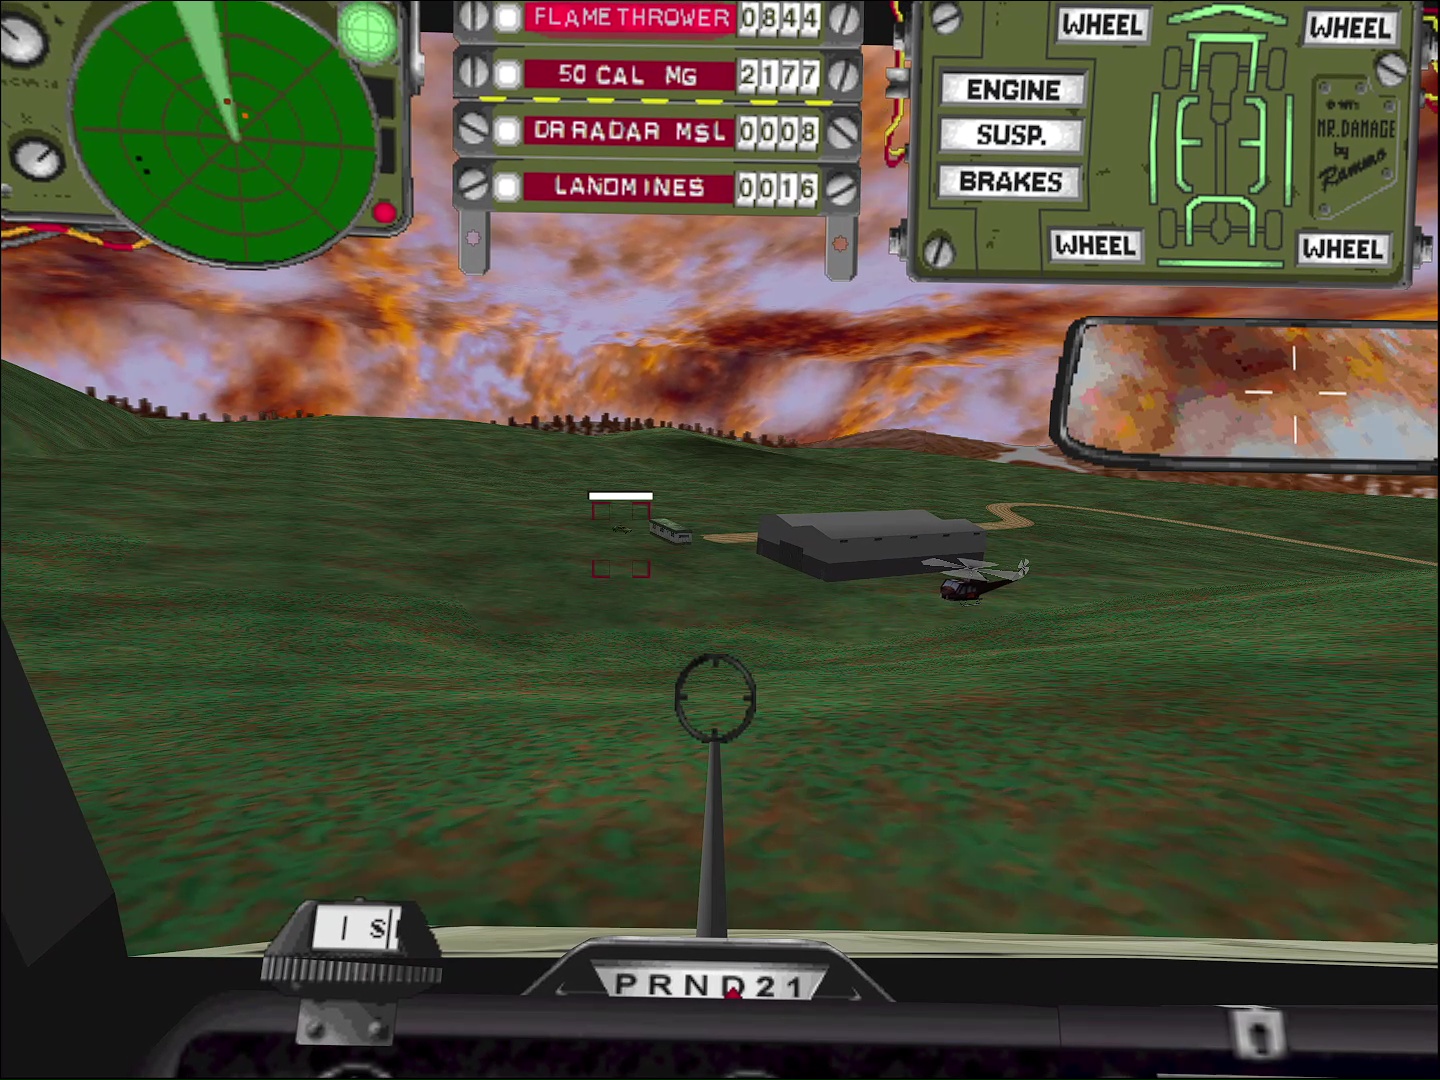
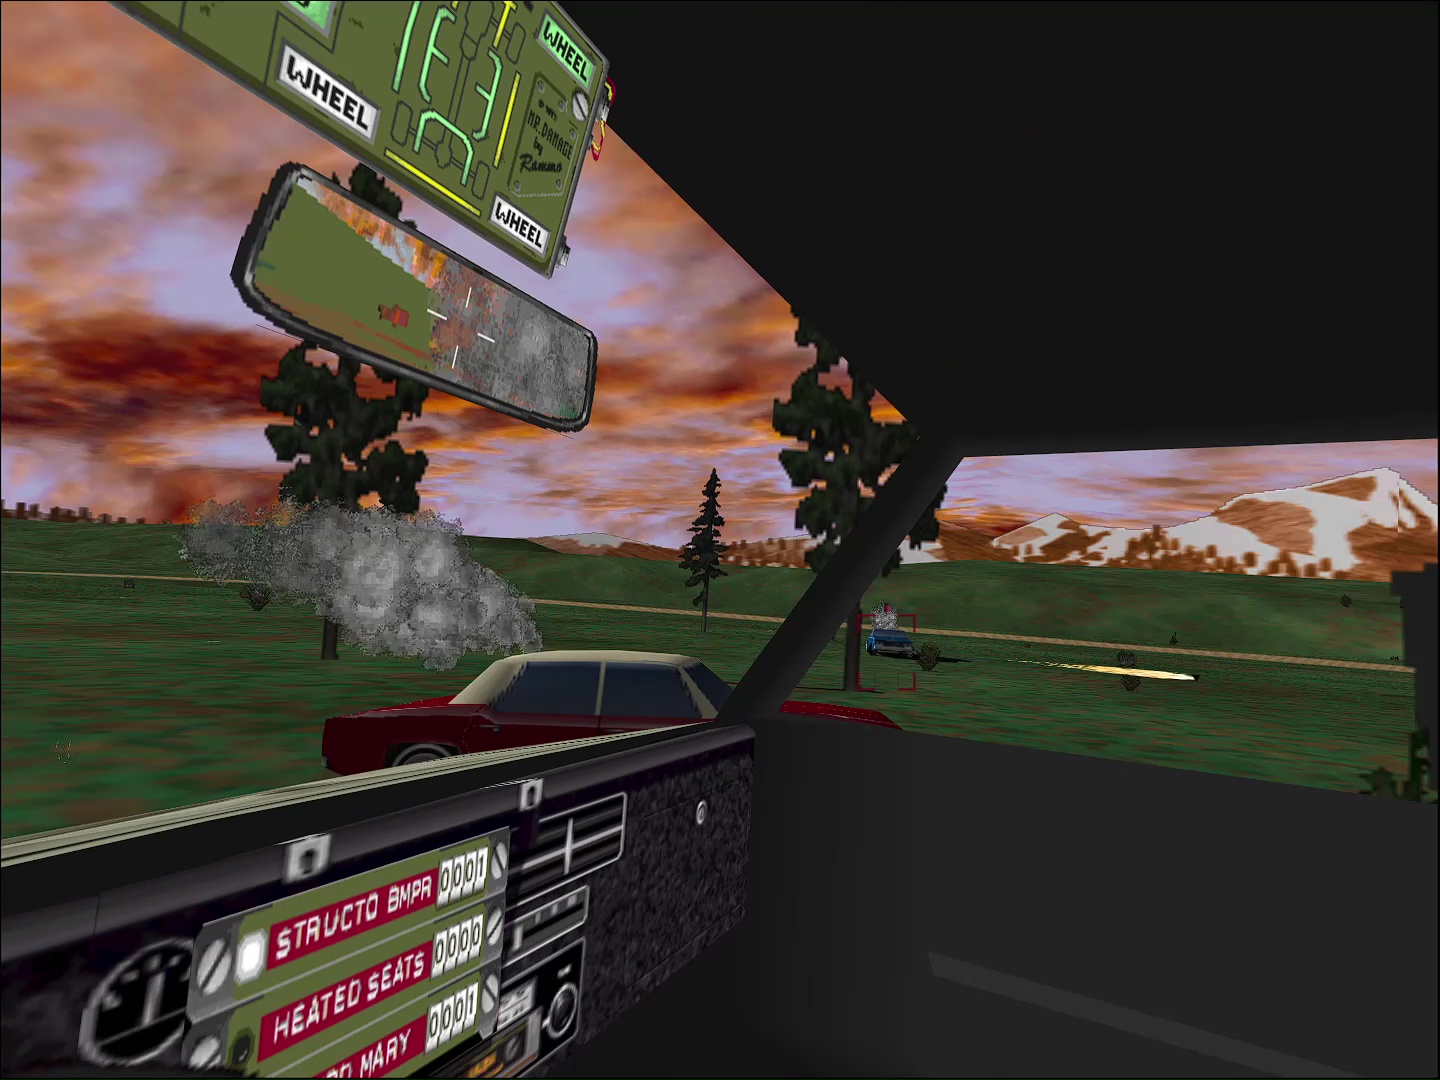
Natty Dread Walkthrough
Episode 14: Nice Try
Taurus and some other "cowboys" are stuck in a ranch house nearby. After an encounter in Amarillo, it's time for Natty Dread to get his revenge.
Objectives:
- Find and destroy the ranch house.
- Take out ALL vigilantes!
- Follow him. He may lead you to the ranch.
Walkthrough
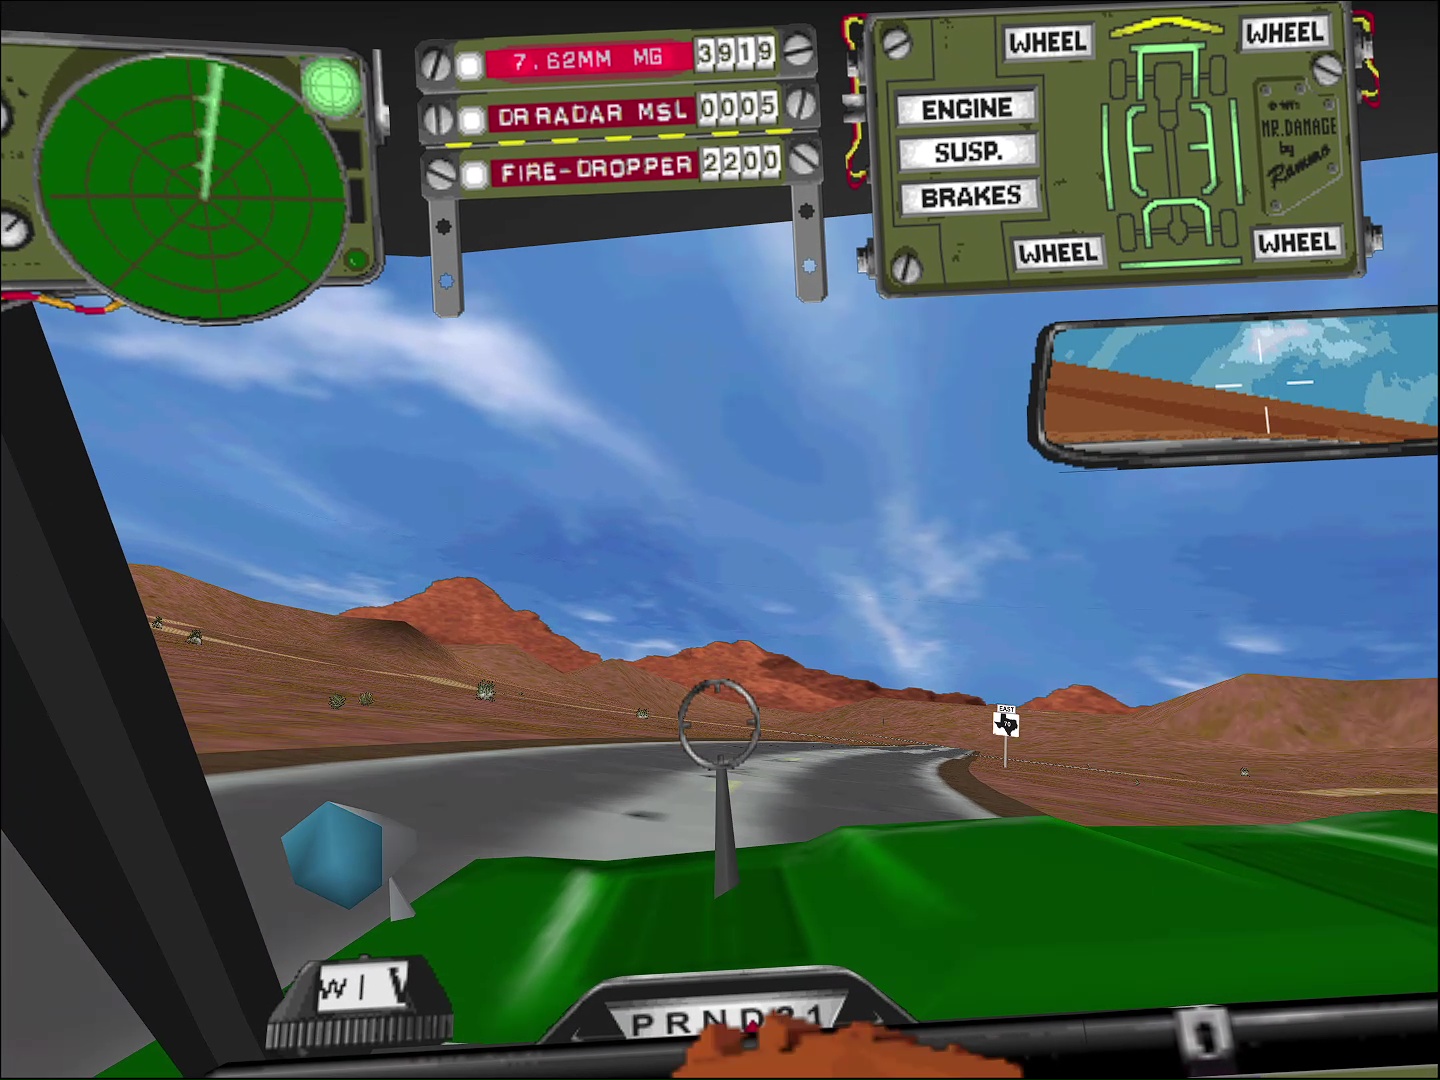
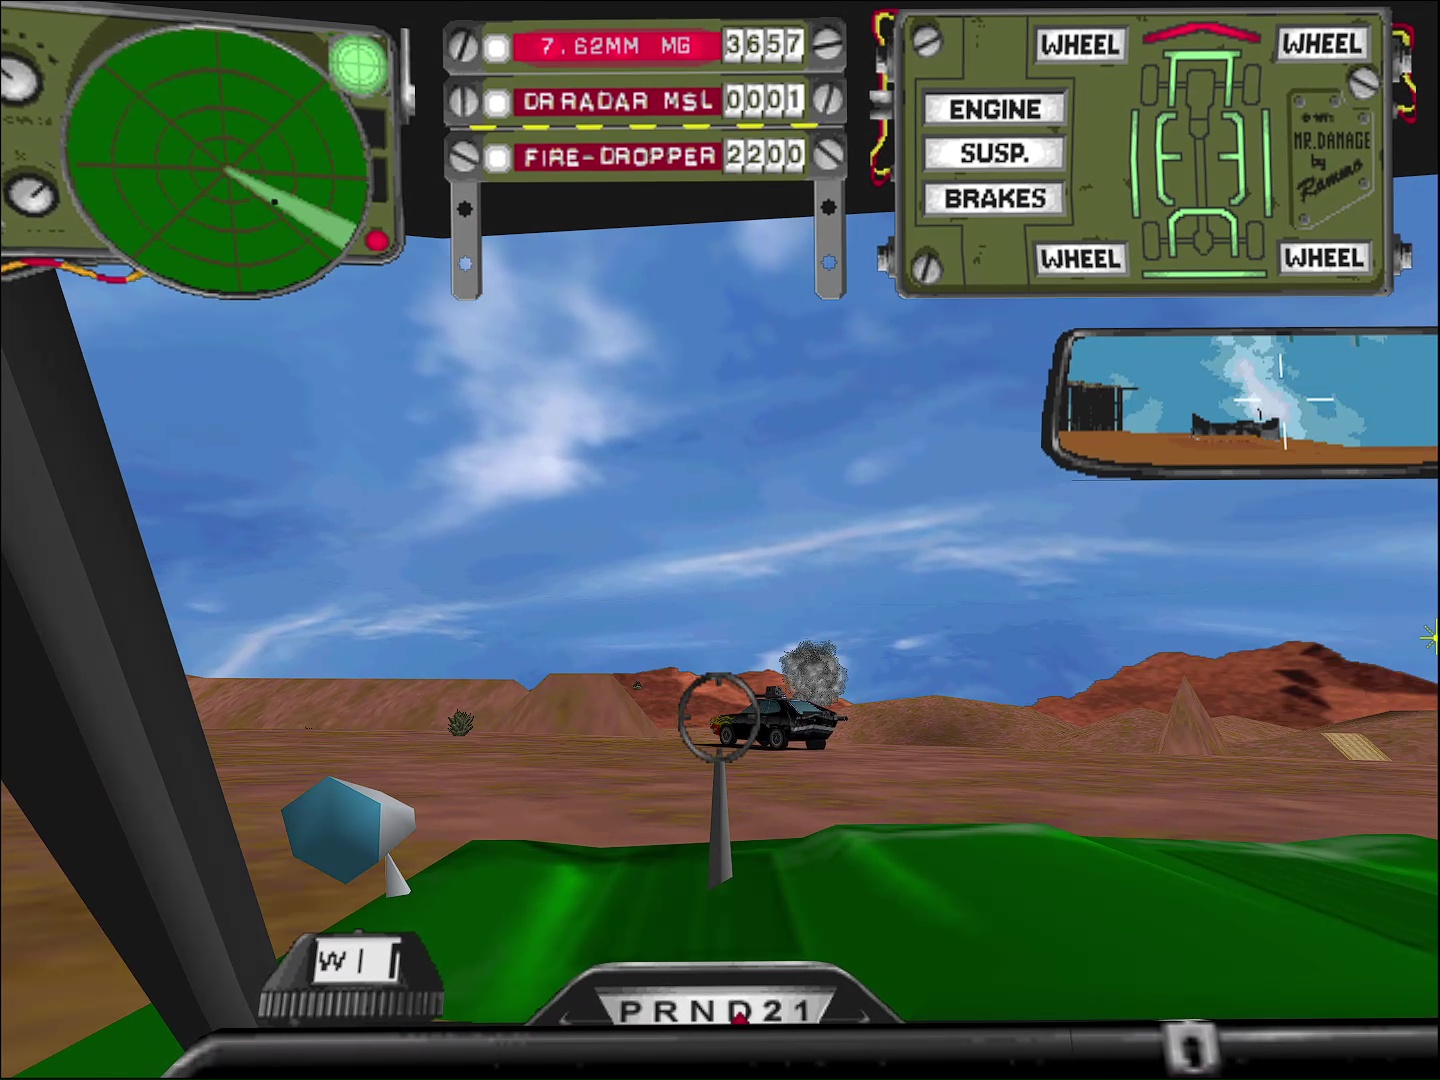
Keep cruising along 70. You're going to encounter some vigilantes in a Sovereign and a Strider along the way. They're packing some Dr. Radars and might have their engines off waiting to ambush you. Be ready.
After the first skirmish, you can take the dirt roads to enter the ghost town if you like. The best pathway is to turn right onto the first dirt road, then hang an immediate left onto the dirt road beside it. There are a couple of neat jumps if you do this. Check the map in the images. Bright red shows the "correct" route.
(Want to maps like this for every level of the game? Head to the Nitro Pack Downloads section at Local Ditch Gaming.)
However, it's probably easiest just to stay on the highway. This is the dark red color on the map. Keep cruising and eventually a couple of vigilantes near the ghost town will spot you. Take them out, then get back on the highway. Occasionally, one of them will start to run and lead you to the warehouse. This may or may not happen.
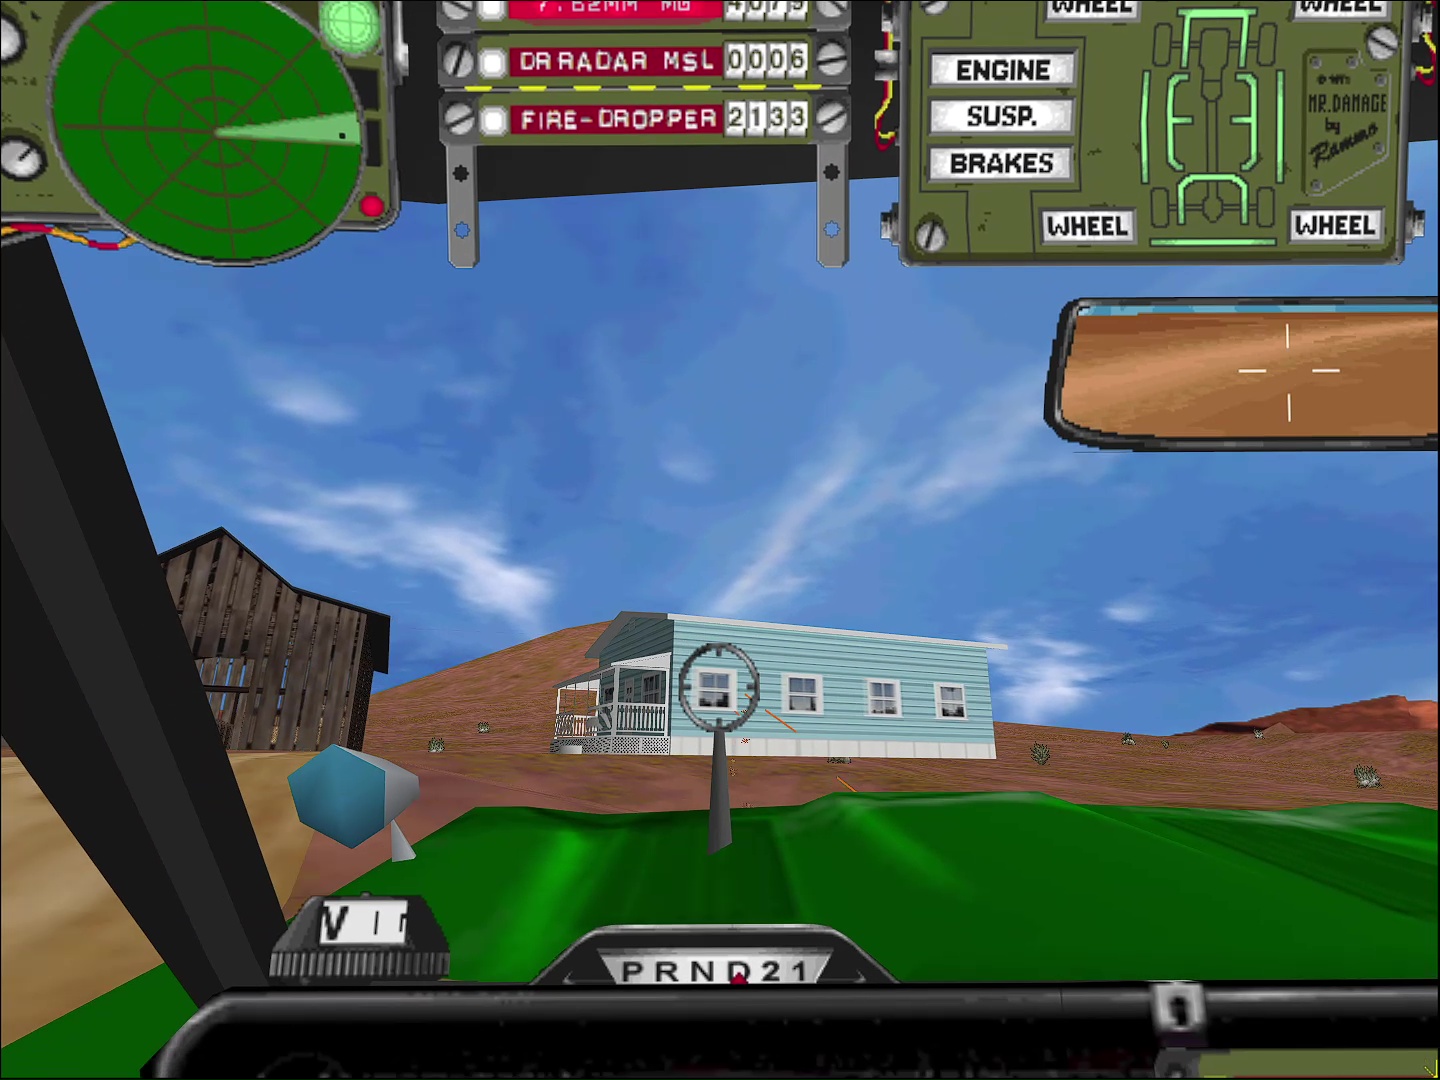
Hang a left on the second dirt road you see. This'll lead you to the ranch house/hideout. You'll encounter another vigilante along the way. Make'em pay.
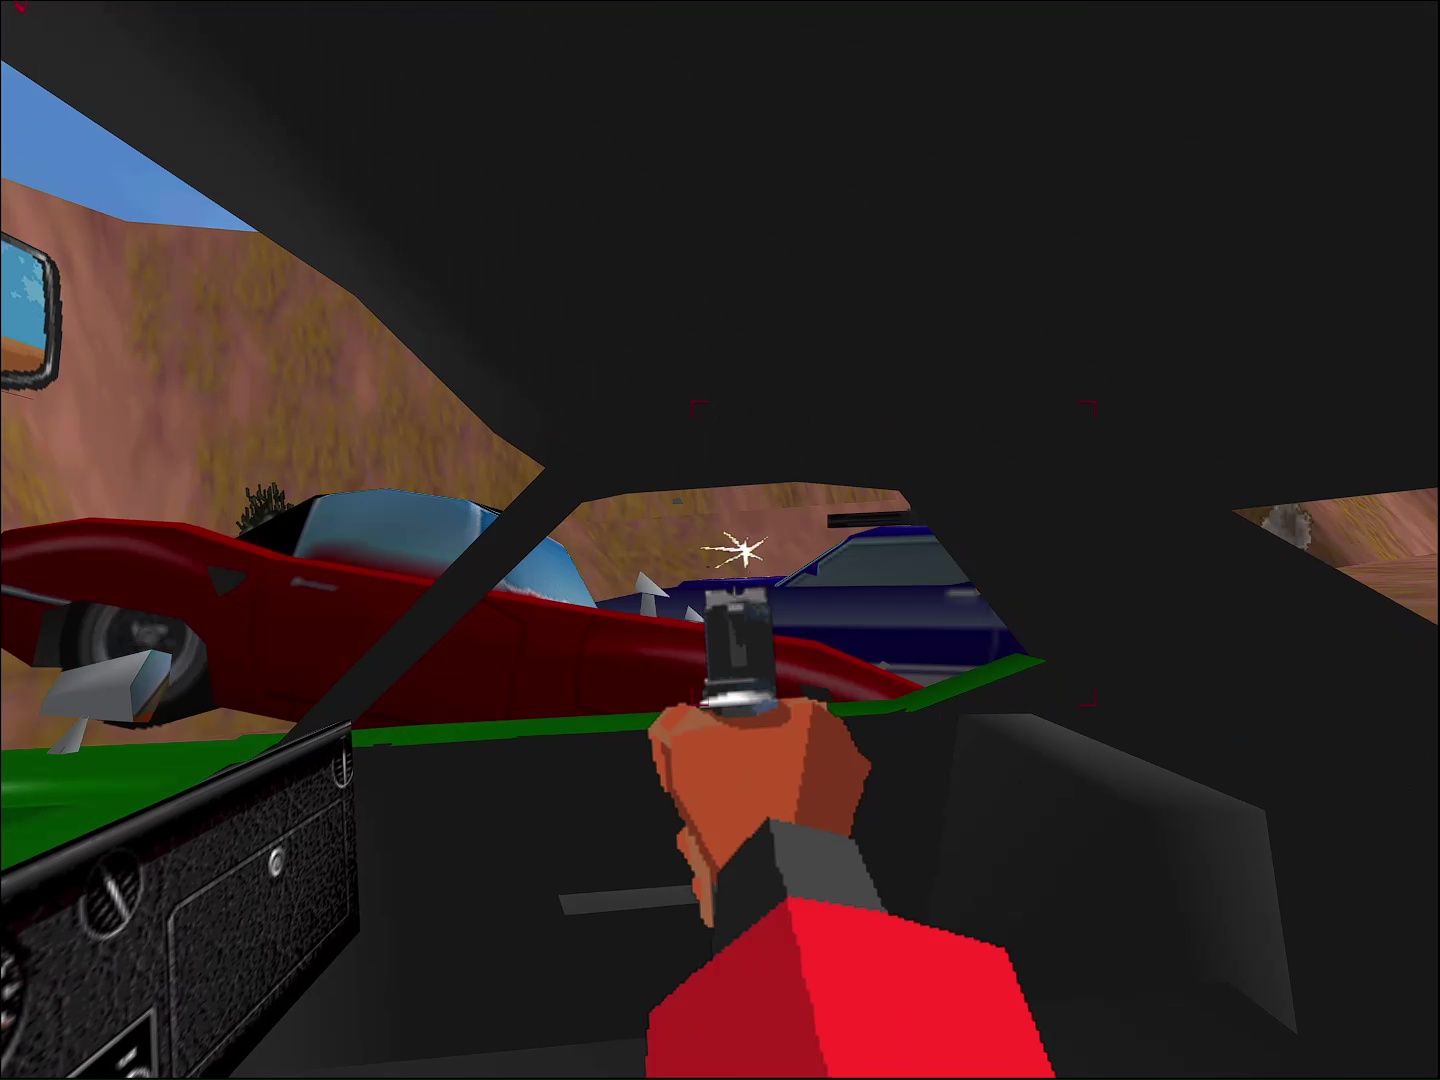
Take out the ranch house. Another vigilante or two show up. Finish'em off... (On a side note: Doesn't that Pony look like Inferno? Hmm...)
The mission's over, but (surprise!) Taurus lives to fight again.
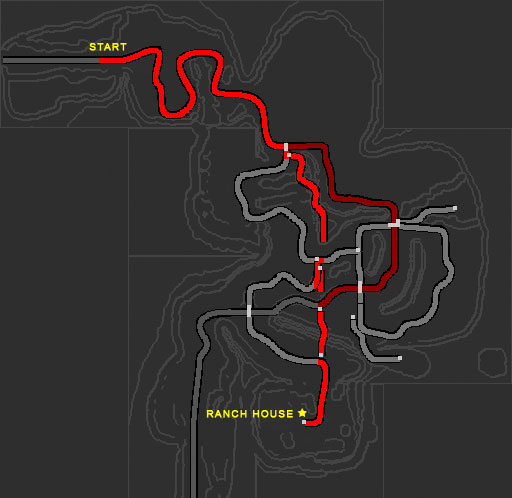
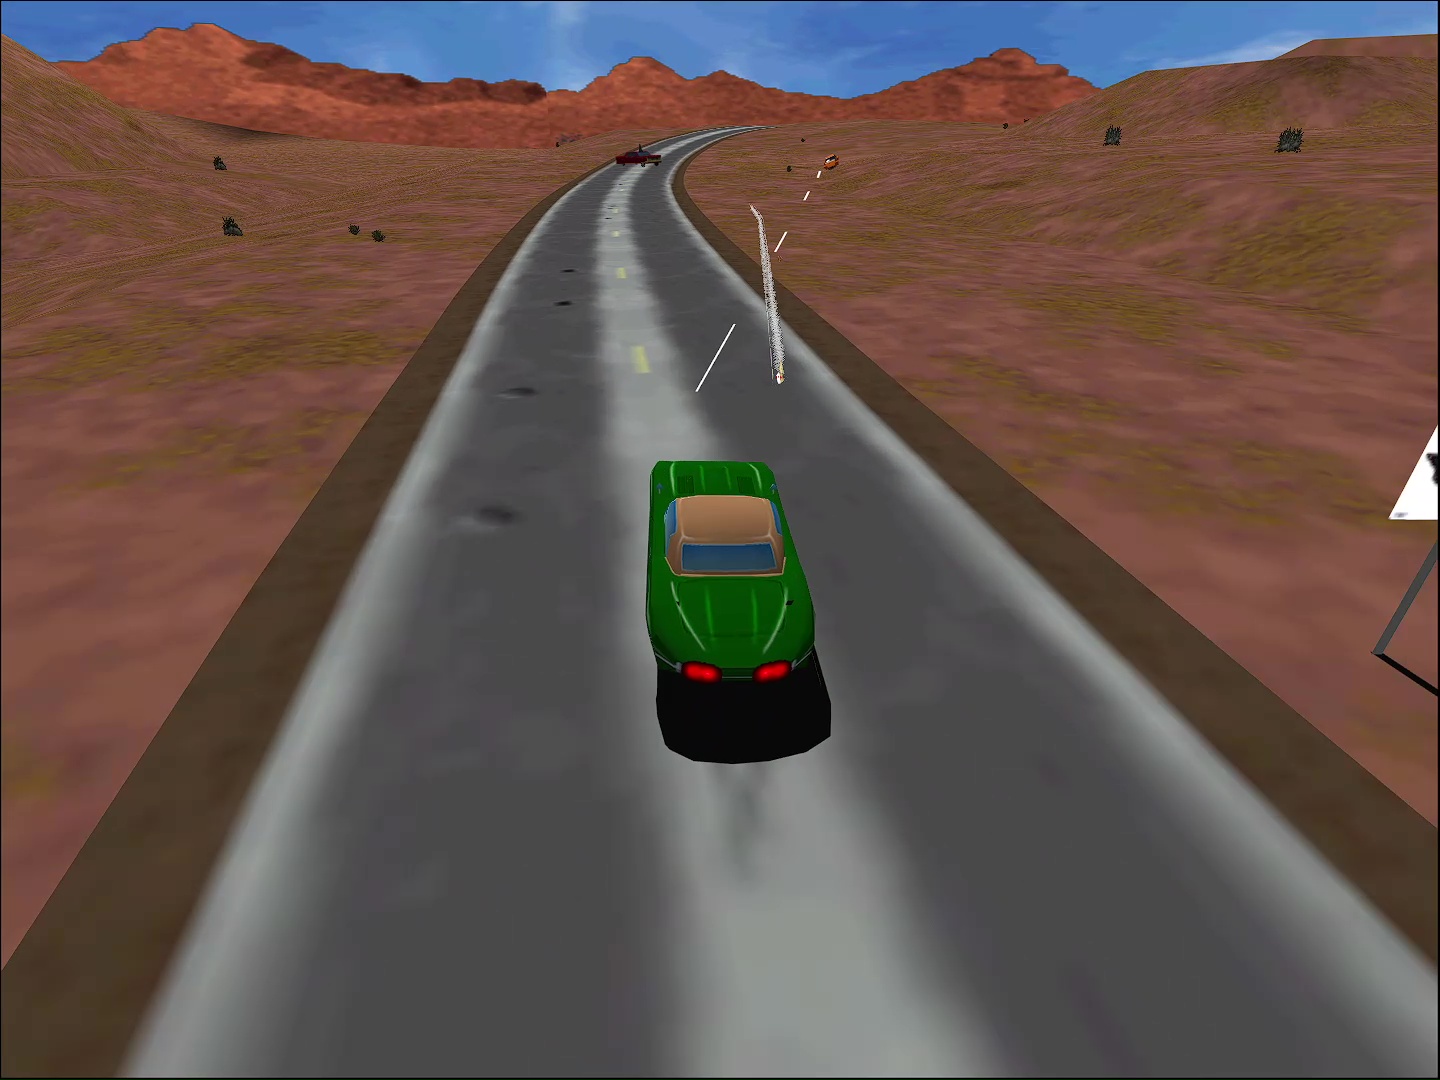
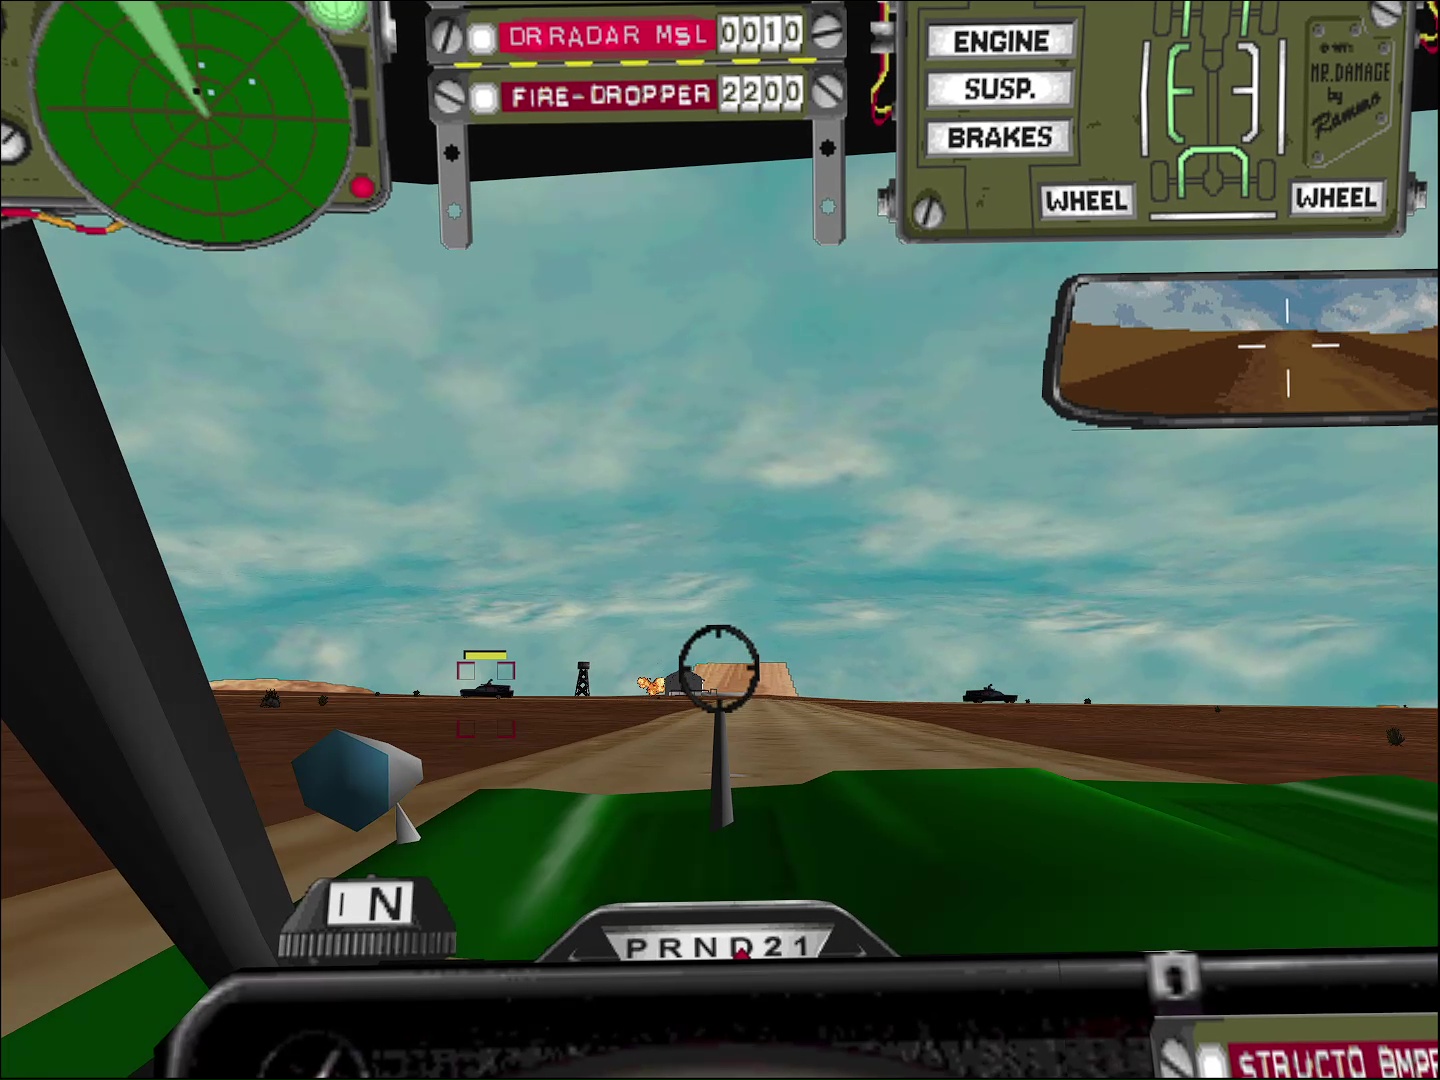
Episode 15: Decoys
Radiator Mother's gotta send some supplies out to Taurus and the Wolf Raiders. Unfortunately, no one's available to escort the drivers, so the plan is to go incognito in hearses. Unfortunately, Natty Dread is on the case. Destroy all of the hearses before they reach their destination.
Objectives:
- Take out the hearses before they reach their destinations.
Walkthrough
Your setup will make or break you here. These hearses move pretty fast and are well-armored in the back with rear-mounted weapons. I went for double Dr. Radars. (Hey, it's only cheese if it's three or more! Seriously, though — cheese your way through in single-player mode.)
Start by leaping straight over the hill. If you prefer a gentle approach, you can take the road off to the side, but I think it costs too much time.
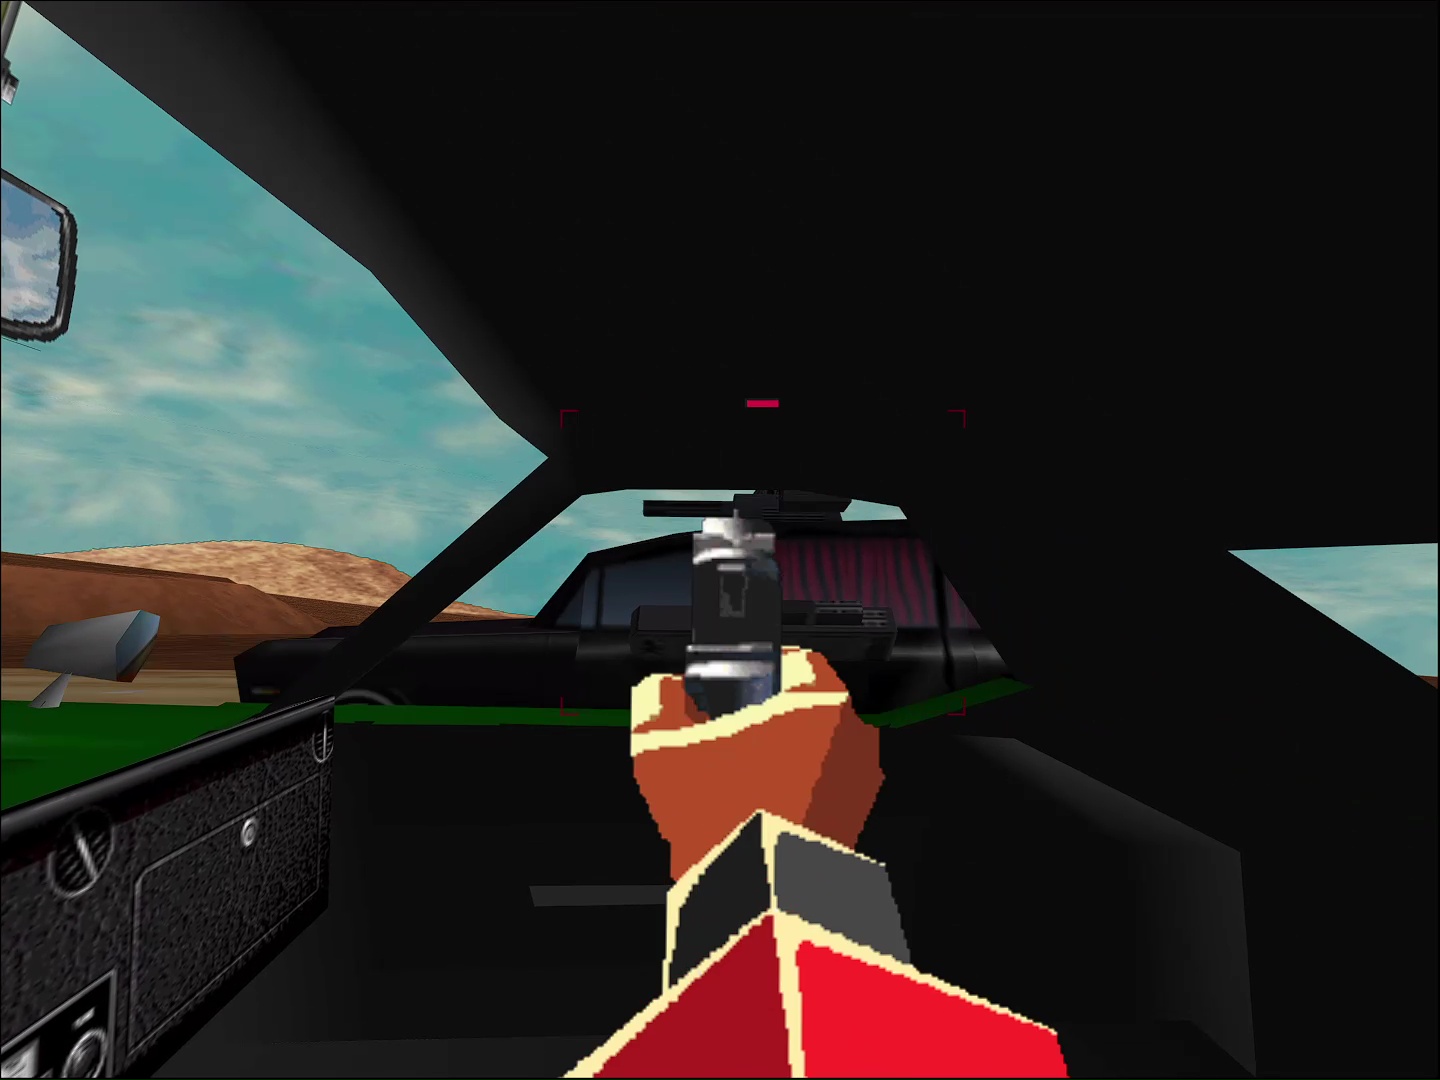
Take out the hearse going left/west first. If you're loading up on Dr. Radars, hit "L" to link your weapons, but don't overspend on shots. One or two hits will get the hearse in the red. After that, hit'em with your 45.
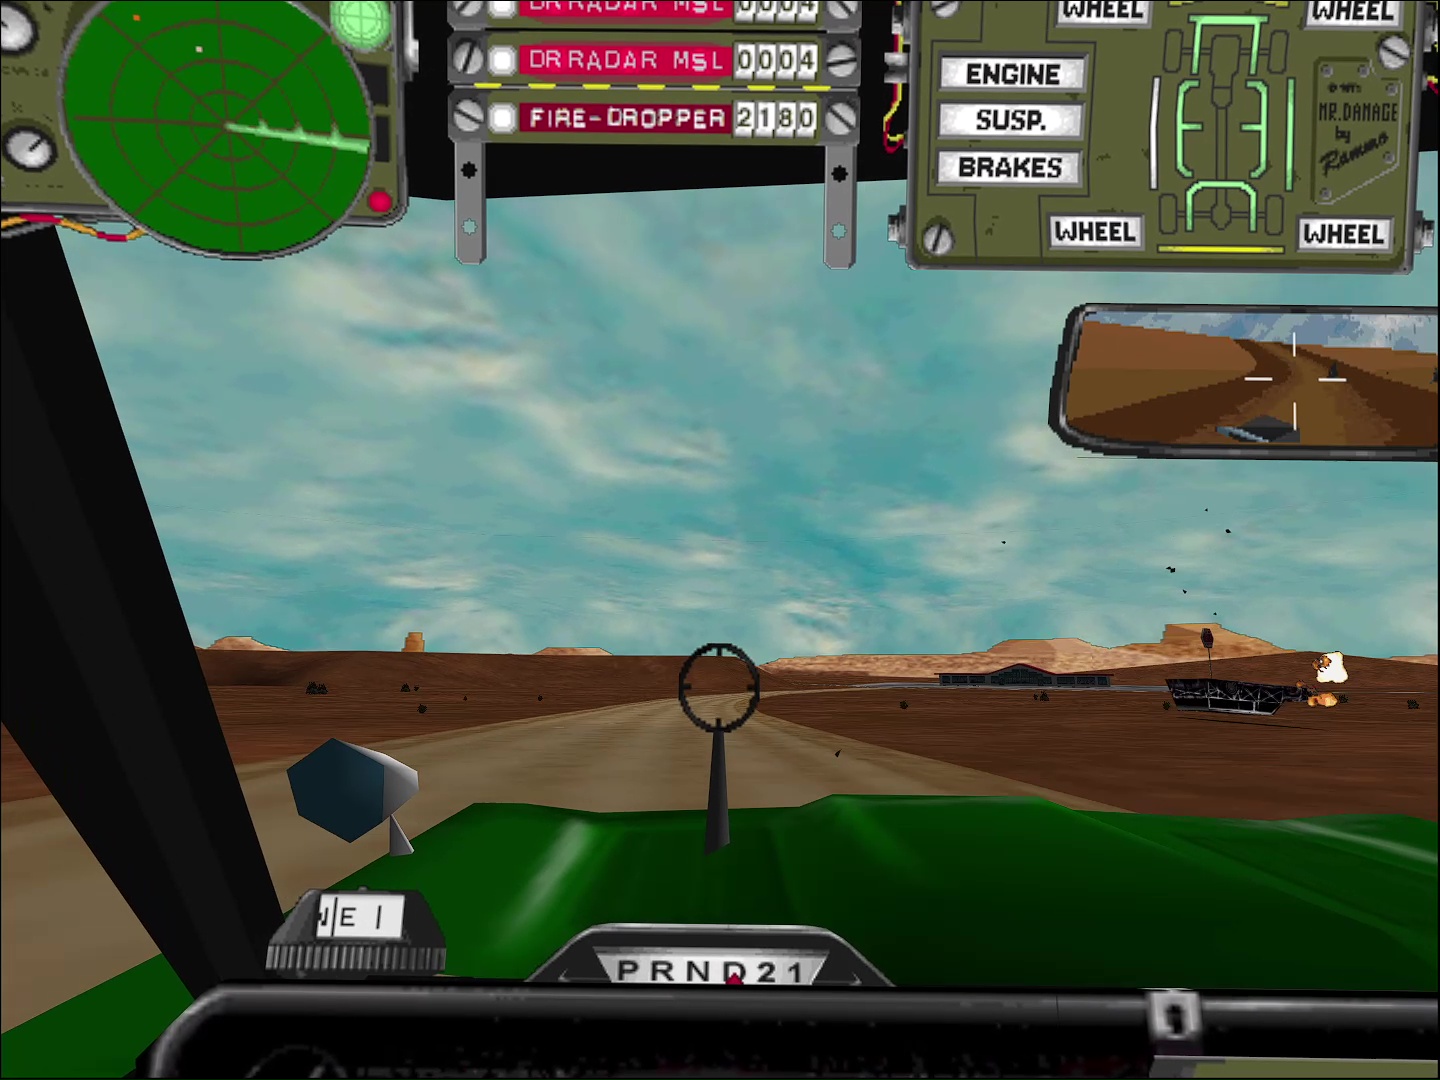
Spin out and head back. The other two hearses should still be in reach. Hang a right onto a dirt road and follow the hearse south.
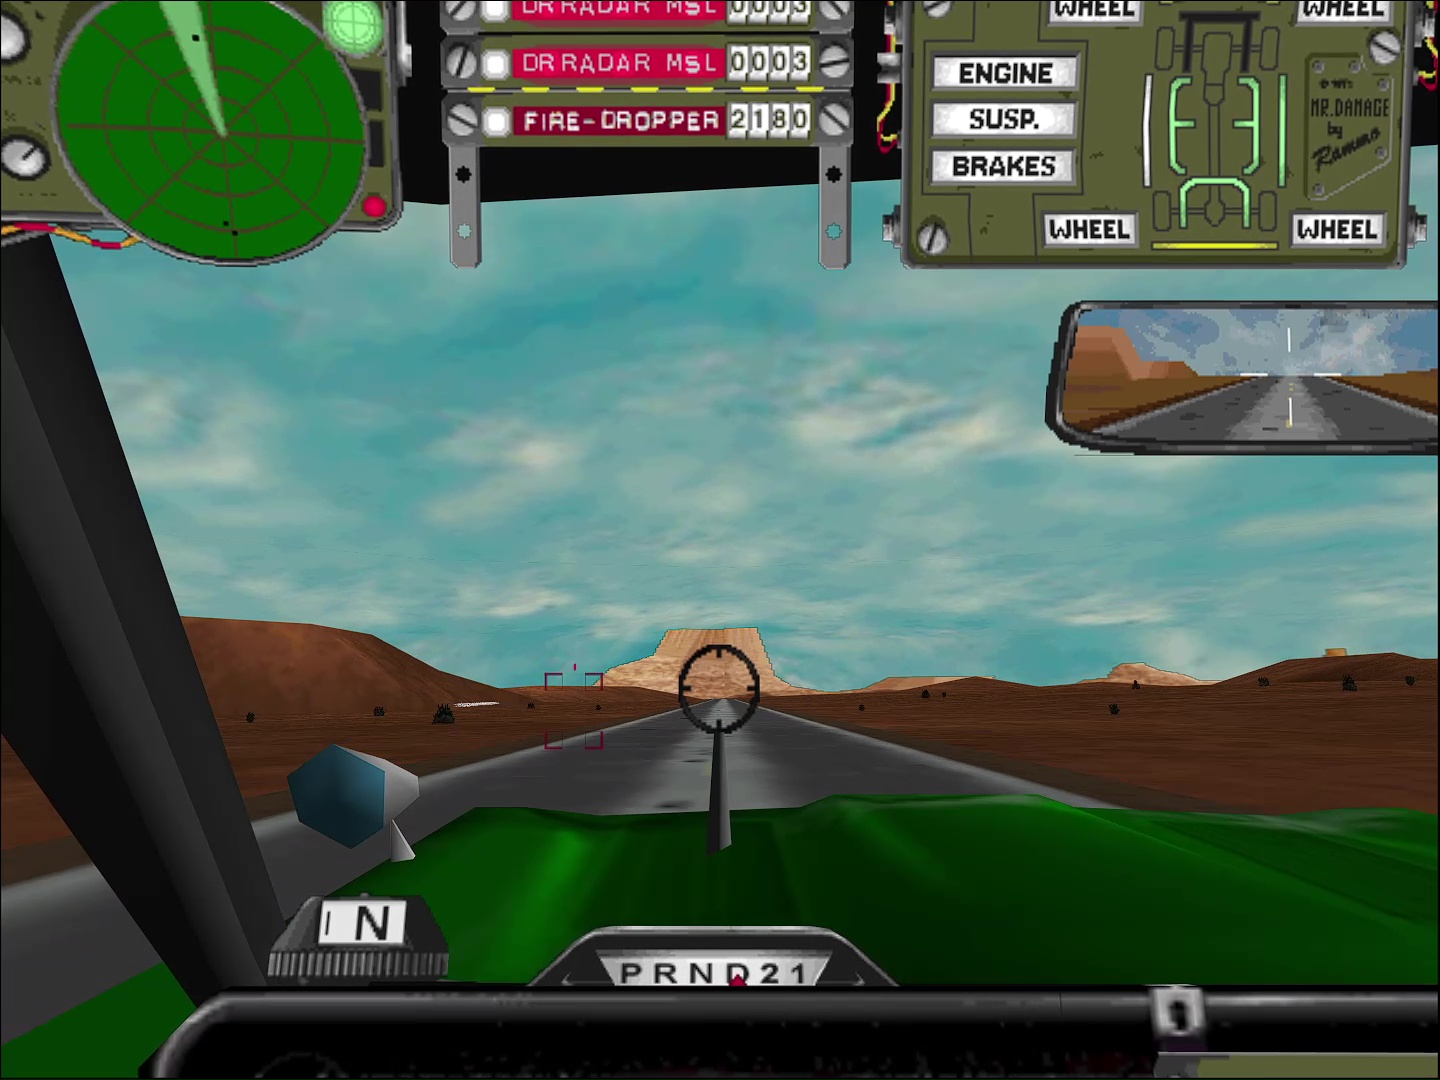
Finish off the second hearse. The dirt road should lead you to a Gila truck stop. Hang a left there to get back on the highway. Get your speed up and you should be able to track down the last hearse. Hit'em from range and call it a day.
Episode 13: Shutdown
The Ice Angels are manufacturing some product at their warehouse, then using Mondo Burgers as distribution points, all the while edging into the Voodoo Riders territory. Time to put that to a stop. Blow up the burger joints, destroy the warehouses, and ice any Angel that gets in your way.
Objectives:
- Find and destroy the Mondo Burgers and the two warehouses.
Walkthrough
Background
The Ice Angels are a nod to the notorious Hells Angels and one of their old-school drugs of choice. But in the I '76 world, instead of riding motorcycles, they strap guns to the cars to safely transport their speed.
Disco Cat was a recurring minor character in I '76. We get a lot of Disco Cat audio here and maybe just a bit more of a look into his character.
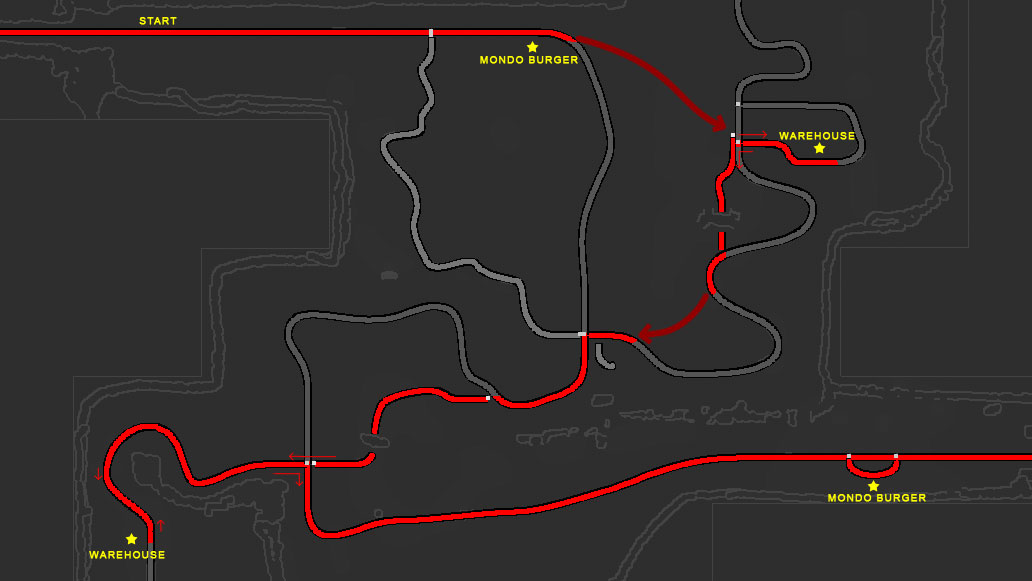
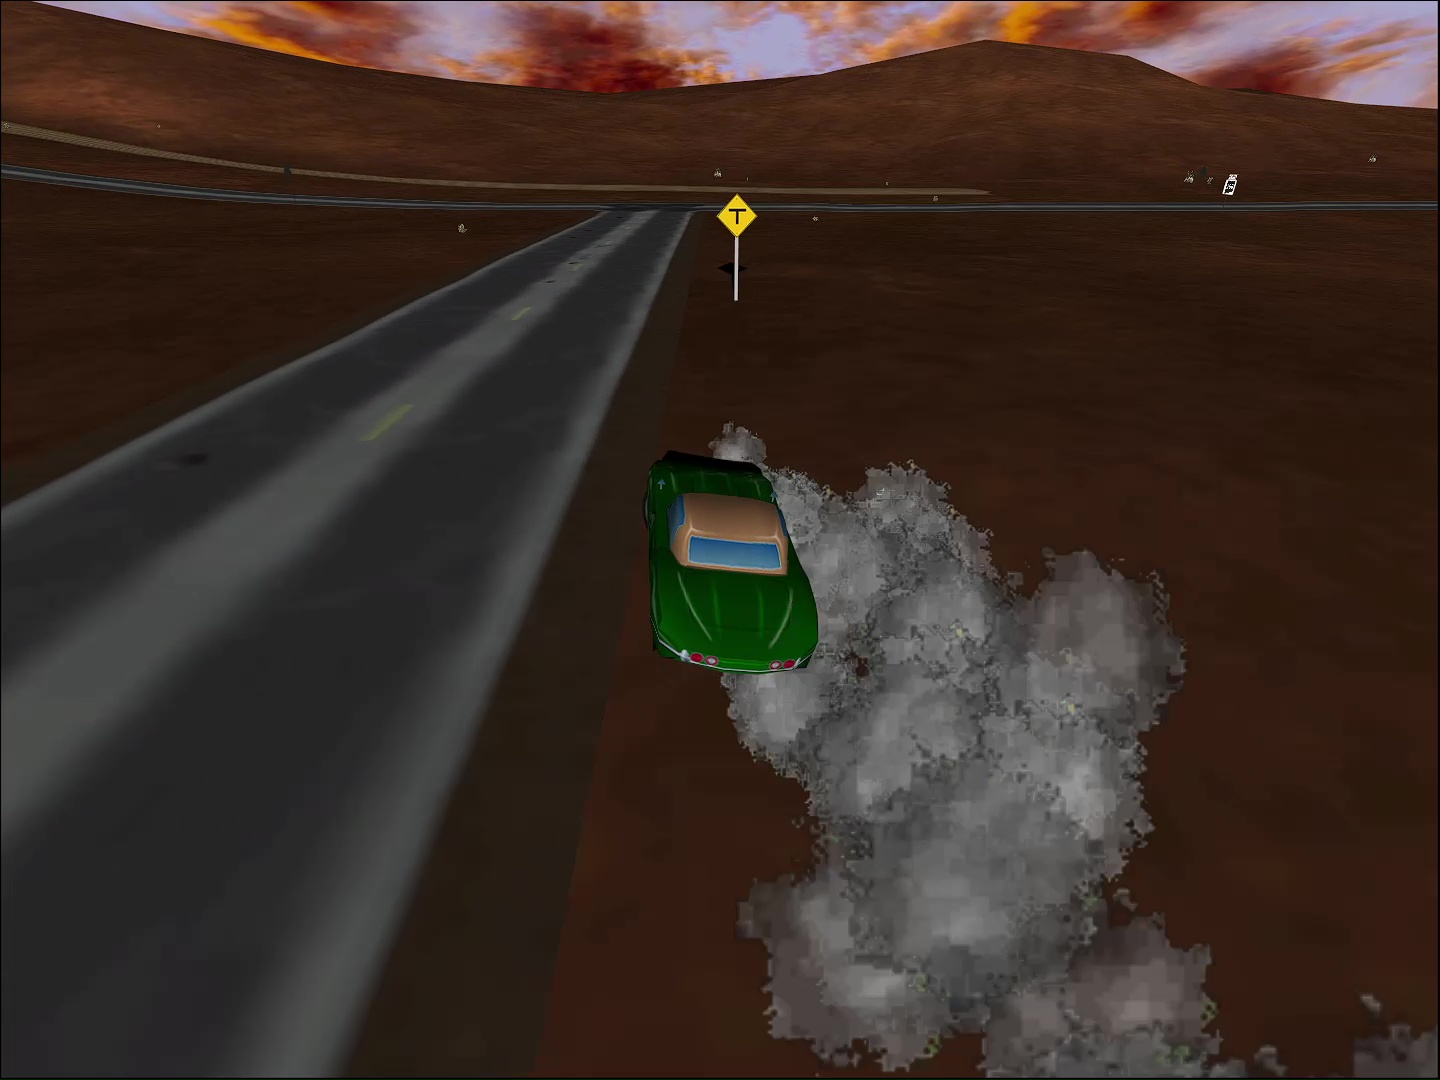
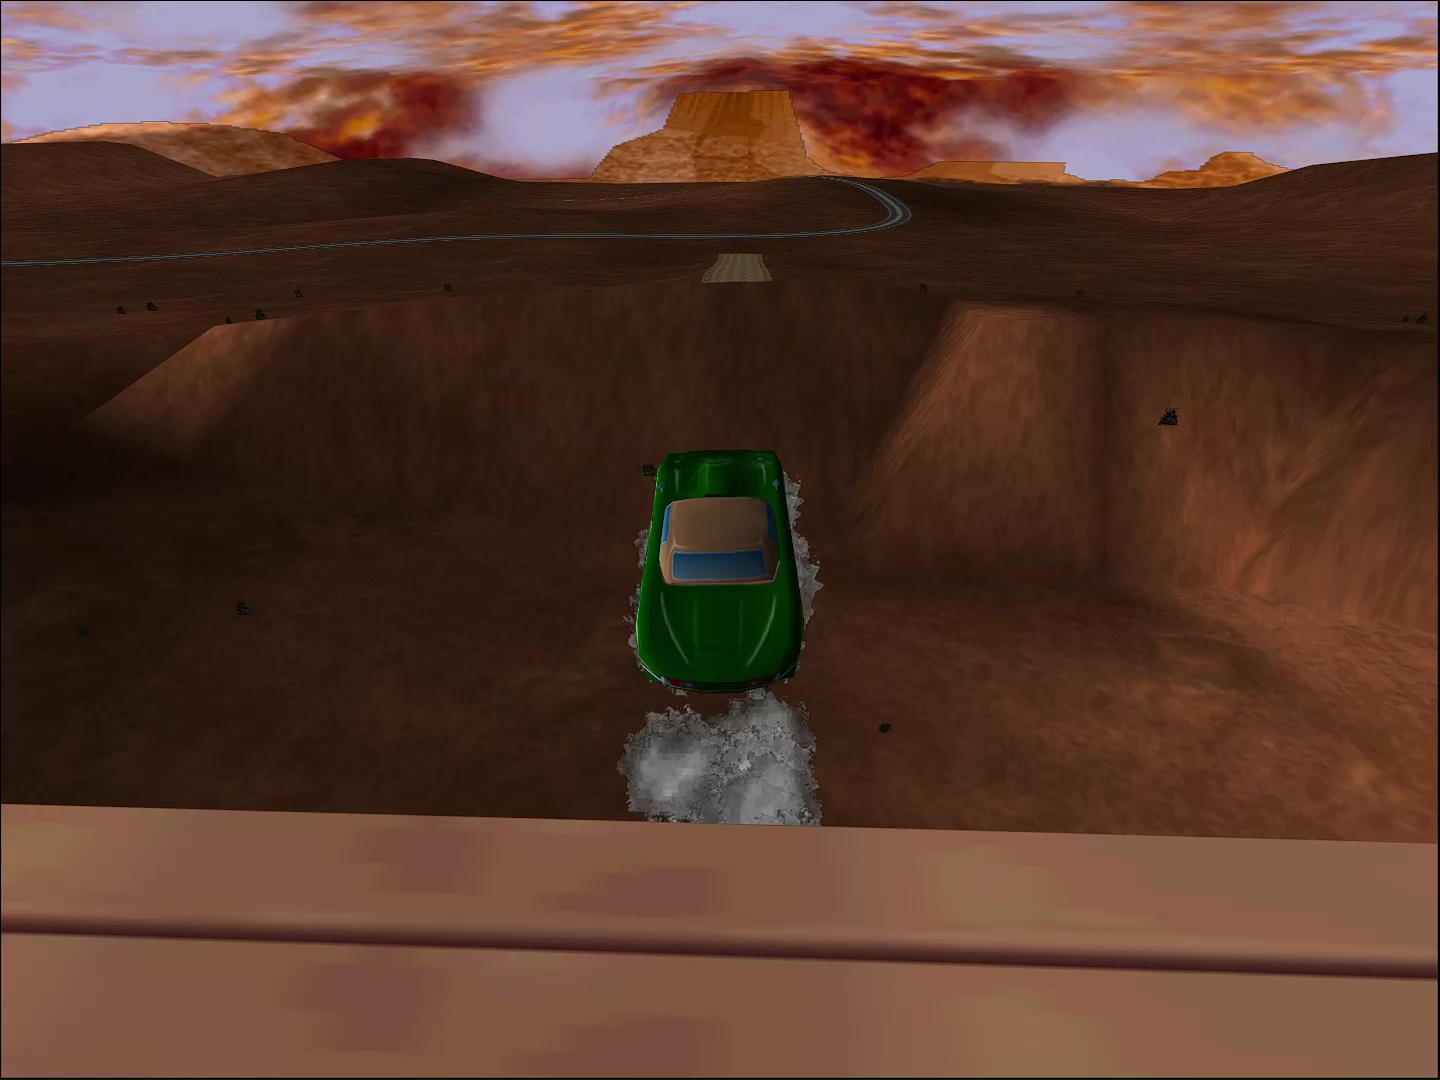
There's a lot of asphalt, dirt, and desert to cover here, so be sure to check the map to the side. I've noted the optimal path in red. Darker reds are off-road paths. There's a bit of backtracking and no way to get around it, so you'll see smaller arrows showing the first and second directions, too. (If you want maps like this for every level of the game, find them in the Nitro Pack Downloads section at Local Ditch Gaming.)
The Plan
This is gotta be the longest mission in Nitro. In a sense, that's a bit more like some of the original I '76 scenes. So, bring some weapons with enough ammo to last you.
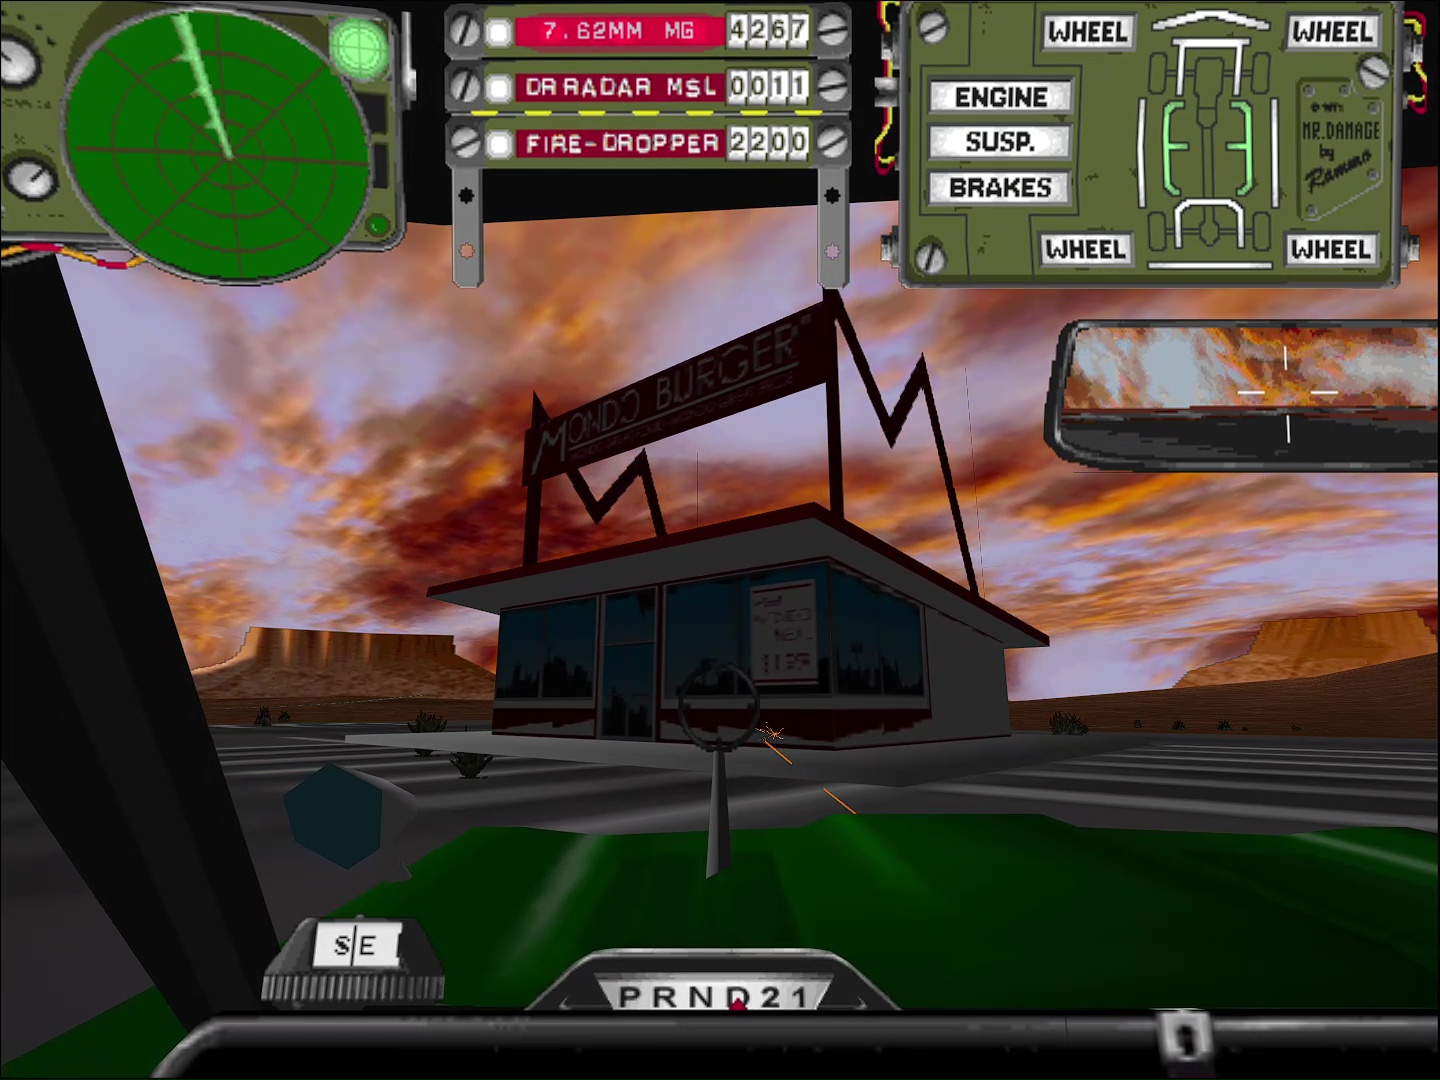
Start by heading east on the highway. You'll soon find an unguarded Mondo Burger to your right. Blow it up (1/4) and you'll attract the Ice Angels' attention. Take out a Warendorf and a cop. Obviously, the cops and the gangs are working together in this part of town.
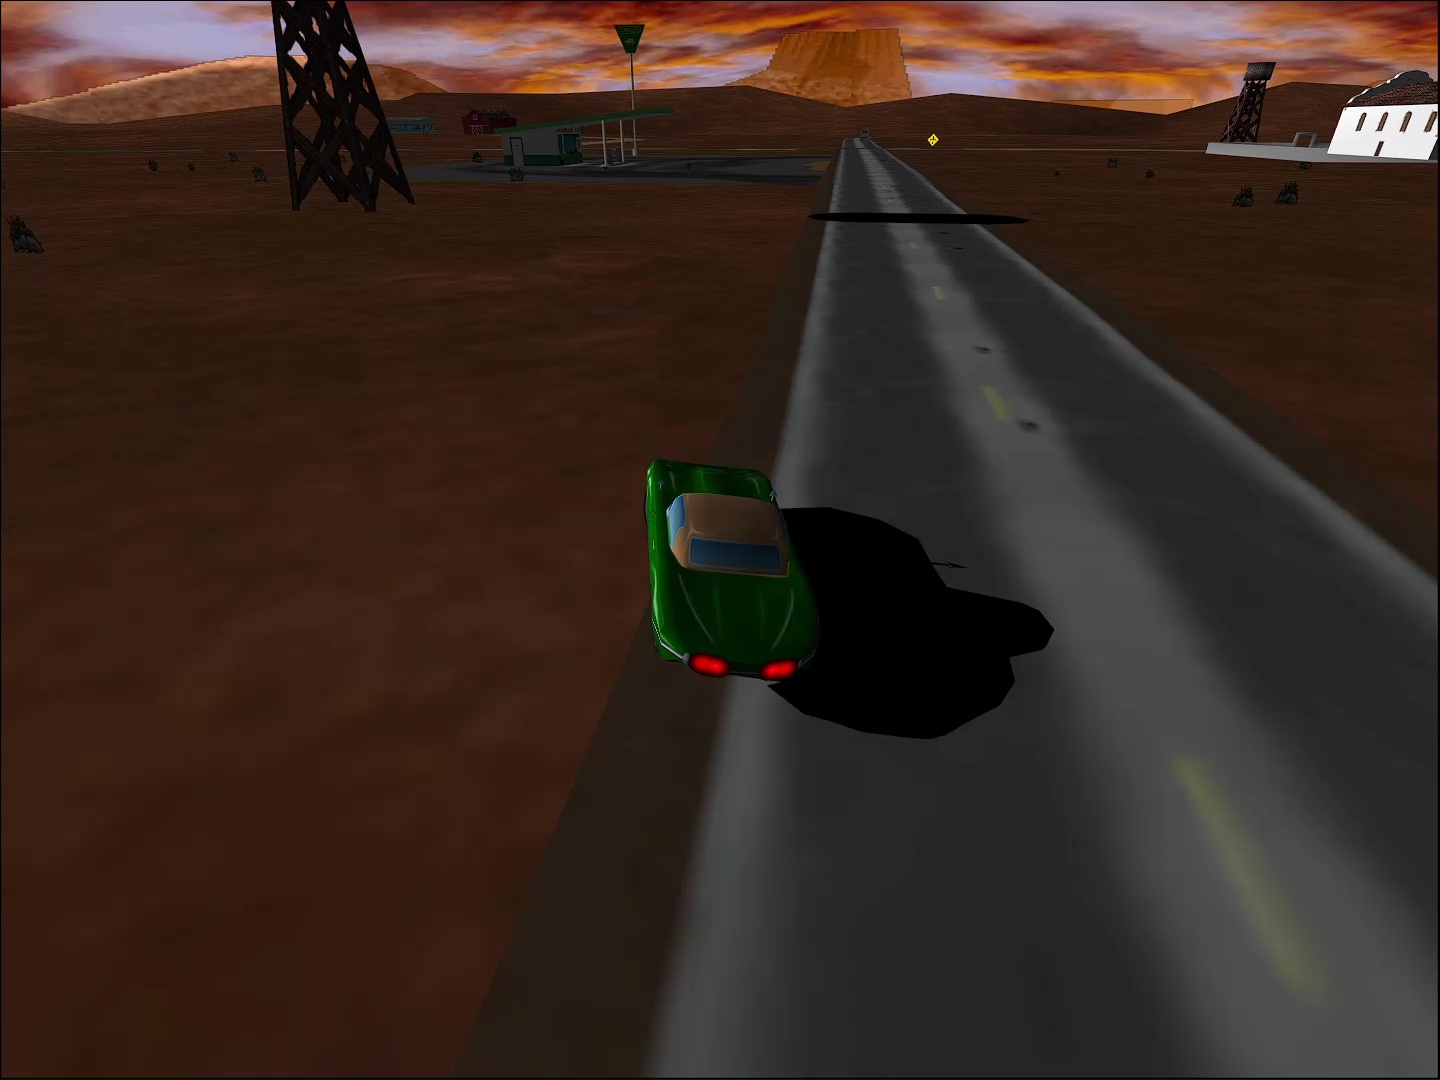
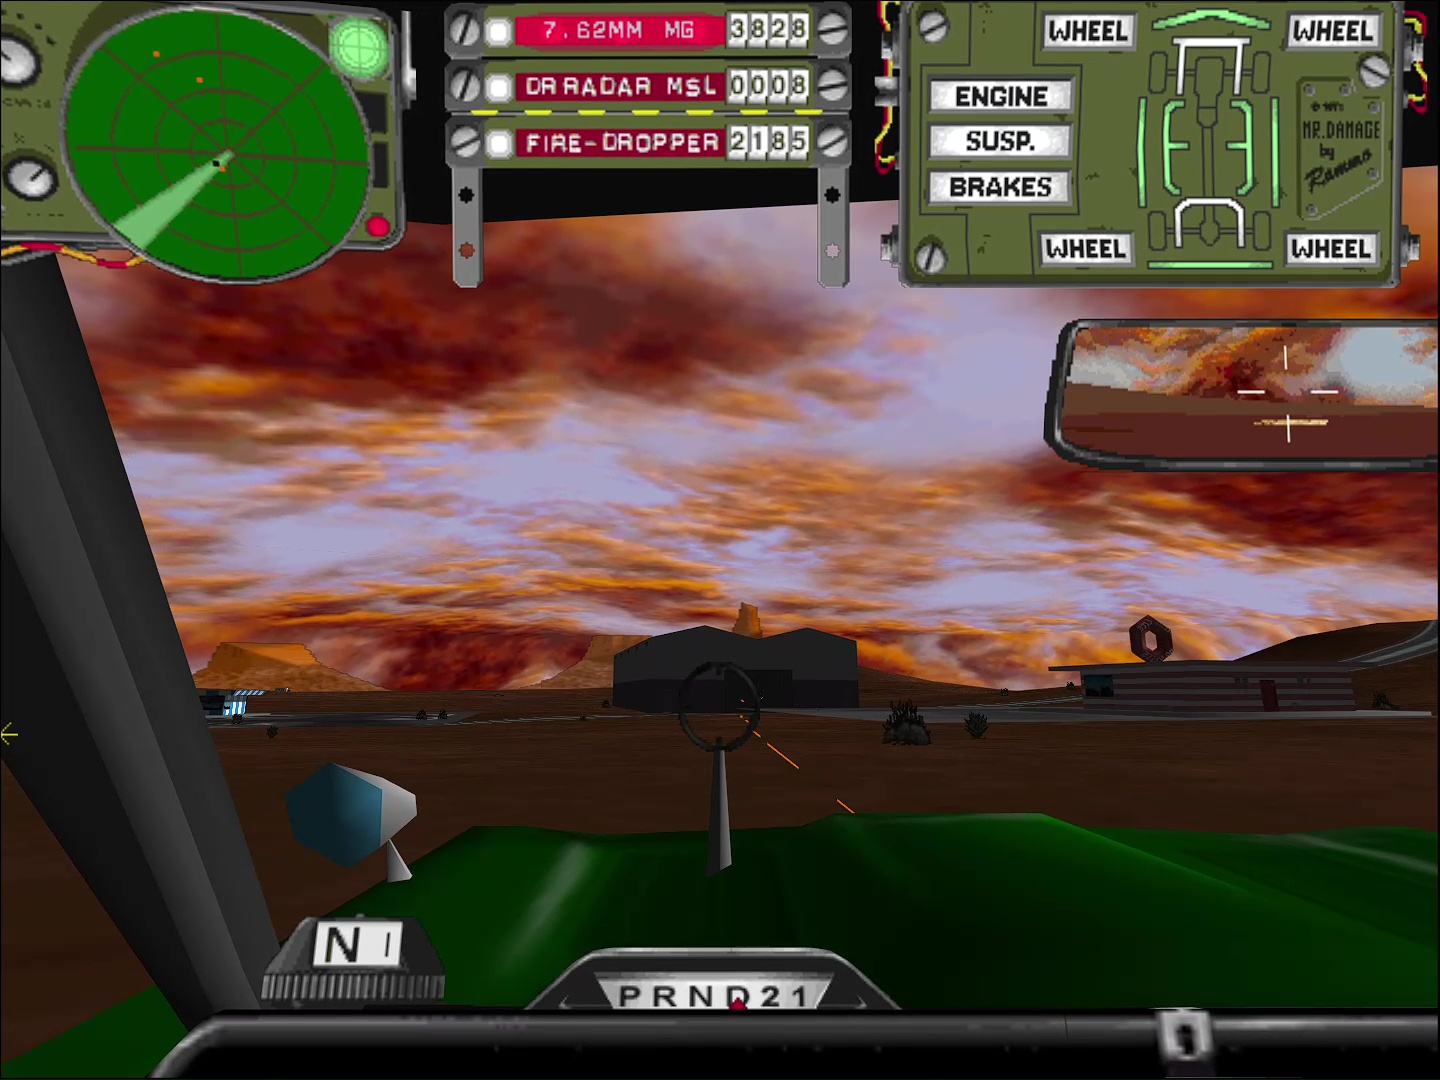
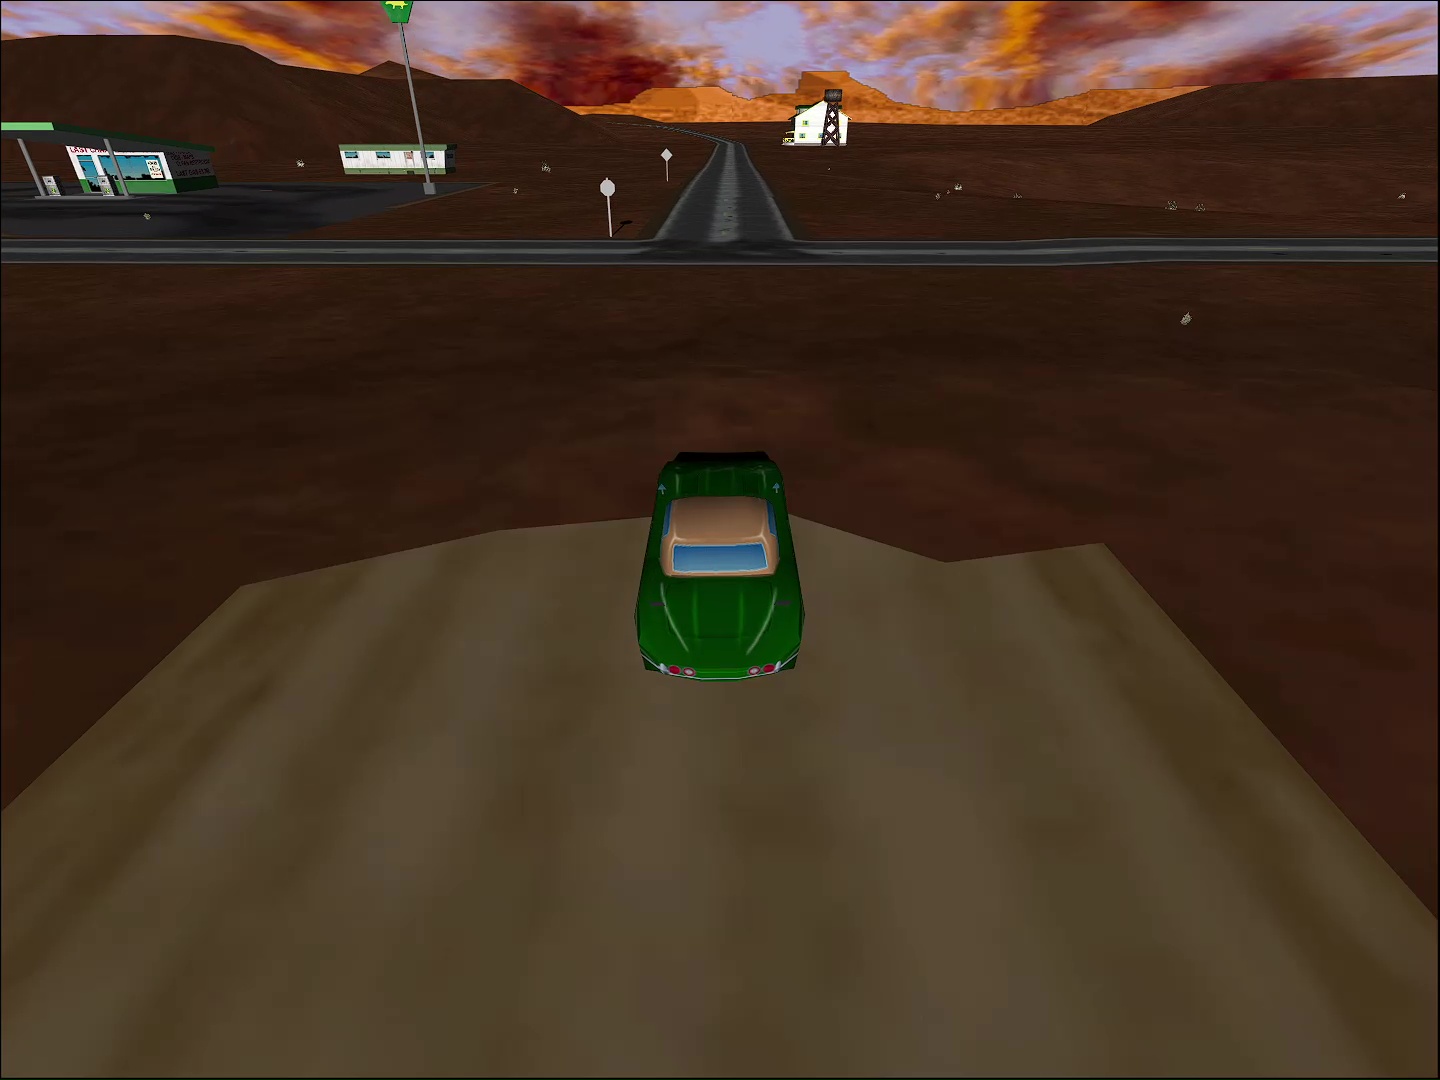
Get back on the highway heading east. (Shortcut: If you like to go offraod, head east, but don't follow the turn in the road. Just... keep going, as shown on the map.) Hang a left when you see a farmhouse and a gas station. This curvy road will lead you to the first warehouse (2/4). Take out "Buzzsaw" (Buzzsaw is always the second Angel you fight, no matter where or what car.) and another cop. You may have some helicopters providing air support, so run with your engine off ("S") and blast'em with a turret or missile.
Next, either head back the way you came, or optionally, take the dirt road for a slight shortcut. Warning: There's a jump if you take the dirt road, so keep your speed up!
Back on the highway after that. Or, another dirt road on the left. If you take the dirt, there's a second jump!
When you see the next farmhouse and gas station, head west on 206 to find the other warehouse (3/4) next door to a Gas 4 Cash. Yet another cop/Angel combo is there to greet you. In fact, a cop even comes over the CB telling Dread he could've had his own cop protection. Luckily for us, Natty hates the fuzz just as much as he hates the Ice Angels.
Backtrack on 206 to the gas station and hang a right onto 385 South. It's a bit of a drive, so enjoy the ride.
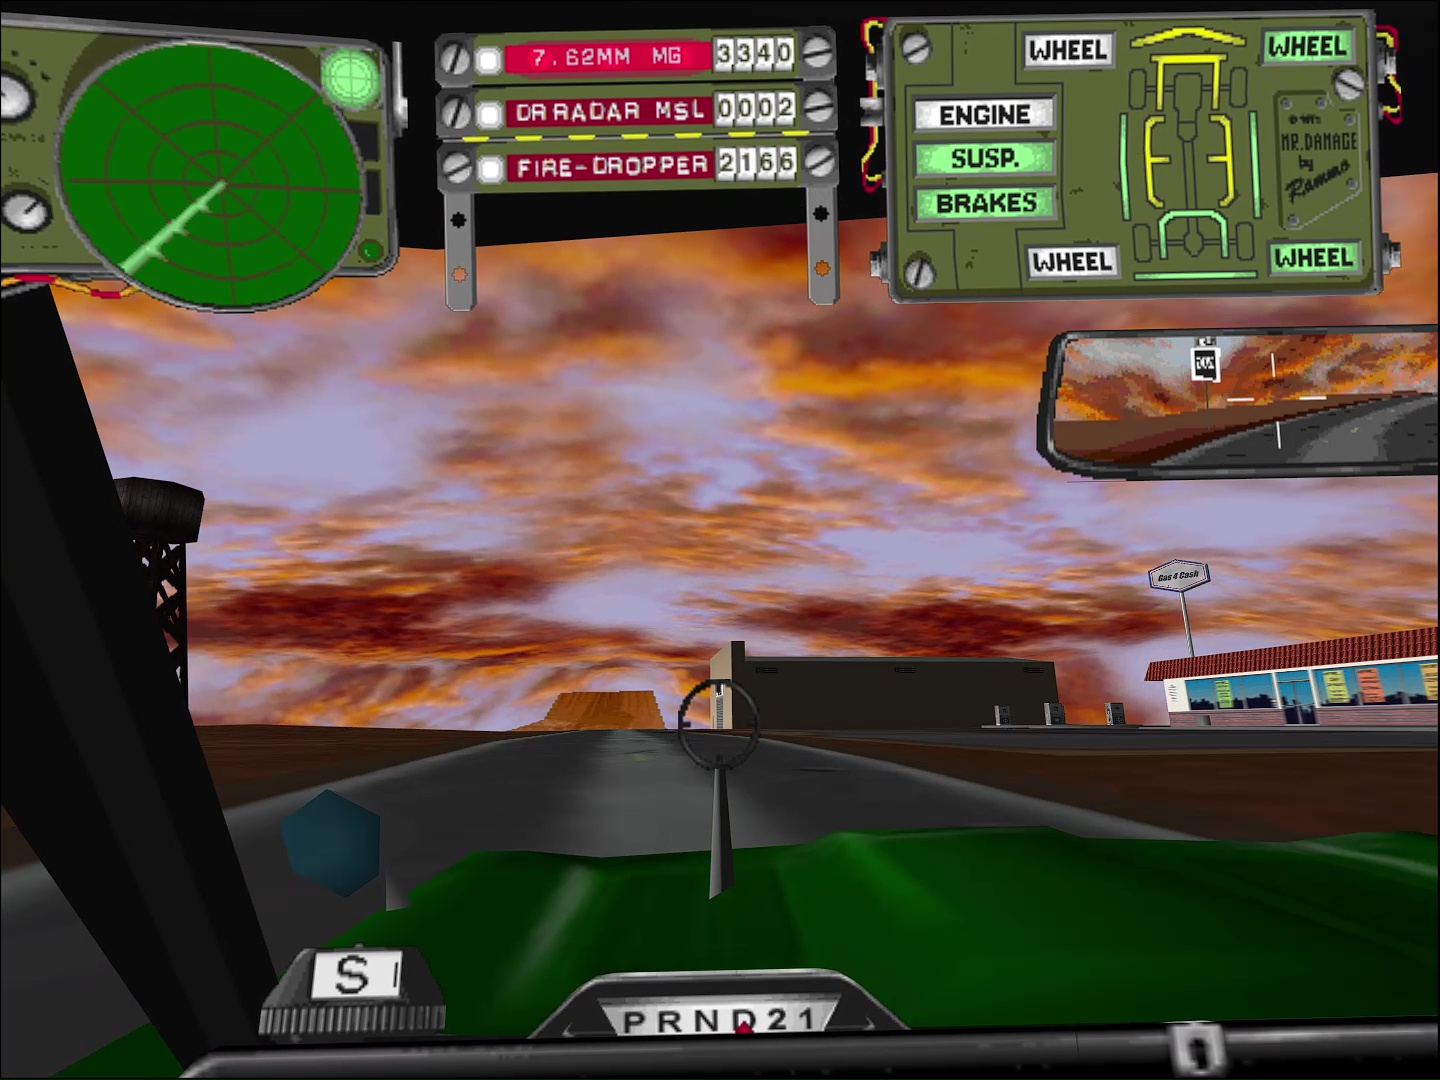
When you approach the Mondo Burger (4/4) on your right, there's (surprise!) another cop/Angel pairing. You know the drill: Finish them and then finish that Mondo.
Episode 16: Foxy Cat
The police are cracking down and shooting up the Foxy Cat, a local strip joint that's been keeping company with some auto-mercenaries. Tabitha (who's come all the way from L.A.) and the girls are stuck inside while Disco Cat and some of the other Voodoo Riders are in a trailer nearby. If there's one thing Natty Dread hates more than cowboys, it's the fuzz. Get there, stop the cops, save the girls, and save the day.
Objectives:
- Find and defend the Foxy Cat. Kill all the pigs!
Walkthrough
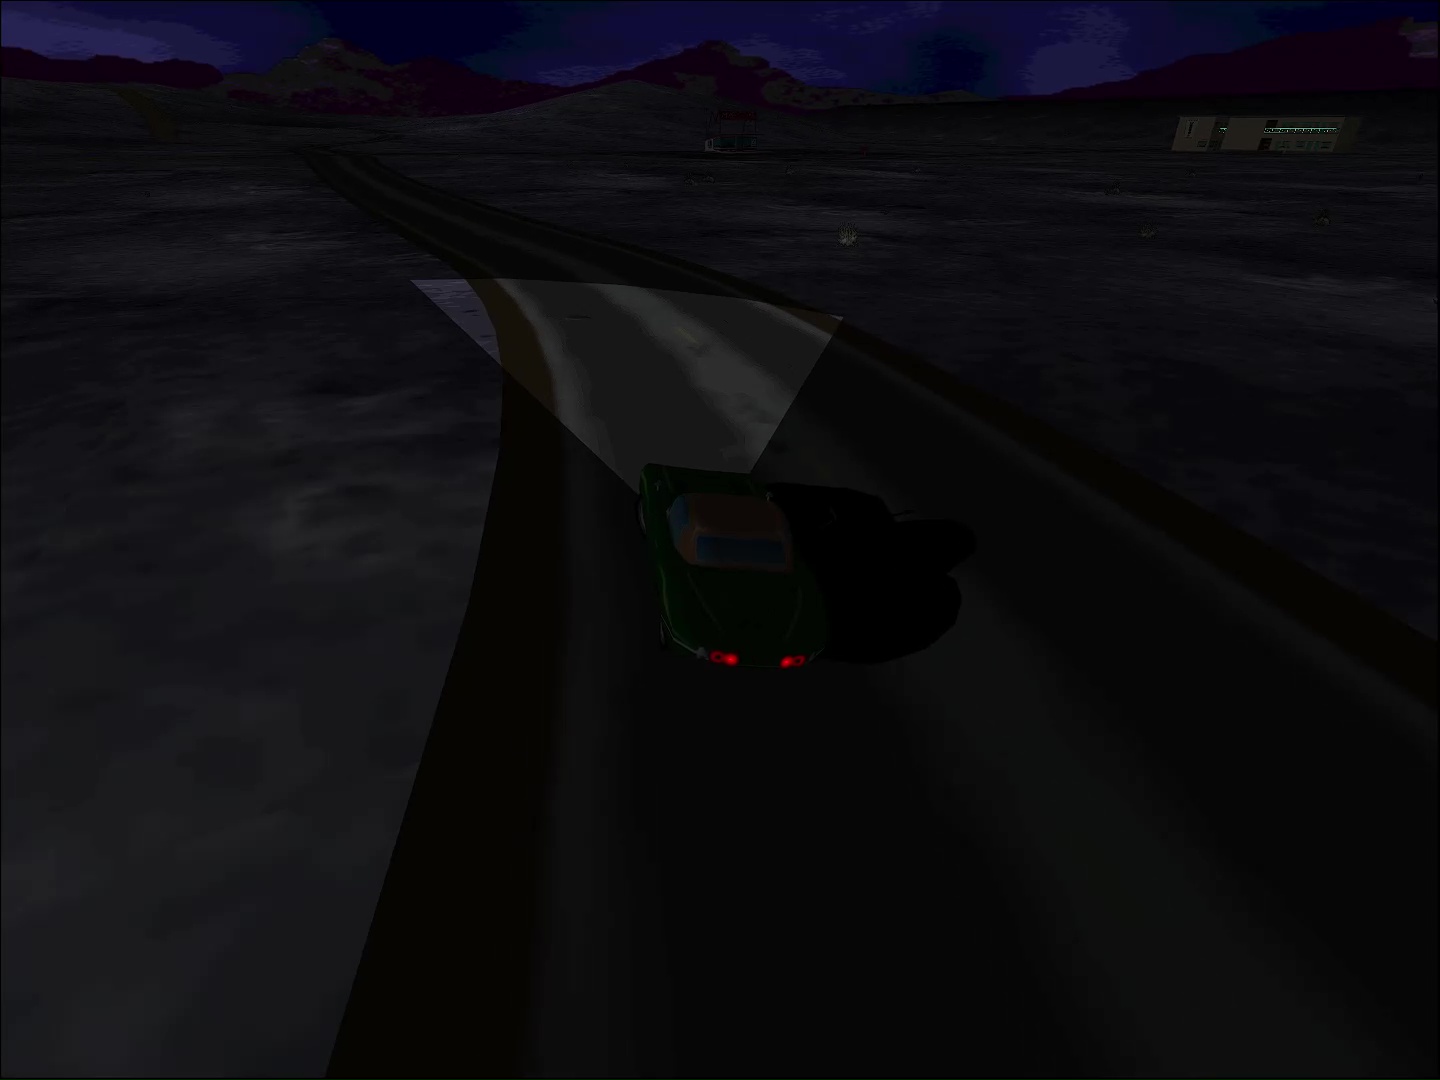
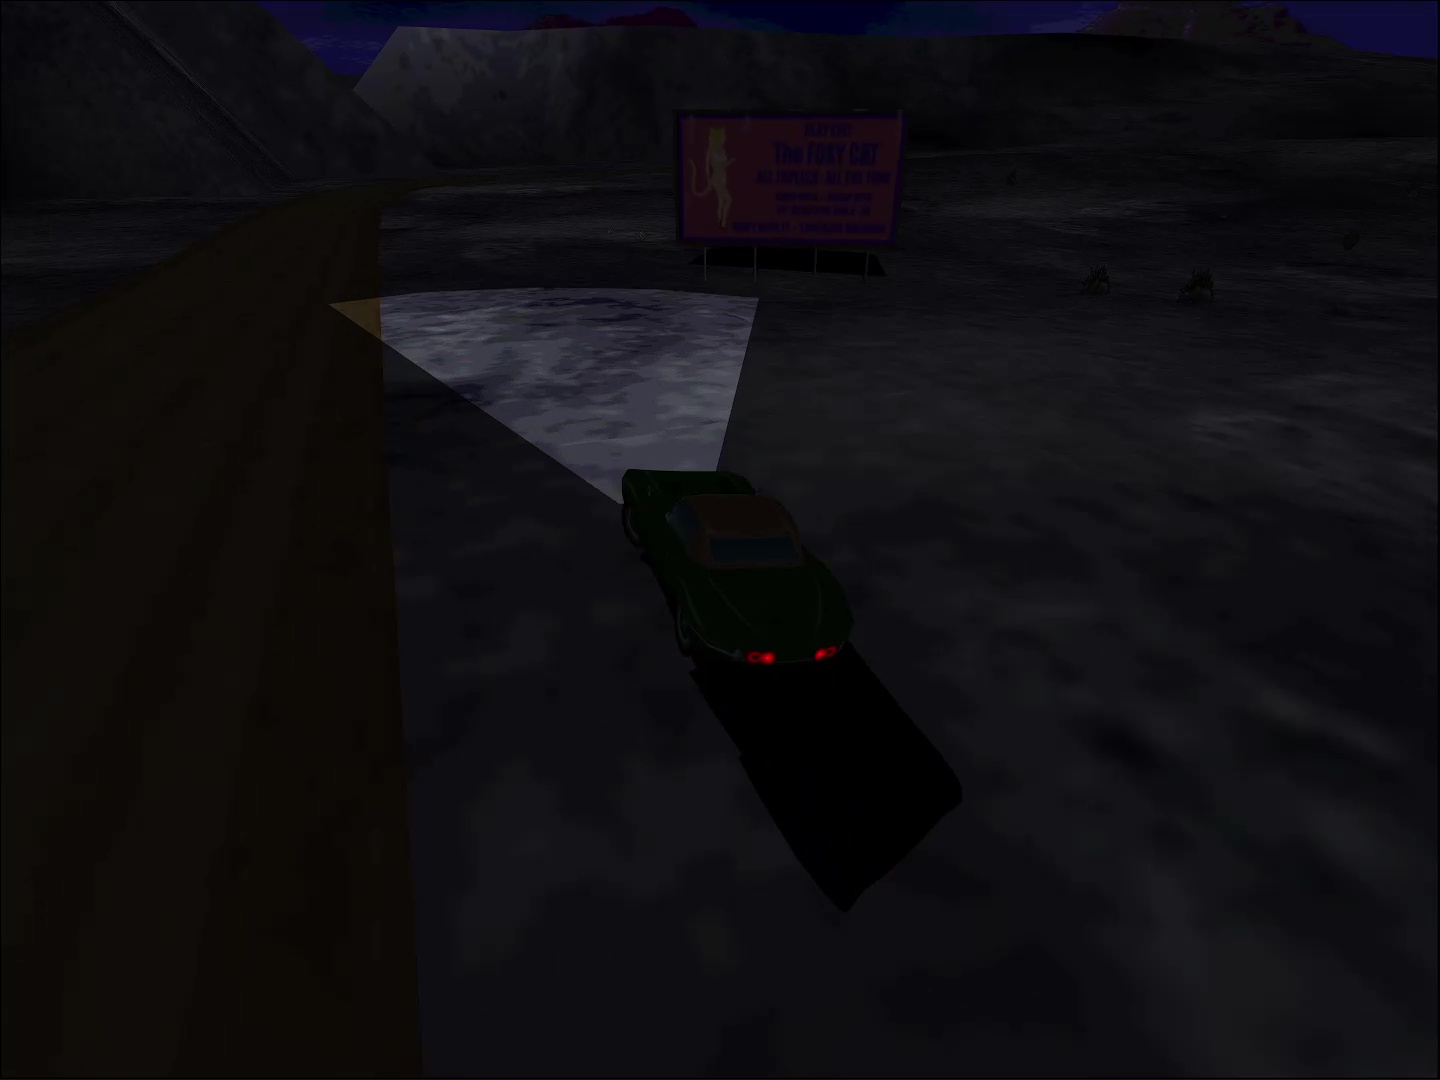
A little driving leads to a firefight at the Foxy Cat. Note: If your headlights bother you, press "L" to turn them off.
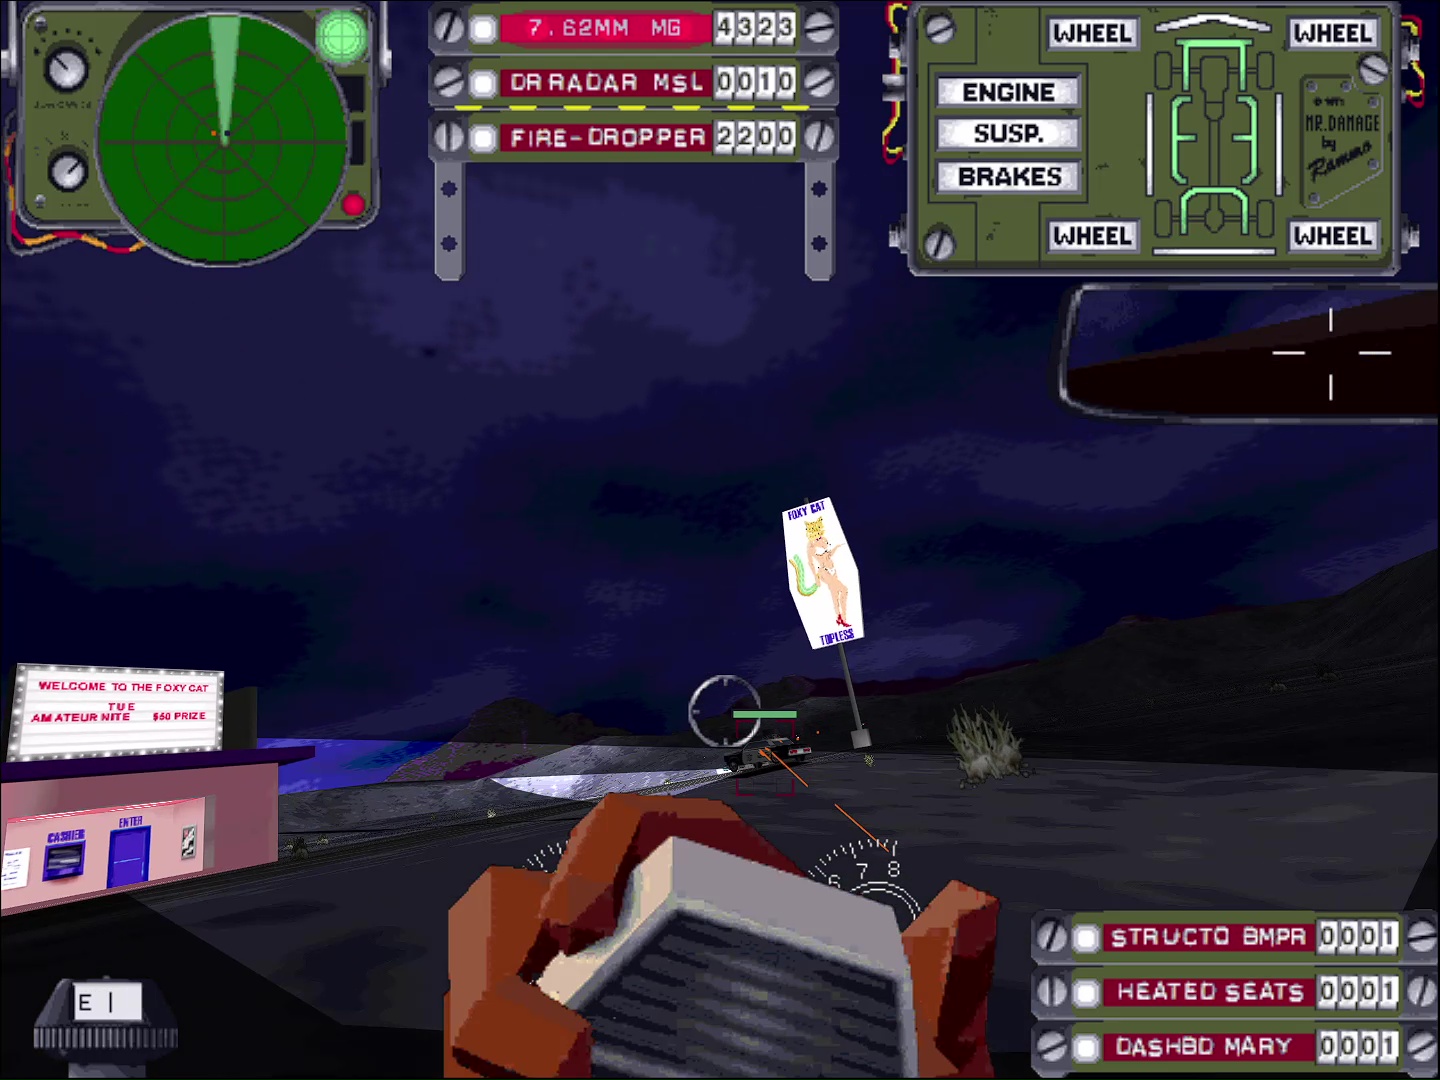
Cruise south on 125. When you see a Mondo Burger to your right, prepare to hang a sharp left. This'll put you on a dirt road near the county line. You'll know you're in the right spot if you see a Foxy Cat billboard there.
Follow the twisty dirt road. As you go uphill, you might catch some air on the bumps. You'll get some cops on the radar as you get closer.
Once you round the mountain, let the police cruisers have it. Don't hit the Foxy Cat and don't hit the trailers nearby. You can lose one trailer, but if they both go it's game over. Needless to say, if the Foxy Cat goes... it's game over.
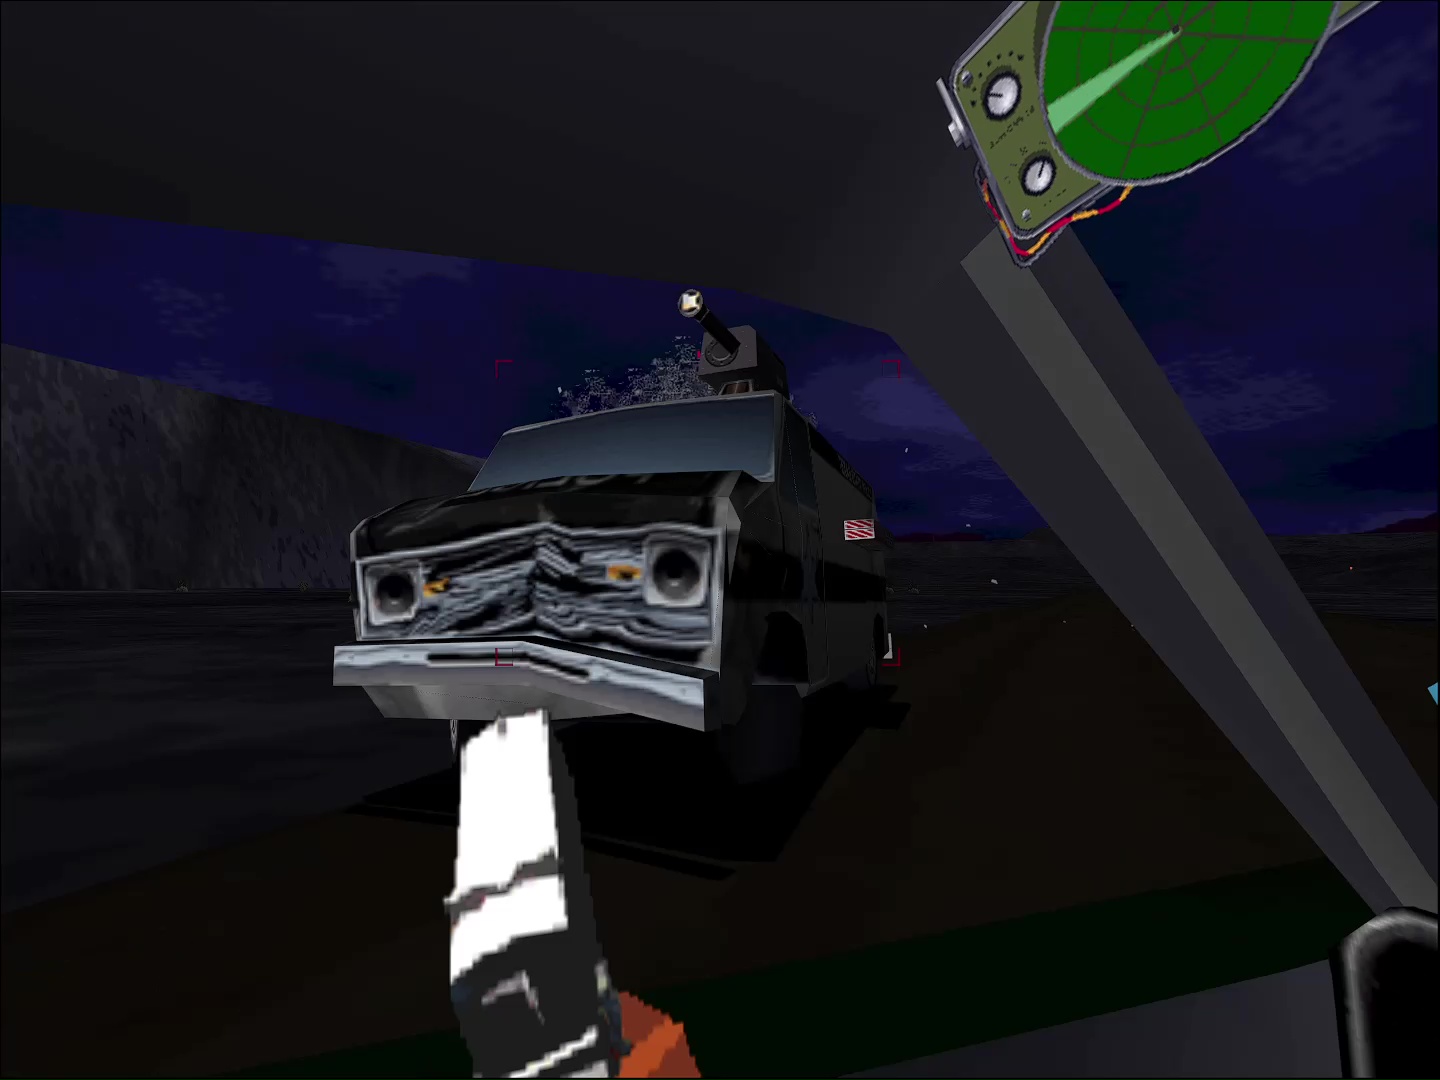
Once you battle the police cruisers, they'll call in backup and a couple of police vans show up. Good news: Big vans mean big targets for your .45. Get'em red and put five shots through their window. The ladies and the lads are safe for another night.
Complete - 7/28/26
Initial draft - 7/9/26